With six weeks (+/-) to go, we’re continuing to make slow and steady progress in the nursery. Although the initial focus was on an overall concept and colors, I find I’m now splitting my time between the design of the space and making sure we have certain essential accessories – like a carseat and diapers. (Good news, we do!)
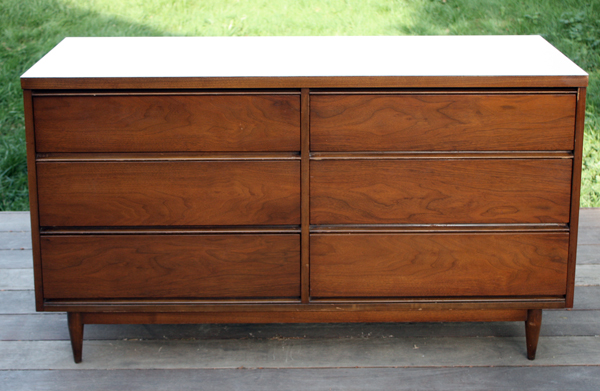
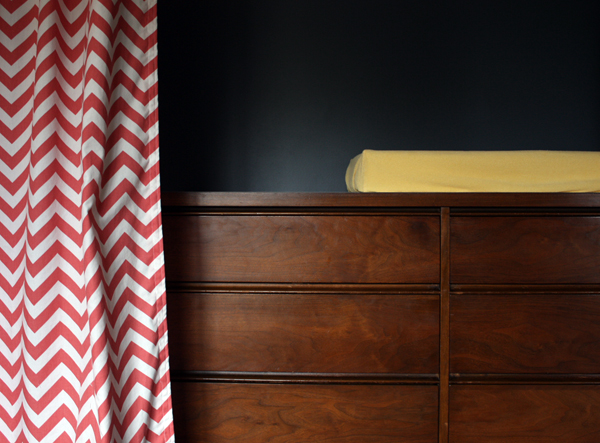
So let’s go back to the fun design stuff. A few months ago, we picked up this dresser on Craigslist for a hundred bucks. It was in decent shape, but in need of some TLC.
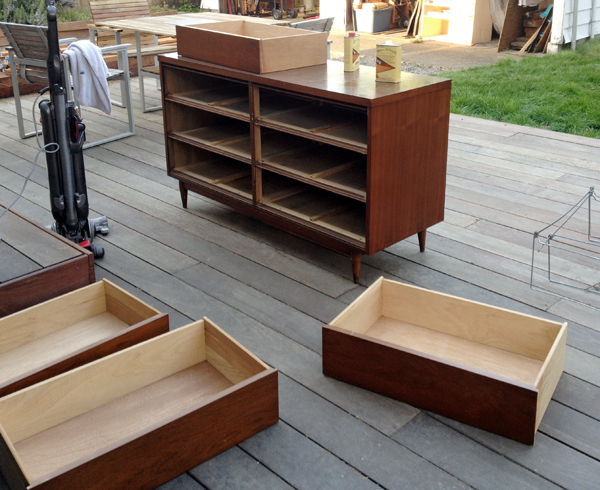
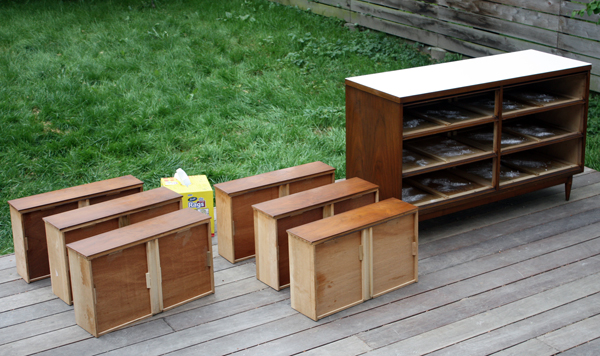
First we hauled it to the backyard where we vacuumed it out and removed the paper drawer liners.
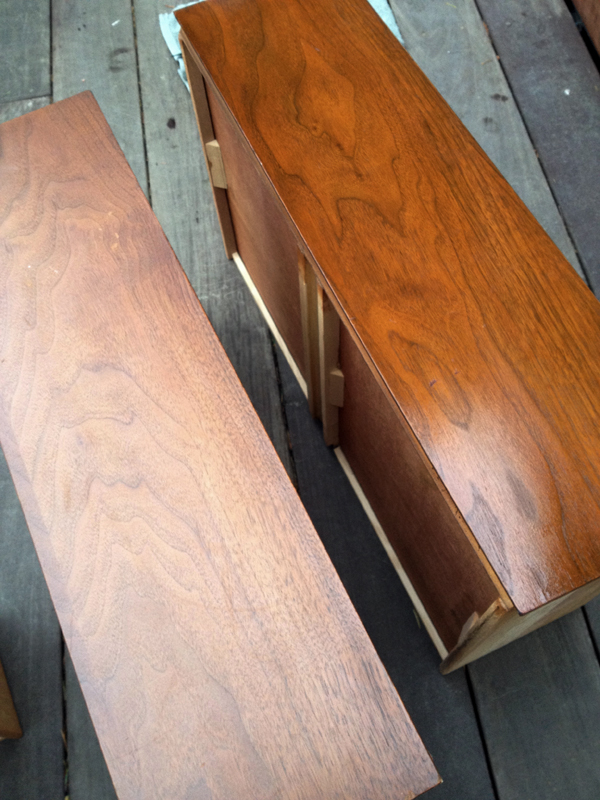
Next, Kyle gave the wood a good drink of Howard “Restor-A-Finish” that we had leftover from another project. (I later followed up with a healthy dose of Howard Feed-N-Wax for a little extra luster.)
The dresser is all wood with the exception of a not-so-sweet plastic laminate top.
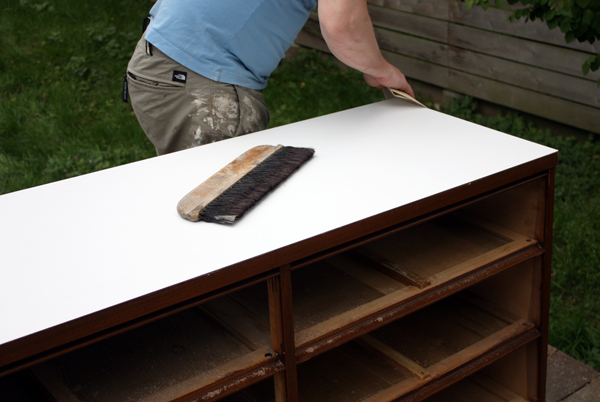
So what does one do with worn-out faux wood grain p-lam? Cover it with better p-lam!
Similar to our stair cabinet/fauxdenza, we used an economical white plastic laminate for a clean and simple look.
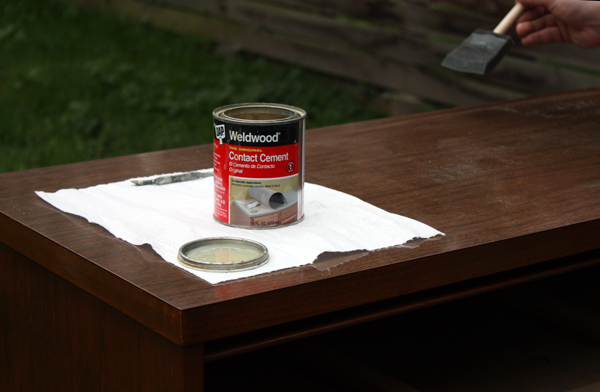
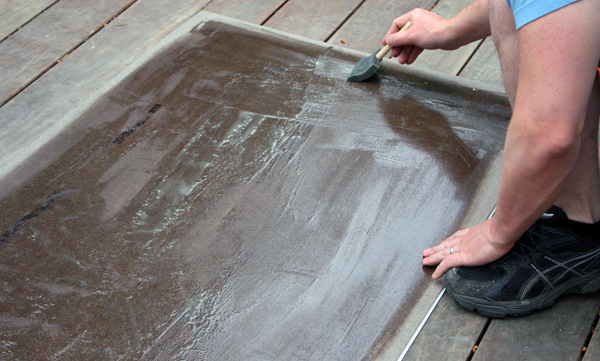
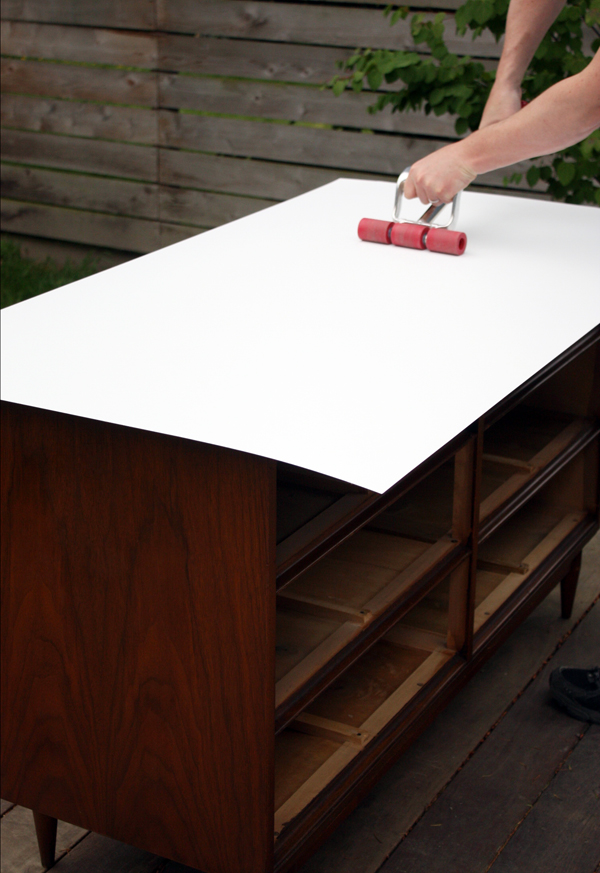
After applying contact cement to both surfaces, Kyle laid the oversized piece of laminate on top of the dresser and used a roller to ensure it was fully adhered.
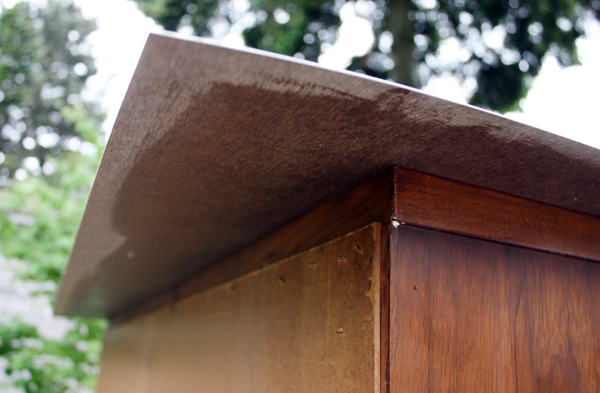
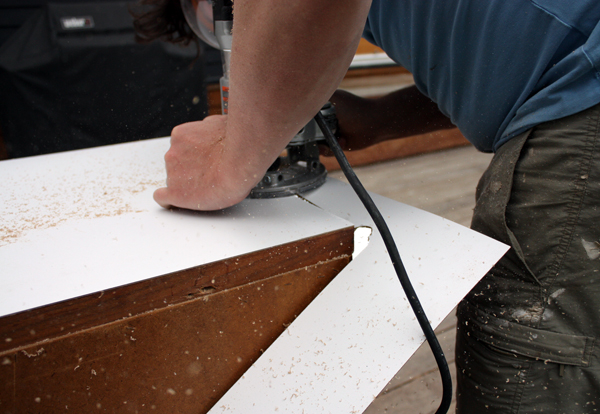
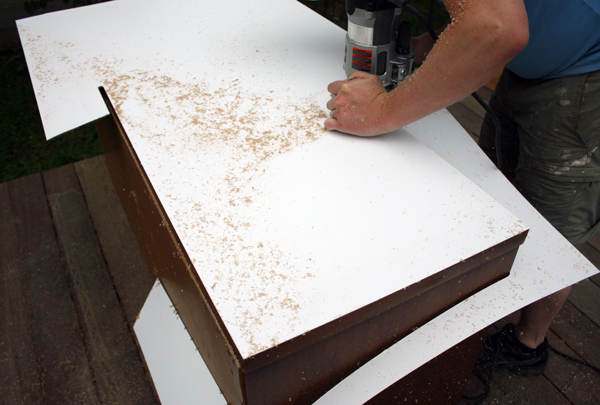
Once the cement had dried, he used a router bit specifically designed for cutting plastic laminate to trim the edges.
After the laminate was trimmed, he used a fine grit sandpaper to smooth the edges and rub off any residual contact cement that had gummed up at the seams.
Even though we let it air out for a while, the dresser still had a funky odor to it (probably a combination of cigarette smoke and general old age). To help get rid of the funk, I sprayed everything down with a mixture of vinegar and water. After it dried, I sprinkled baking soda in the drawers and dresser cavity and let it sit for a few hours before vacuuming it out. Big improvement and super cheap solution. Love that.
She still has a few scuffs and dings but we’re calling it patina. The dresser isn’t exactly an heirloom piece, so we felt our minimal restoration efforts were justified.
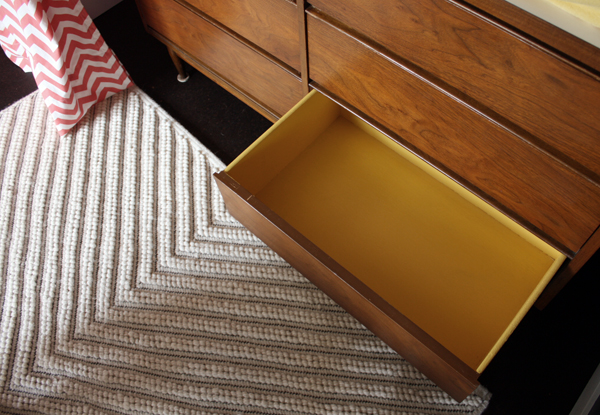
The inside faces of the drawers were bare wood, so as a final step I wanted to do something to clean them up a bit and add a little whimsy to the piece (especially after my idea to paint just the legs and trestle got vetoed). I thought about fabric or paper drawer liners, but instead decided to use some yellow semi-gloss paint (BM”s Natura in “luminous days”) that we had leftover from the kitchen window jamb. I brushed on two coats for each drawer while watching documentaries on Netflix. It’s a subtle effect, but I’m happy with how it turned out.
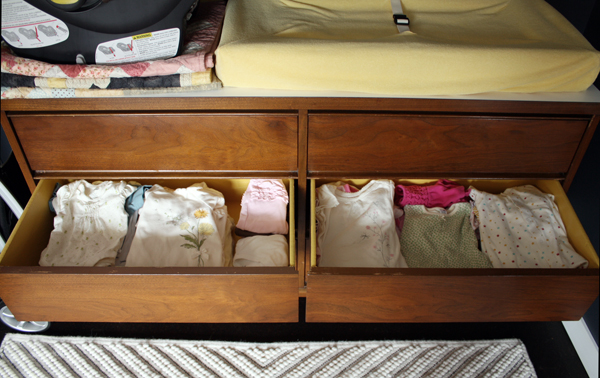
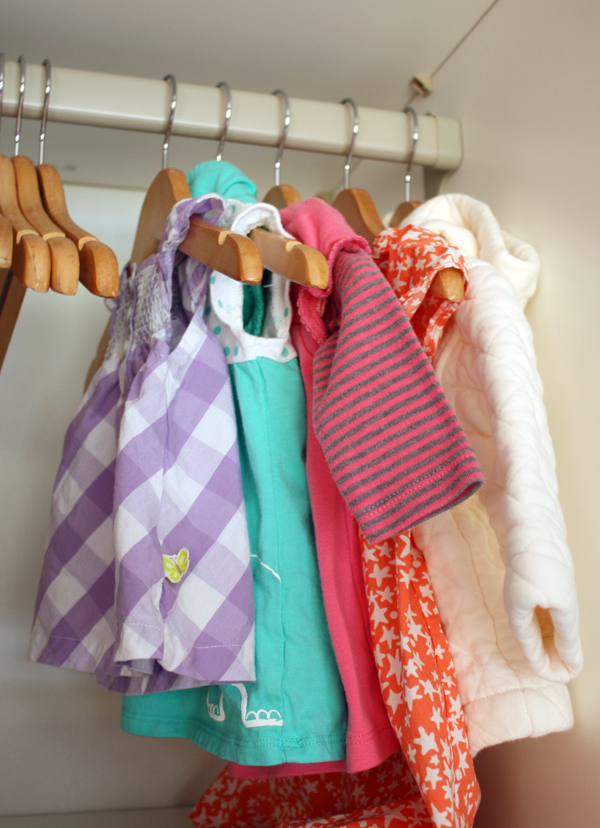
While painting and catching up on Cold War America, I also washed all the baby stuff. I always thought this step would feel like a huge milestone, but really it was just 2-3 loads of laundry. It was fun to organize everything and tuck it away in the freshly painted drawers though. I’m not sure if there’s a proper way to organize baby clothes, but I decided to allocate one drawer for 0-3 months, one for 3-6 and one for 6+ months. The drawers are actually just the right size for tiny human clothing.
With the exception of a few weak moments and well-marketed sales at Baby Gap, almost everything was purchased at consignment or garage sales. I’m actually really looking forward to shopping for cute little girls clothes down the road, but for now I’m focused on the more important items…
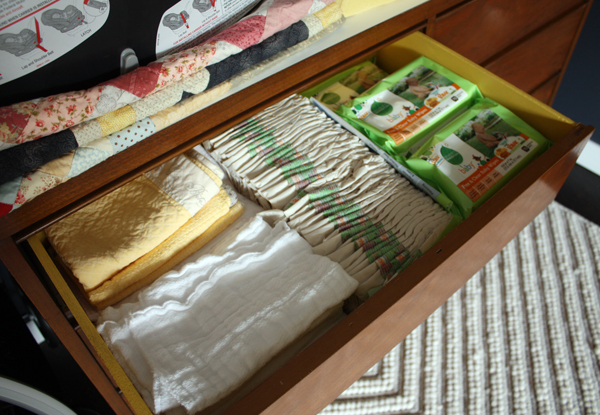
…like diapers. I was starting to get a little nervous that we didn’t have a single diaper, so I ordered enough for at least the first couple of weeks (the rest are stored at the top of the wardrobe). The plan is still to cloth diaper, but we’re starting out with disposables until she’s a bit bigger and we have the whole parenting thing under control.
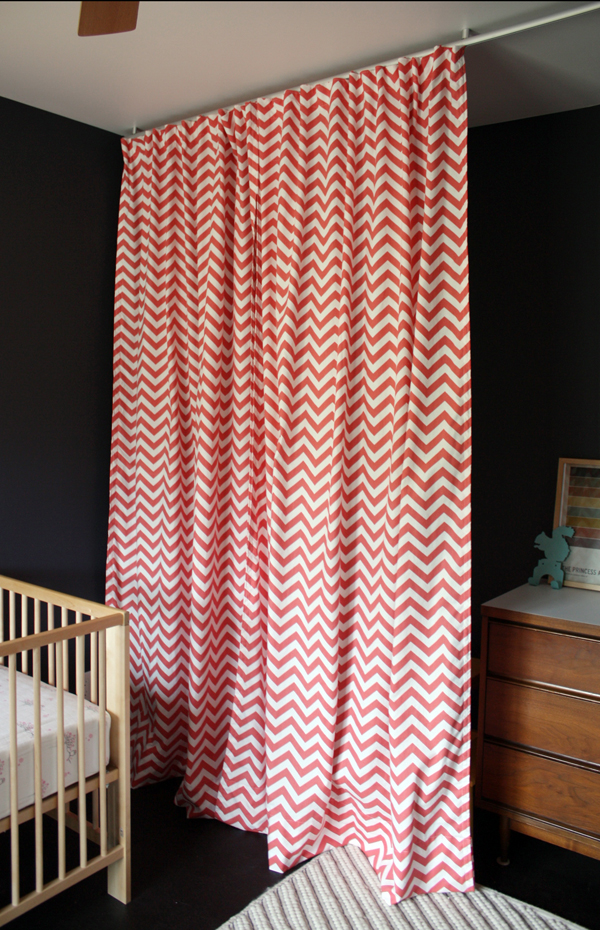
In other nursery news, I finally mustered the courage to tackle the wardrobe curtains last weekend.
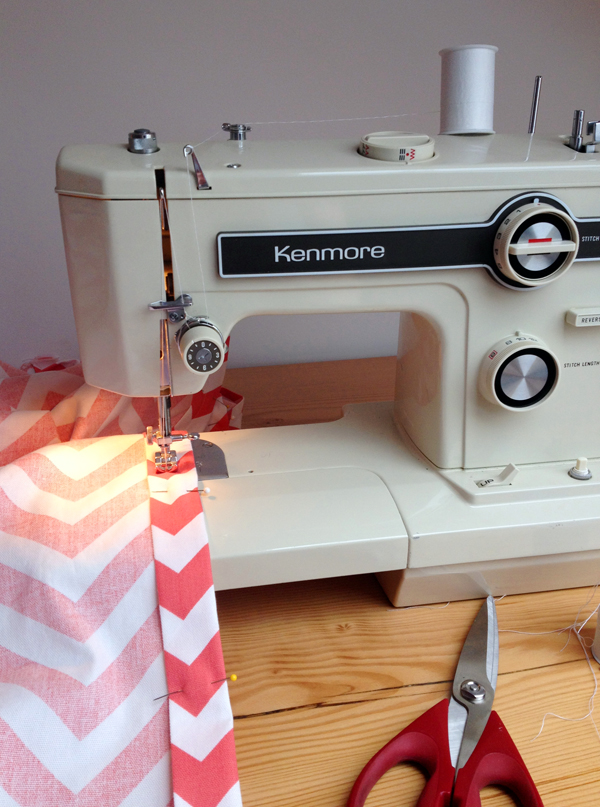
Using this Brett Bara post from DesignSponge as a guide, I took a deep breath and got to work. The last time I really “sewed” was 6th grade and it was a square pillow with teddy bears on it. After an hour or so of prepping the fabric and re-threading the machine, I cautiously put my foot on the pedal. Although hemming curtains isn’t exactly complicated, I did struggle a bit with feeding such a large piece of fabric through the machine while trying to maintain a straight line. They are not perfect, but I’m pleased with the results.
The ceiling-mounted track is from the IKEA Kvartal line. We bought two tracks that are joined in the middle and leave an inch or so on each to feed the curtains through. The ceiling in this room is drywall over lathe and plaster, but we went ahead and located the mounting hardware on a joist line just to be safe. Because the nursery (and this wall in particular) is highly visible from the living room and entry, my initial thought was to install a full-width track and a series of 3 panels so that we could quickly screen off the inevitable clutter that would be generated in this zone. I also wanted the wardrobe to feel less like a free-standing piece and more integrated into the room and thought something more cohesive would help in that department. But after sewing and installing the first two panels (a feat which took almost 6 hours, including all the set-up), I started to change my mind. Compositionally, I still like that the track extends the full width, but feel less strongly about the idea of curtains extending from wall to wall as well.
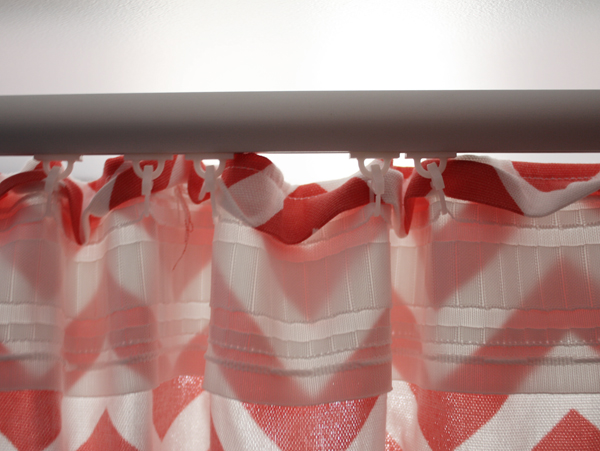
But back to the actual curtain construction. The track itself is a simple aluminum bar with a recessed channel on top and bottom. The bottom channel has a track that accepts the matching plastic rollers which attach to a length of gathering tape that I sewed to the top of each panel.
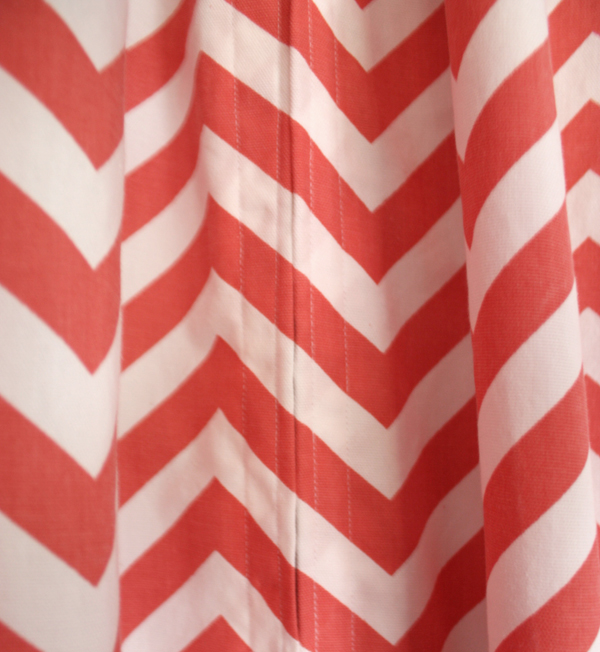
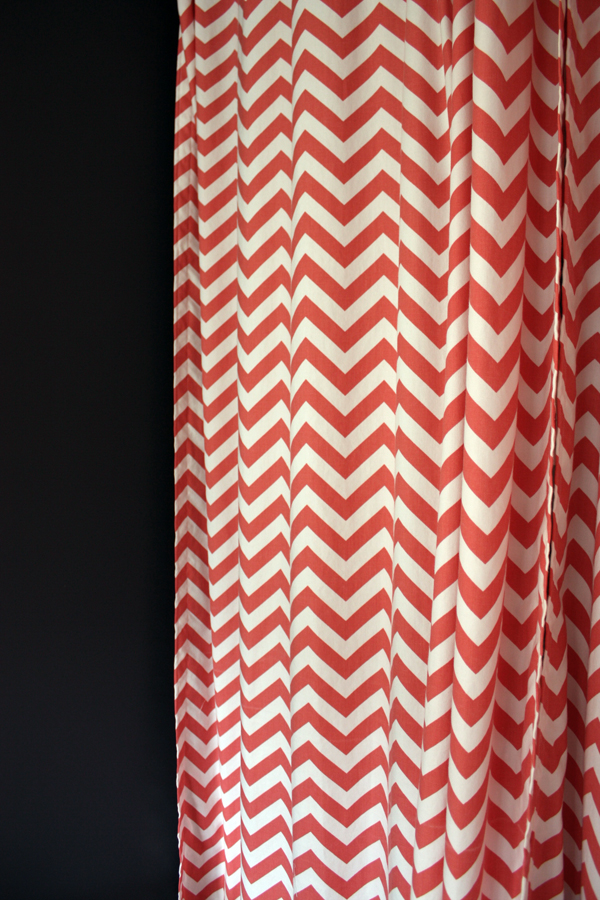
I even made sure that the chevron pattern would match at the seam between the two panels. I’m not sure how critical this step was, but I think Martha Stewart would be proud.
Overall, I’m calling them a success. I had also planned on tackling the roman shades last weekend, but after spending a whole afternoon making the curtains my motivation was zapped. My mom also reminded me that newborns do no require black-out shades, so I have a feeling that project will go to the bottom of the list for now.
As the nursery comes together we’ve also received more baby gifts and it’s been fun to find a home for everything. Right now, we have more space than we need and I think that’s probably a good thing.
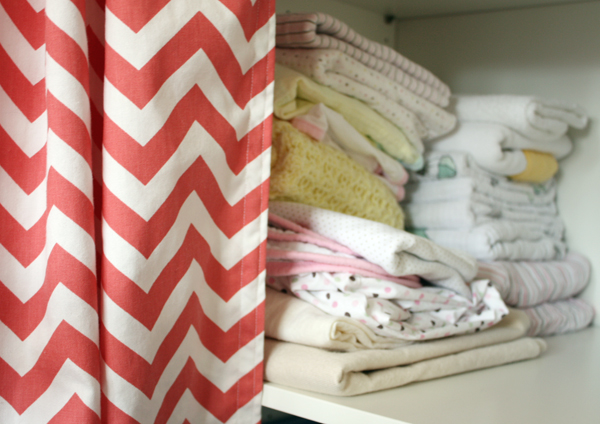
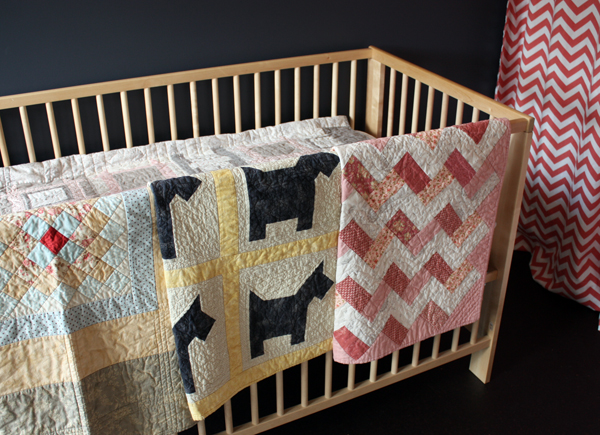
My mom also sent us 3(!) more baby quilts. She made the one on the right out of scrap fabric before I even picked out the coral chevron pattern.
Mother-daughter ESP, it’s a real thing.
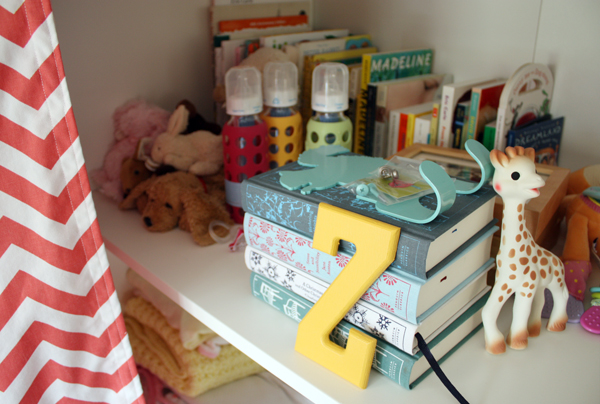
While taking photos of the nursery today I glanced over at my pile of reading material (someone’s gotta break in the glider) and laughed to myself. A little random, but reflective of where my mind is these days.
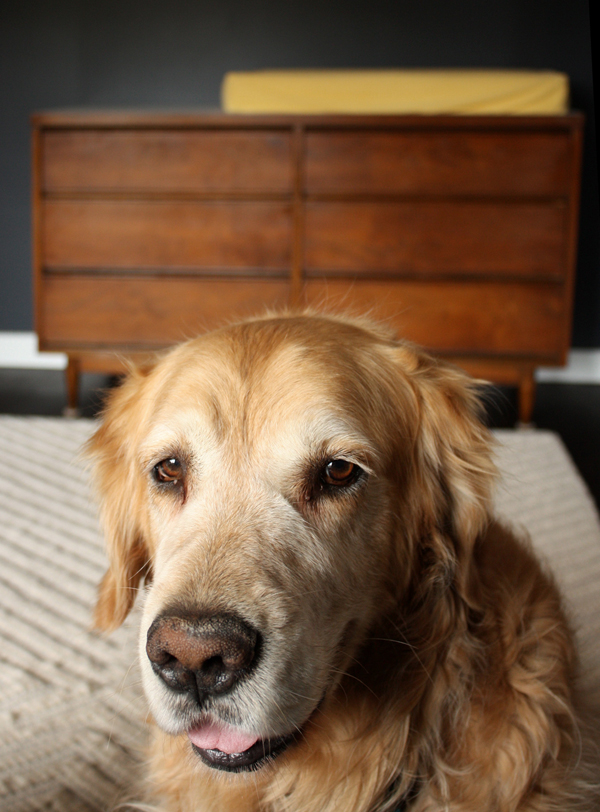
As per usual, Bailey did his best to photobomb several of my shots.
I may not remember all the hunger cues that newborns communicate to their parents, but this is definitely Bailey’s. Of course, it’s two hours before dinner time but he knows he’s charming and that I might succumb.
(I did.)


I love the Coral color – so pretty. And what a great new piece of furniture!
Looks great! That Madeline book has been in heavy rotation with my 10 months old, they love it.
Wow, the curtains are amazing! One thing to keep in mind is that although newborns don’t require blackout shades, six month olds often do and your time to make roman shades will be severely limited 🙂 I’m speaking as someone whose baby woke up before six for a good six months of his first year, and we had all sorts of funny things going on–quilts hanging up in the windows with a fitted sheet around the window frame to keep the light from filtering in. It did not look nearly so stylish. Your nursery is gorgeous, I love what you did to the dresser too.
I think I read in Jack Newman’s breastfeeding book that the most important hunger cue newborns have is just opening their eyes, which was really transformative for me. Rooting, crying, etc. are later stage cues, and it makes it so much easier if you just nurse them every time they open their eyes for the first few weeks!
We just has our son 3 weeks ago… we too want to go the cloth route… however, we have noticed that it would crazy to start that until he is 2 months old… I never though we would go through so many diapers… sometimes 5-6 in an hour… ya…. if you think you have enough for a couple weeks…. get ready for a reality check… I bought 240 from sam’s club and that lasted for 2 weeks… thought that would have lasted much longer!!…. my guy likes to pee just after I change a poop….. then do it again in 5 minutes!… wouldn’t trade him for anything though!
Yay she has a Sophie Giraffe! A must-have 🙂 Curtains looks great!
The dresser looks great & I’m loving the Penguin Classics!
Not sure where this “tradition” came from but we always lined the dresser drawers with the gift wrap from baby showers – my young adult boys still have some in their drawers!
Aww, I love that idea!
Haha, good to know. I think I have about 200 on hand…we’ll see how long that lasts. I didn’t want to buy too many since I don’t know when she’ll jump from the newborn to “stage 1” size.
Thanks Martha! I definitely plan on having them up by 6 months (might recruit my mom to help too). =) I hadn’t heard the theory on the eyes being a hunger cue…but I will certainly keep that in mind.
My sisters bought me some of our favorite childhood books and that was one of them. =)
I keep meaning to shoot you a message about grovia cloth diapers. Since you seem even more obsessed with grey than me, these seem like the perfect cloth diaper for you. We are 10 weeks into little girlhood, and the grovia are working really well. http://pinterest.com/pin/136726538657731598/ I love that they are not traditional colors.
Just in case you want even more info on cloth diapers, check out a blog called our little beehive.com. She just had a boy around the beg. of the year and has a long discussion of cloth diapers around 4.22.2012 (on the second page at this point, scroll down past the giveaway). You might be interested in another new mom’s discoveries even though hers is a boy and yours will be a girl.
We never even used the newborn size. I love the nursery! Especially the dresser and the handmade quilts 🙂
Thanks Barb!
Ooh…thanks Anna (and congrats!).
nicely done on the dresser! love the touch of yellow in the drawers
I see the cloth diapers, but didn’t see in the pic what you’re using to hold them in place.. if i may suggest the Snappis (found here: http://www.amazon.com/Snappi-Cloth-Diaper-Fastener-White/dp/B000U03IQI )
They were the BEST way to do cloth for our little one. and NO, you can’t have too many. It seems hard to think you’ll lose them since they technically should almost always be on the diaper, but the fact is, they freaking disappear all the time! hahaha.
As always, thanks for the updates!
Lauren, you better get ready to be on the other side of that mother-daughter ESP. : ) And Im pretty sure that aunt-niece ESP is a real thing, too.
Haha, yes!
Thanks Grant, we actually don’t have any cloth diapers yet…those are just burp cloths. Haven’t heard of the Snappis yet…thanks for the link. It’s kinda amazing how many diapering products are out there now!
Hey 🙂 Love Sophie Giraffe, it was one of my daughter’s dearest artefacts 🙂
As for the quilts, there are never too many, when the kid falls asleep on the top of one, you can always use another to tuck her in, and believe me, the last thing you’ll want to do is to wake her up :))
Love the curtains and the dresser too 🙂
All the best!
They sell GroVia at Village Maternity and Once Upon A Time on Queen Anne (the best baby/toy store around, except for Clover Toys in Ballard). They Flip, Bumgenius and Fuzzibuz at KidzClub in U Village. If you wanna see them in person. If you decide to buy any easyclothdiaper.com had the best deal I could find on GroVia. If you enter the code grovia you get 15% off, free shipping, and no tax. Good luck.
Thanks Diana! =)
Awesome, thank you Anna!
Oh man, I love you guys and I love this blog but: stop reading about “hunger cues” etc. You, as a living breathing human, will know when your baby is hungry, tired, etc. Stop reading baby books all together, or you will over-think everything. You already have the skill set, don’t cloud-up your instincts. Can the cloth diapers thing all together. Buy some Pampers Swaddlers, they have a line that turns blue when it is wet. Don’t go out of your way to make the most challenging experience of your life more difficult.
Haha…noted. If there’s one thing I’ve learned so far it’s that there’s no right way to do everything…we’ve even heard conflicting advice from the various childbirth/prep classes we’ve taken. I want to do cloth diapers for environmental and financial reasons, but am not going to be a stickler about never touching a disposable (we’re even starting out with them). Ultimately, we’ll learn as we go and do what works best for us. =)
[…] darker scheme. Since then, there’s been a lot of talk about paint colors, fabric, decor and furniture. There are a few original ideas (including the low bench/cubby and floating shelf above the […]
Hi,
I would like to use the white plastic laminate in a desk project at home. Where do you get it from?
Thanks
Hi!
We bought a refinished/distressed (but VERY dirty) dresser tonight, and it has that awful musty “old” smell. What was your vinegar to water ratio? Did you just mist everything or give it a good spray? How long did that take to dry before sprinkling baking soda? And then how long did you leave the soda on it?
THANK YOU!
Hi Tiffany, I don’t recall the exact ratio or how long we waited to sprinkle on the baking soda. I think I left the baking soda on for at least a day though. Really, it worked somewhat but didn’t fully get rid of the smell. I think it just took time – it’s been three years now and I haven’t noticed a smell.