The northwest corner of Avery’s nursery has been sad and lonely for the last twelve months…waiting, patiently, for this:
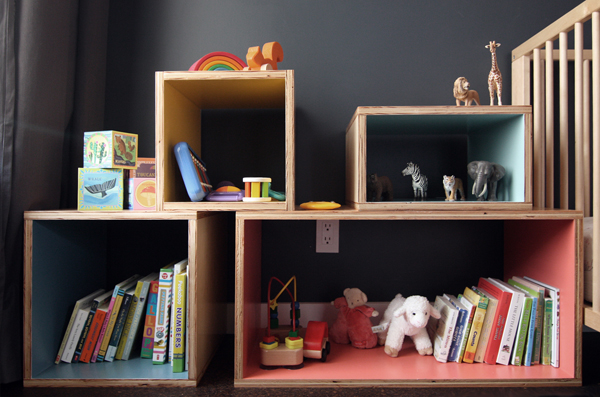
Bam!
You see, the trouble with being an architect and being married to an architect is that you set the bar pretty high for even the simplest of projects. For over a year now I’ve had the idea that we would design and build Avery some type of toy and book storage for her room. Originally, we were going to build a bench/cubby that would sit under the window. Well, it didn’t happen before Avery entered the world so we considered just buying the similar (and very pricey) Offi version ($$$) and calling it good. But then I started seeing modular storage boxes well, everywhere and thought this could be a quick and easy project. (Ha!) Thinking I might be able to find some inexpensive pre-made boxes (that we could then finish/paint), I scoured the interwebs but no luck. (Seriously, I’m sure this would be a lucrative business model. Someone should get on that.)
So, DIY it was.
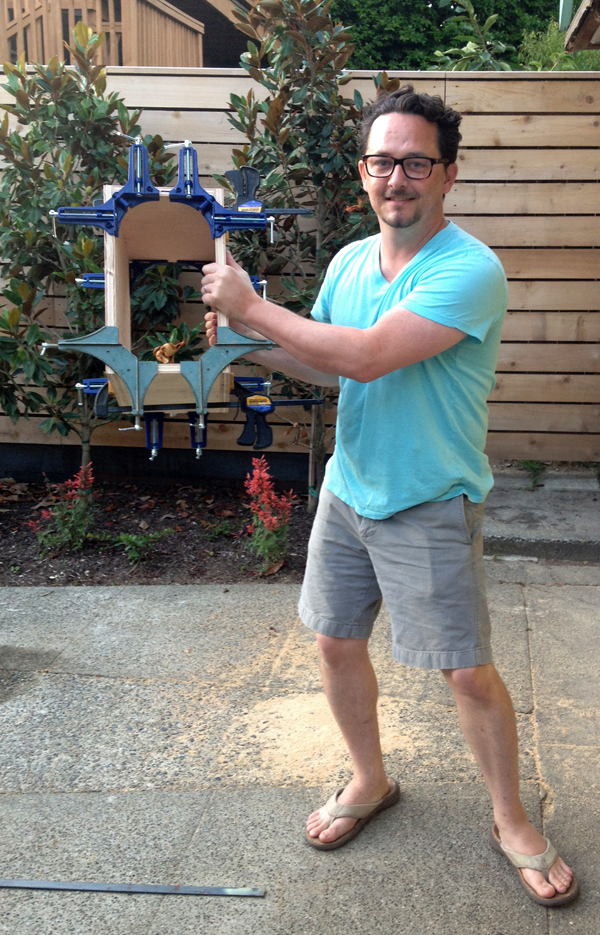
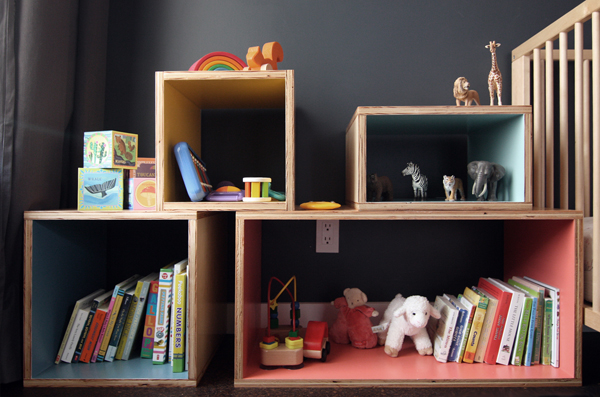
The four boxes are made from a single 4’x 8′ sheet of 3/4″ maple plywood. In lieu of exposed fasteners, we opted for biscuited joints. Our clamp collection came in handy.
We did consider installing backs but the boxes were plenty rigid without them and their omission simplified the construction and overall project costs.
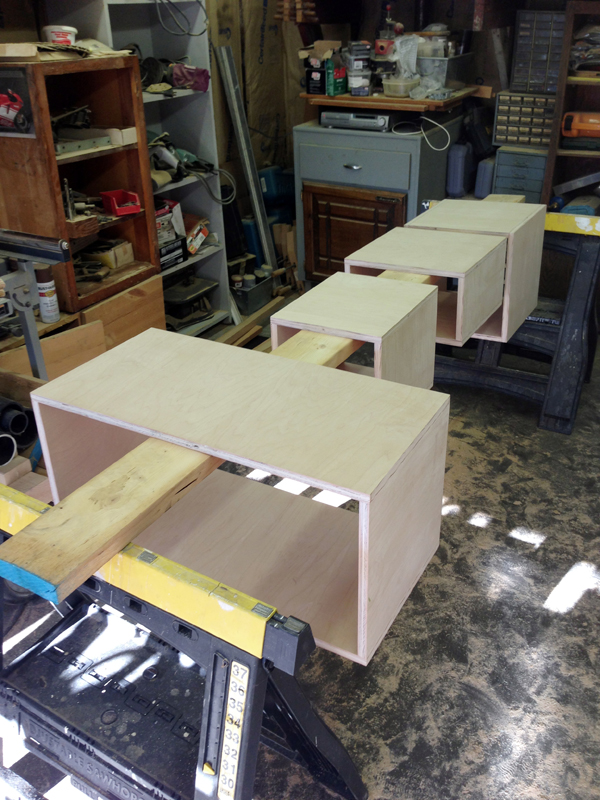
After the boxes were assembled, Kyle applied a coat of benite and a couple of coats of clear polyurethane to the outside faces.
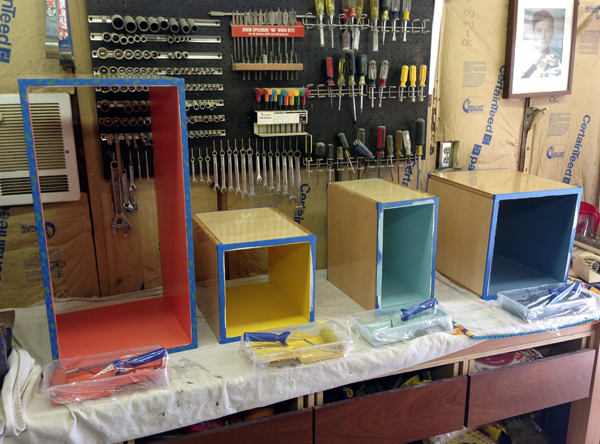
I wanted to do something playful for the inside faces, so we chose four of our house colors (“lakeside cabin”, “thuderbird”, “luminous days” and “birds of paradise”, all Benjamin Moore). Also, this photo was taken the day before her birthday party. If there’s one thing we’ve learned through the whole remodel process it’s this: PARTIES = FINISHED PROJECTS. Seriously, trust us.
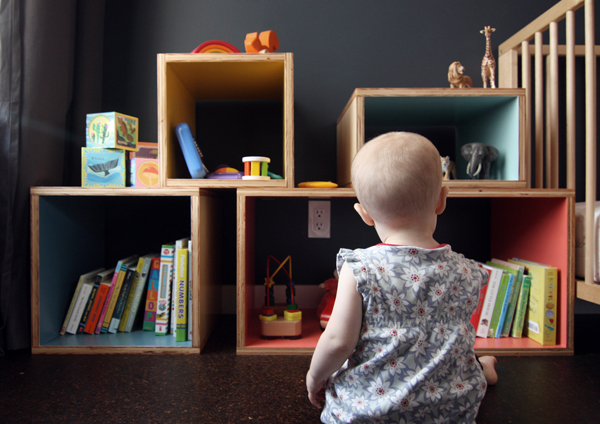
Thankfully, the littlest Zerbey approves.
(Side note because I know someone will ask – all of our outlets are tamper-resistant which means they have a plastic “shutter” behind the holes to keep kiddos from sticking objects in them.)
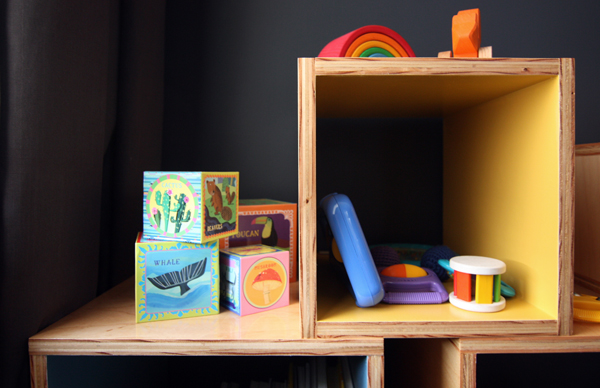
Mid-way through construction we wondered if we should have spent more money on a nicer plywood with more ply’s (since the end grain is so prominent) but now that they’re finished and in the space we’re really pleased with how it all turned out (and realistically, she’s going to eventually give them her own “patina”). The individual box dimensions are as follows (all are 15″ deep): 15″x30″, 15″x15″, 12″x12″ and 15″x9″.
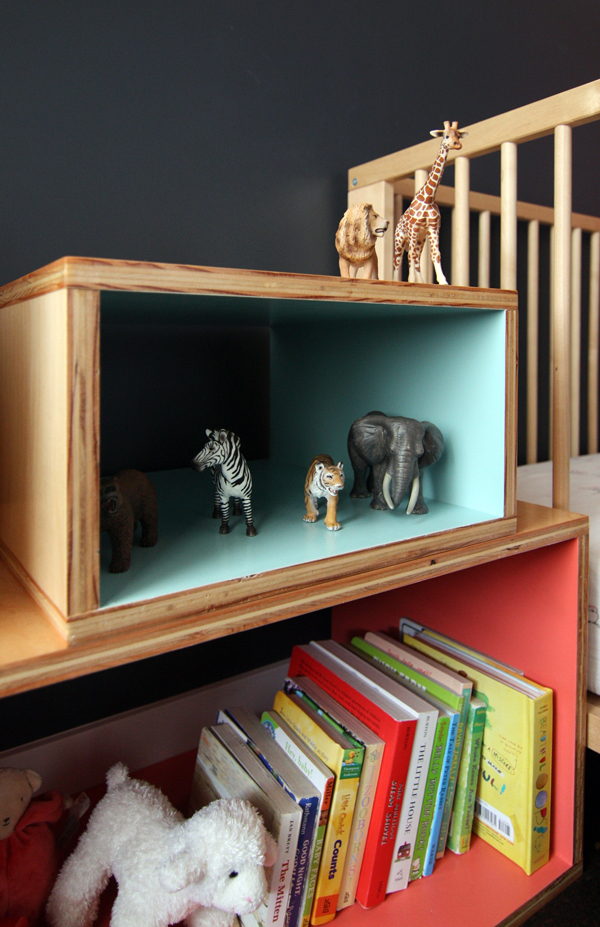
Aside from basic toy and book storage, we like the idea that the boxes could also be used to encourage creative play for years to come. (My sisters and I used to spend hours making “doll houses” from cardboard boxes and I like to think Avery might use these in a similar way someday.)
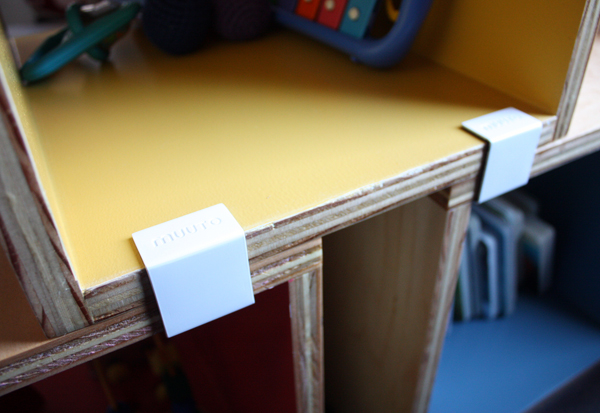
Of course, safety was a concern so we bought these clips from DWR to attach the boxes to each other. They’re metal with a rubber lining so they fit snugly and can’t be removed by little hands. At first we attached them to the front faces but then decided it looked too busy and instead attached them to the back. We have five clips, which should be plenty for the various configurations we come up with.
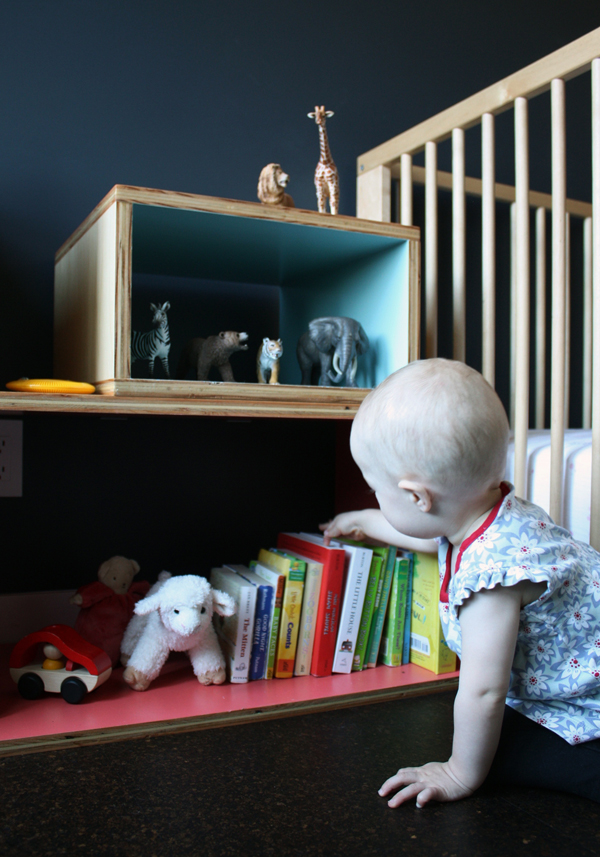
(Since Avery’s still in the paperback destruction phase, I love that so many classic children’s books now come in board books.)
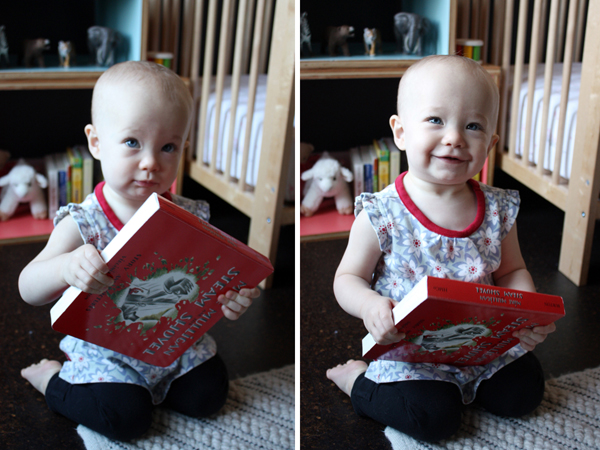
Mike Mulligan and the Steam Shovel was Kyle’s all-time favorite book as a kid. In fact, he checked it out of the library so many times that his teacher had to stage a mini-intervention.
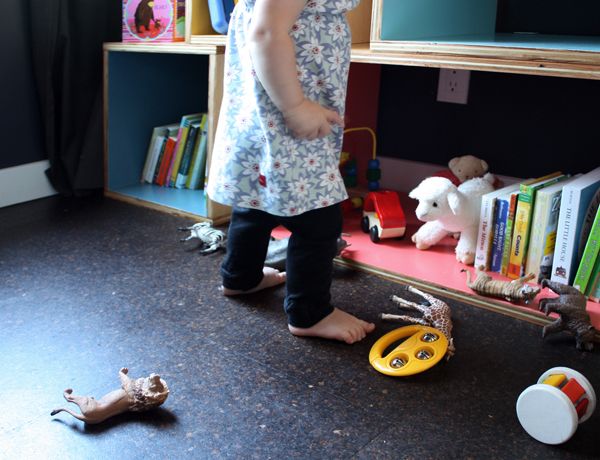
The heights of the boxes are perfect for Avery at this age and encourages more independent standing (she’s not walking yet, but I know it won’t be long!). Although we haven’t reconfigured the boxes yet, we have discovered that by pulling them away from the wall by a few feet we can create a cozy little nook for her.
Aside from the boxes, we’ve made a few other tweaks to the nursery over the last several months:
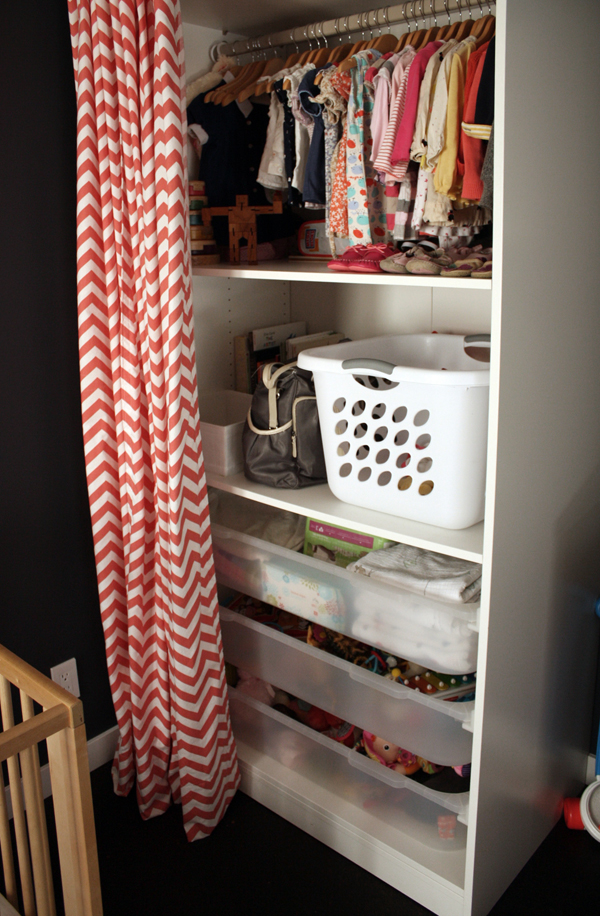
We bought the IKEA PAX wardrobe with the intention that it could be rearranged and added to as Avery’s needs changed. At first, I just bought four shelves and stacked everything inside. That worked fine for the first 9 months or so but it wasn’t the most efficient set-up. As she started playing with more toys I pulled out all the newborn gear that we no longer needed and packed it away in the crawl space. I then bought three plastic drawers and rearranged the existing shelves. The bottom two drawers are for toys and I use the top one for blankets, sheets and extra diapers. We’ve had this configuration in place for a few months now and it works really well. She can only reach the two bottom drawers, but because they’re so wide she can’t pull them open far enough to create a ladder. Moving the laundry basket up keeps her from constantly emptying her dirty laundry. (Behind the laundry basket and diaper bag is our stash of non-board books.)
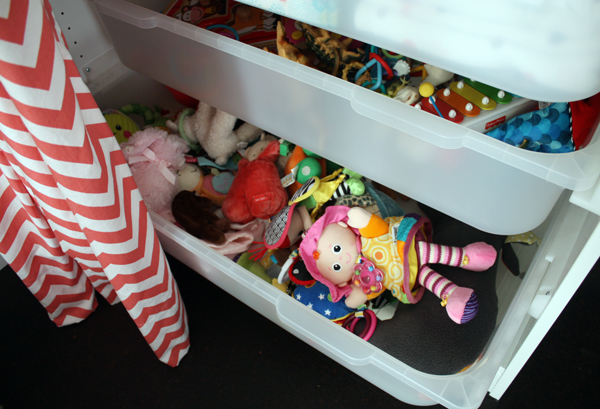
Having three areas for toy storage (these drawers, the plywood boxes and the felt bins in the living room) also allows us to rotate through different toys so she doesn’t get bored or overwhelmed with too much to choose from.
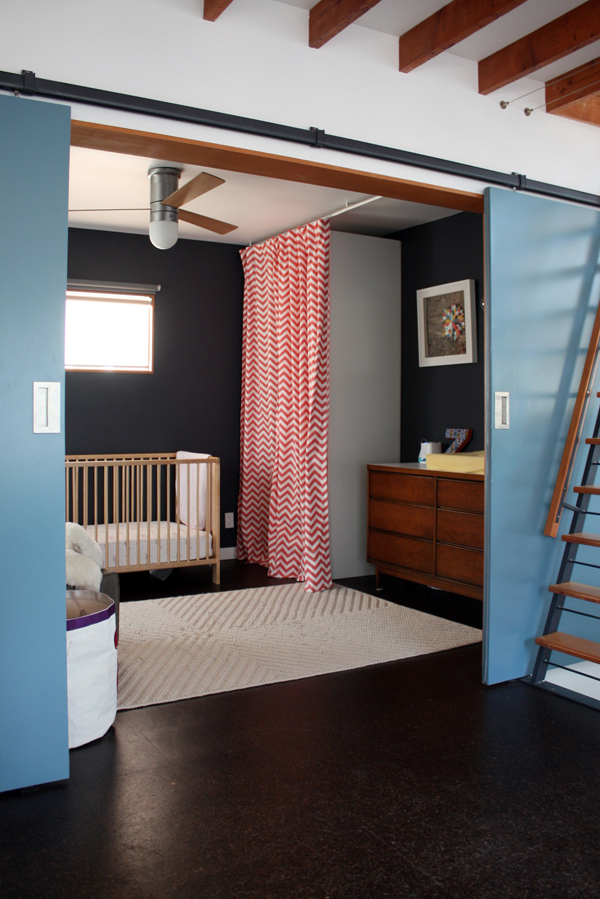
Toys, what toys? Actually, we usually have some toys strewn about but since the living area also doubles as a place to meet with clients it was important to have a system in place for quick and easy clean-up.
Also, I’m finally calling this room DONE! So, a few overall shots to commemorate!
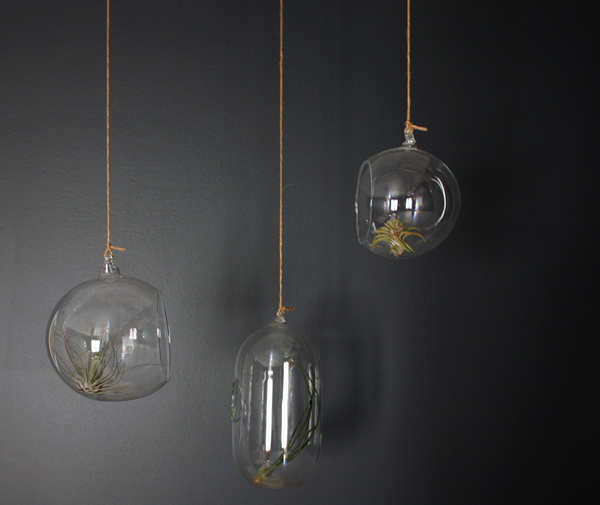
Confession, this is the third set of air plants I’ve bought. The first ones got neglected in those first six months and then the second set quickly died when we put up temporary blankets over the windows to make the room darker. (Apparently plants need sunlight?)
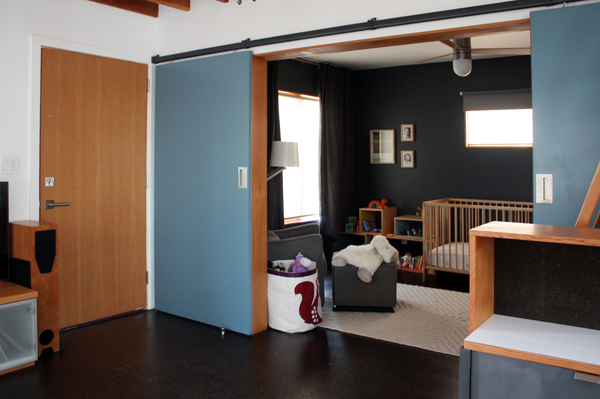
Speaking of, I procrastinated so long on curtains because I really did not want to make blackout shades for the windows (those chevron curtains took way too long as it is!). So, imagine my surprise and happiness when I discovered that IKEA sells both blackout curtain liners and roller shades (and in a dark gray color)! At the larger window I used the liner with a pair of IKEA curtains in a dark gray-blue (the curtain rod is from West Elm). We hung them near the ceiling to compose with the wardrobe curtains but stuck with a color similar to the walls so that they wouldn’t compete visually. At the smaller window above the crib we installed a surface-mounted roller shade (we wanted to keep the existing recessed shade for diffuse natural light). The exposed hardware on the roller shades leaves something to be desired but we figured we could build a custom valence of sorts if it bothered us too much (it hasn’t).
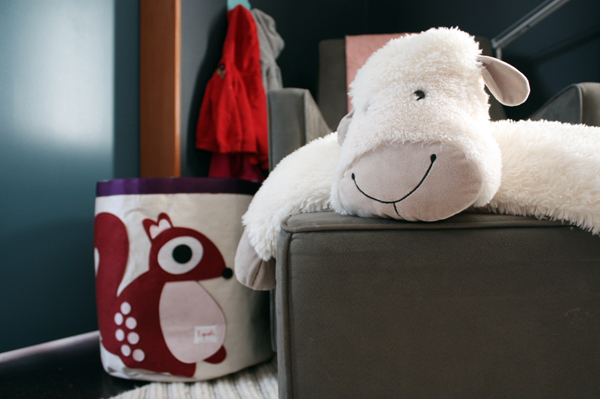
The 3 Sprouts canvas bin (which used to hold all of her toys!) now houses our collection of baby quilts (thanks Mom!) plus a few stuffed animals.
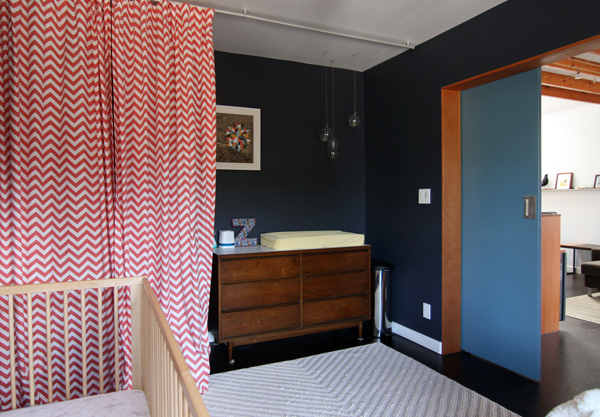
Aside from these few modifications and additions, the overall layout hasn’t changed in the past year. It’s simple but continues to work really well for our needs. We still use the dresser to store most of her clothes, diapers, wipes and a few regularly used odds and ends. Bonus, I think it finally lost that Craigslist smell!
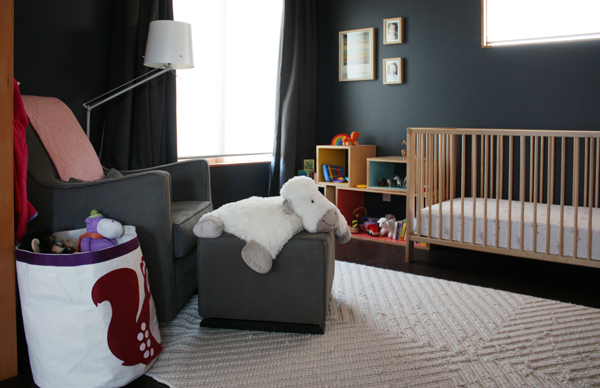
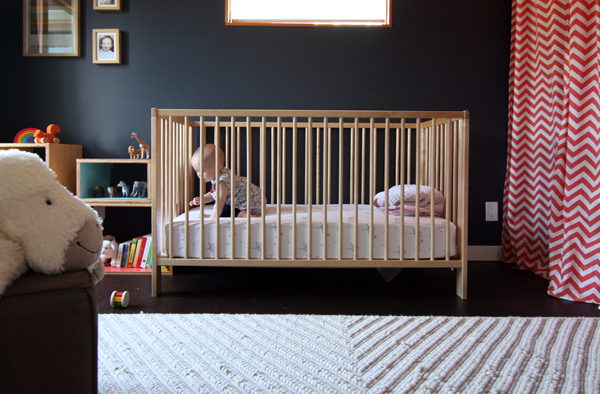
The only thing we might swap out in the near future is the rug. I love the design and feel (we bought it from West Elm a few years ago), but it does show dirt and the looped design is not conducive to giant golden retriever paws. It would be nice to replace it with something more easily cleanable too, so we’ll see.
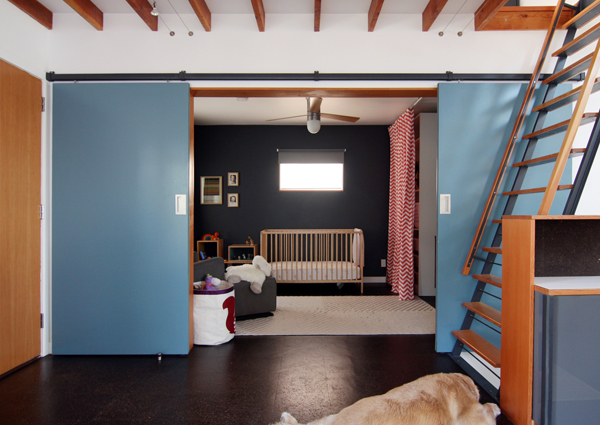
I’d also like to design/incorporate a growth chart into the nursery – maybe something on the backside of the sliding doors? My mom did this on the back of our closet door (my sister and I shared a room) growing up and I want to continue the tradition.
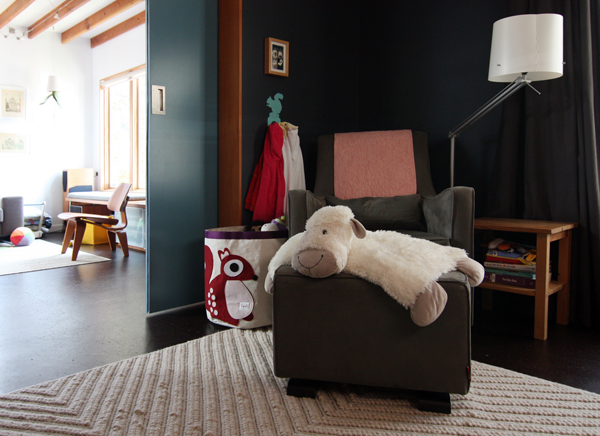
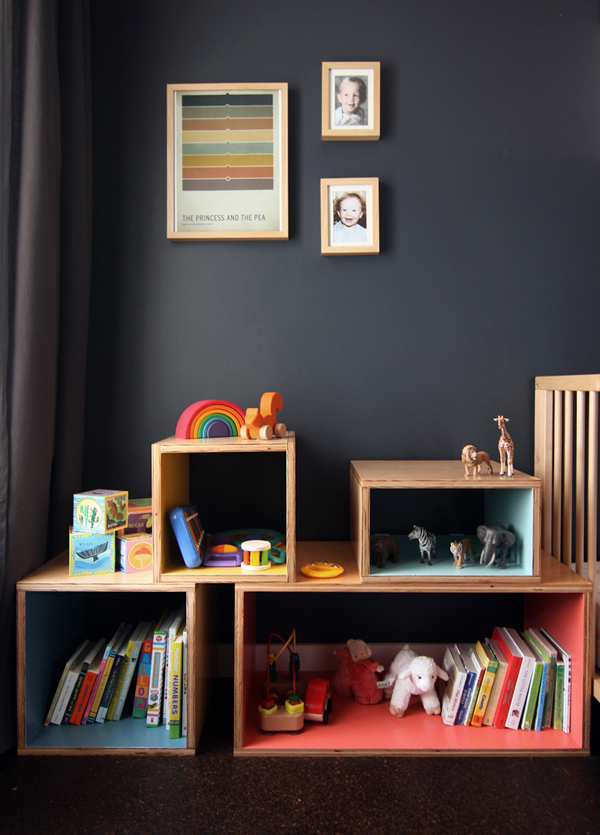
The nursery is starting to feel more and more like a kid’s room and we love it. (In fact, it’s Kyle’s favorite room in the house!) I know there will be more items to accommodate as she expands her interests and abilities (art supplies! a mini kitchen!) but I’ve got some ideas for that.
I LOVE the boxes! Love, love the colors, and how well they “go.” I pinned the last picture, is that ok?! Do you mind sharing where the lamp is from? You might have said earlier, but I’m too lazy to go back and search (how’s that for honesty?). Thanks for the idea of blackout roller shades from IKEA. I’m going Tuesday and I’ll try to remember to check them out. The office window gets massive sun in the evenings and I’ve never been able to find something that I like to fit there. But I never thought to look at IKEA. Thanks for a great post and a late Happy Birthday to Miss Avery! (The second year is so much more fun than the first imho: walking, talking, more interaction, etc)
What a great blog. The pictures were nice, too. I love the blocks, wish I had done that for my kids. It will definitely encourage imagination play. Reminds me of making shadow boxes when I was a kid. I did get some good ideas from your curtains to use in my house! Ikea here I come! Your baby is darling. Congratulations.
Beautiful, clean-lined build and a lovely nursery for your lovely girl. 🙂
Happy belated birthday to your littlest Zerbey!
Hello! I wanted to say that your house is looking great and is a major inspiration for my place! I’m poaching your ideas for colored doors, and the wall color and chevron curtains from Avery’s nursery! Had to order a Benjamin Moore color chart from the States as I live in New Zealand and I can’t get the whole paint range here. Love seeing the progress! Nicola 🙂
The place looks great, have u guys seen this youtube.com/watch?v=ysXRXQoVIN8 —–” Tetris-like stacking + LEGOish shelves: modular minimalist furniture (BrickBox)” it’s more of a office kind of environment but u can always use different colored boxes.
Great idea to use the Muuto clamps with homemade boxes. I’ve admired their system but it’s definitely outside of my current furniture budget. Nice work on the last photo, too!
Hi from Queen Anne! It’s looking so good! I just got my PAX delivered and assembled yesterday, and I’m so in love with it! It literally doubled our master closet size.
I plan on putting a chest of drawers next to it too (bc far wall has a window) so if you come across something vintage that’s 53″ wide, give me a holler. 🙂
Goodness, she’s so cute.
Thanks Tiffany! Have you tried that place in Magnolia (The House)? Not sure if it’s still around but I remember seeing a bunch of their ads on CL for vintage stuff.
Oh, that systems is great! Thanks for sending the link. I love that the boxes have handle cut-outs too.
Thanks Nicola!
Thanks Laura, of course I don’t mind if you pin our photos. 🙂 The lamp is from IKEA but “vintage” (aka 2004). I think they have a similar style now but it doesn’t look as good. I had a hard time finding the curtain liners at IKEA and one of the employees said they’re often sold out (they just had a handful when I was there) so might be a good idea to double-check before you head over. I’m looking forward to this next year – she seems like she’s on the brink of so many new things!
Nice boxes! They remind me of Kerf cabinets( http://kerfdesign.com/ ) which I LOVE. They used to sell unused scraps of plywood at their shop on Fridays – not sure if they do anymore – but maybe an option for future projects?
The room is fantastic! What flooring is in there?
Thanks Ainslee, the flooring is cork!
Y’know…I’ve heard of the Kerf scrap thing but totally didn’t think about it for this! Hmm, wonder if they still do it?
The last I saw it posted was on their FB page in late 2012. It said Fridays from 1:30-5. Priced by the pound. Worth a try, I’d say!
Aw, little Avery has the most adorable room! Love the new plywood boxes. And who knew plants needed sunlight? Not me.
What a lucky kid you have! Great work on the boxes!
Wow! I’ve long ogled those Muuto shelves at DWR but always balked at the price. I love the idea of DIY boxes combined with the Muuto fasteners. They look beautiful (as does everything else in Avery’s nursery)! You’ve stacked them two high here, but I wonder if you could comment on their projected sturdiness if they were stacked higher / loaded up with more books? (e.g. in a home office).
I think they would be sturdy enough stacked higher (given the dimensions we went with) but probably would want to anchor them to the wall if it got too tall.
I love the cubbies, what a great idea. Avery is very lucky to have such a cool nursery.
Thank you for posting about cute things you make that some of us non-architects MIGHT be able to attempt 🙂 I love your blog – it’s full of eye candy and clever ideas. Your daughter is adorable and quite blessed 🙂
Looks lovely!
Did you find in your web search anyone else who makes completed plywood cabinets (not unfinished like you were looking for)? We are getting a quote from kerf for a sink cabinet but I’m not sure if they will ship to us, would love to look at a few other options if you know of any!
Hmm, not that I’ve found. (Definitely let me know if you find something though!)
Thanks Karen!
I love the nursery paint color but couldn’t find the name of it in your post. Could you please tell me and maybe share your thoughts about it after you have it up on the walls? Thanks!!
Hi Renee, the color is Baby Seal Black (Benjamin Moore) – we love it!
We have been following your blog – we love your creativity and designs! We wanted to ask a question about Avery’s nursery room. The floor is dark and we were curious if you had any problems with seeing dirt on the floor? We had a friend who went with very dark wood floor and she hated it because she could see the foot prints/dirt all over. Thanks!
Hi Daniel, I actually think the dark floor hides dirt pretty well (the only exception would be large clumps of dog hair). I think the issue has more to do with the finish – we have a rather matte wax finish so you don’t have the reflection that you’d get with a high-gloss or even semi-gloss poly finish.