In January, we did a post about lighting choices for our soon-to-be-demoed spaces. Since then, we’ve purchased the island light and the reach lights for over the kitchen counter. We’re still planning on this drum pendant for the dining table, and some simple can lights for the ceiling adjacent to the bedroom and bathroom.
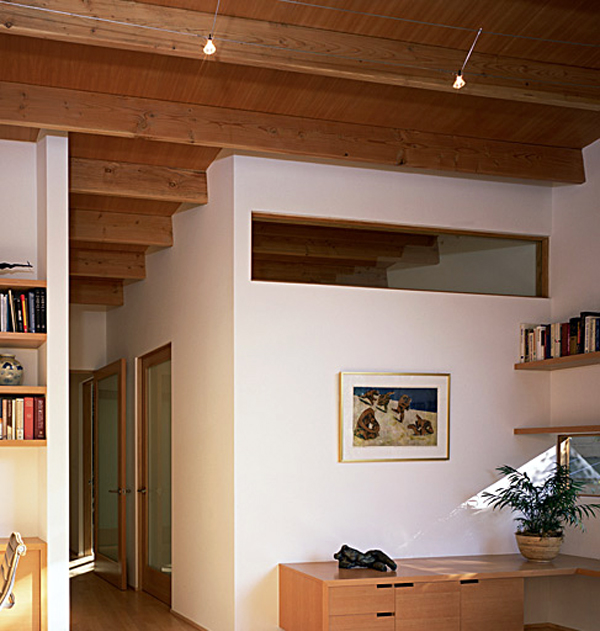
For the living room lighting, we wanted something that would integrate with the exposed structure but not be too visually heavy. We looked at Bruck and Techlighting, which both offer modern, low-voltage linear systems. Ultimately, we ended up picking a Kable Lite system from Techlighting. The installation will be similar to this, but the joist spacing and cable spacing will be tighter and the cables will run within the joist bay.
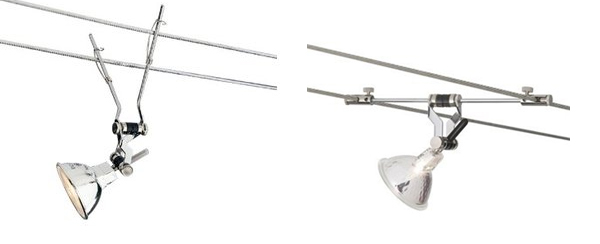
We’ll have two runs that span from wall to wall and each run will have 4 lights. We’re deciding between these two options. We like the simplicity of the one on the right, but we might need the extra vertical drop in the one on the left since the cables will be slightly recessed above the bottom of the joists.
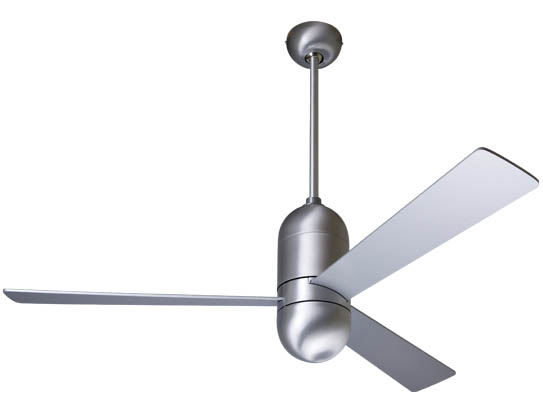
We’ll also be buying a fan to go in the new stairwell. We’ll do a similar configuration to our bedroom fan (the Cirrus style by Modern Fan Co.) but with a down rod and no light (so similar to the image below but with maple blades).
For the loft, we decided that we would install a switched outlet (with the switch at the top of the ladder) with the thought that we would have some type of small wall sconce or desk lamp instead of a ceiling fixture. We’ll also just pre-wire for some type of ceiling fixture in the 2nd bedroom, but aren’t going to buy that just yet. The only thing left on the lighting list is under cabinet lighting in the kitchen. Since we only have one wall of upper cabinets, we really don’t have much under cabinet space, about 30″ on each side of the vent hood. Most under cabinet lighting we’ve seen is bulky, clunky and just generally blah. To keep with the overall aesthetic, we really didn’t want to build a valence to hide said clunky lighting either. We looked for more minimal options, especially LEDs, but most were cost-prohibitive. On the verge of having to make an under cabinet compromise(!), our contact at Lighting Supply told us about LED tape lights.
Pretty sexy, huh? These “tape lights” are made by ET2 Lighting and consist of a row of LED lights on a circuit board type strip that is lightweight and adheres to the underside of the cabinet with simple 3M tape. The product line has a few different options that range in brightness and available lengths and most can be joined together to create longer runs. The power end of the strip is connected to a driver/transformer that is then wired back to the panel. In our case, the driver will go in the cabinet above the vent hood since it’s centrally located and will also be housing the duct for the vent. Even though we’d install the lights towards the back wall where they’d be less visible, ET2 also sells aluminum channel that can be installed on the outboard face to serve as a valence (the strips also come with protective plastic cover). We’re still working on final pricing for the whole system, but the general numbers are really not too bad and comparable if not less expensive than more traditional under cabinet options. Plus, the lifespan for LED lights far exceed that of fluorescent, halogen or especially incandescent and since these won’t be on all the time we’re expecting to go years without needing to replace them. Woo!
I just realized that the irony in this post is that we’re also proposing a major reduction in artificial lighting due to our new windows and skylights. But nevermind, there’s always winter…when darkness can come as early as 4:30. (I tend to repress that memory as we’re on the downward slope towards summer.)


