With the framing complete, we were finally able to start the deck boards last week. And you know what? It is taking forever. So we don’t have a completed deck to show you just yet, but we do have ample Bailey photos so we hope that will help fill the void. Metaphorically speaking of course, it’s not like Bailey actually helped fill any voids in our deck. As usual, his home improvement skills are seriously lacking.
For the decking material, we chose ipe (a Brazilian hardwood, pronounced “e-pay” ). Ipe is a good choice for a deck because it is durable, naturally resistant to rot and never has to be refinished (unless you want to). We used the same wood for our front stoop and have been really happy with it. The downside of course is that because it is so tough, every single hole must be pre-drilled and having quality drill bits is key.
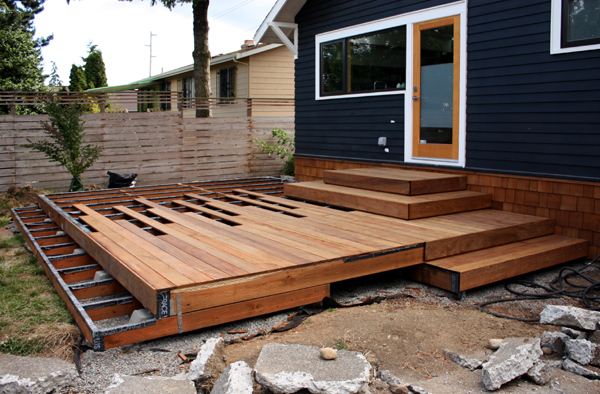
So last weekend, Kyle and Anton started with the upper two platforms that lead from the back door down to the main deck. We knew these smaller, more fussy parts would take longer and we were not disappointed.
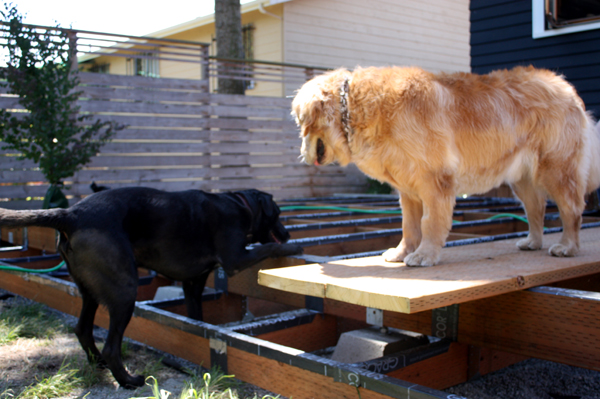
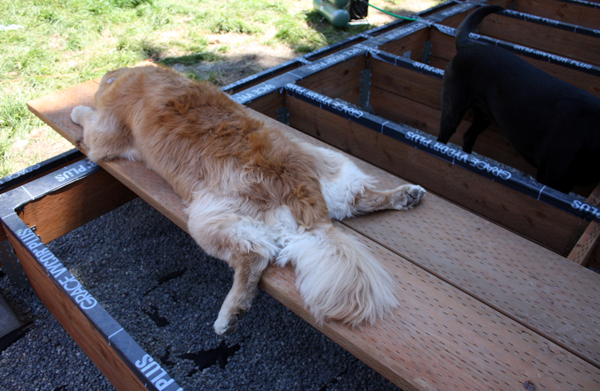
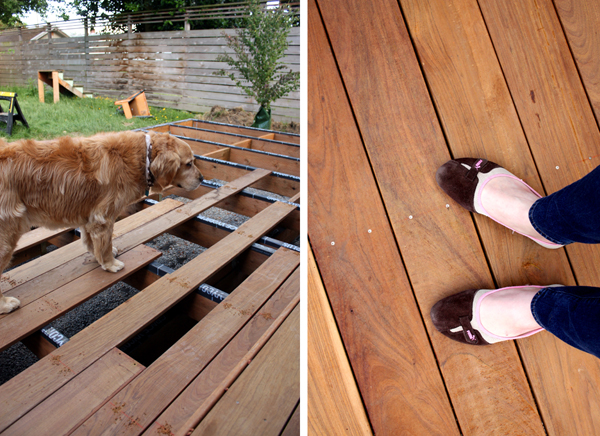
Fortunately, Bailey and his buddy Chase kept themselves entertained on the make-shift plank walk that was temporarily installed to access the upper deck levels.
Y’know, the ONE point of access to get from the yard to the back door.
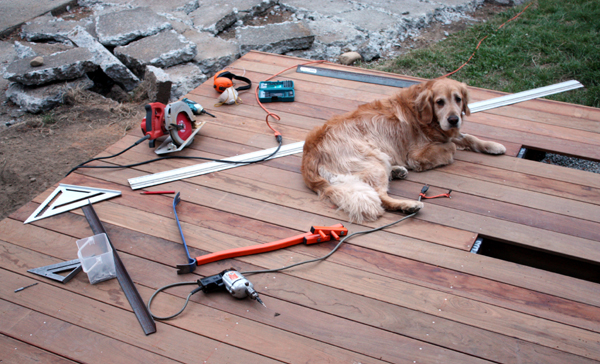
See what I mean? Lazy and obtrusive golden…
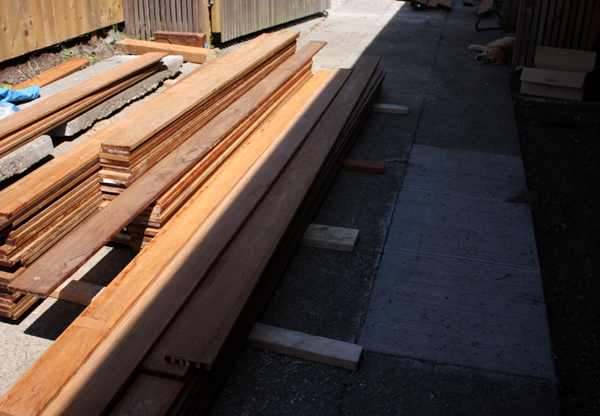
We bought our ipe (via Craigslist) from East Teak in Sultan, WA. Like most quality decking, ipe is not cheap, so we were intrigued to find that East Teak was selling their stock of non-perfect boards for about half the price. These boards were advertised as having imperfections in the wood (like splits, knots, etc.) as well as some bowing. Concerned about the appearance of the wood (and that it would be a total nightmare to install) Kyle drove over to Sultan a few weeks ago to check the goods out in person. The verdict? The flaws were minor and definitely worth the 50% savings.
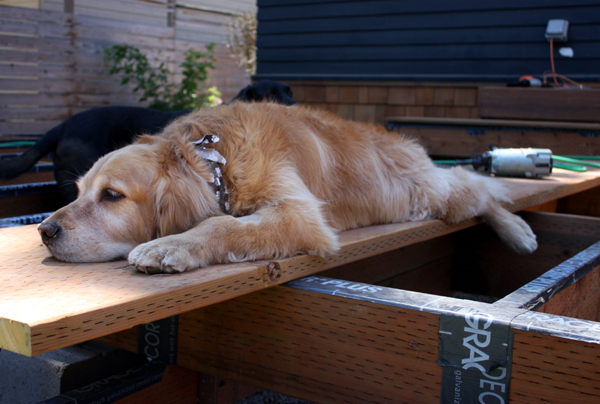
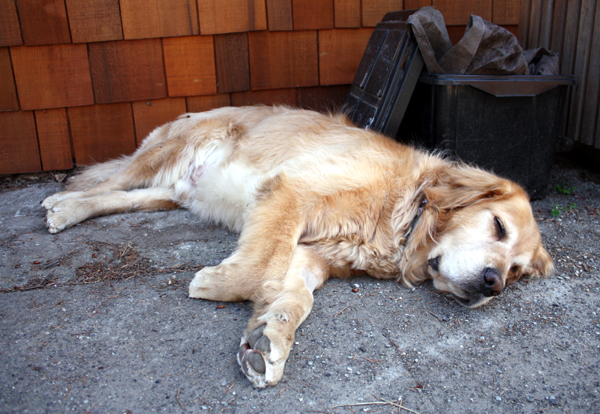
Progress was slow over the weekend and Bailey finally got bored and retreated to the side of the house for a little afternoon snooze by the trash can.
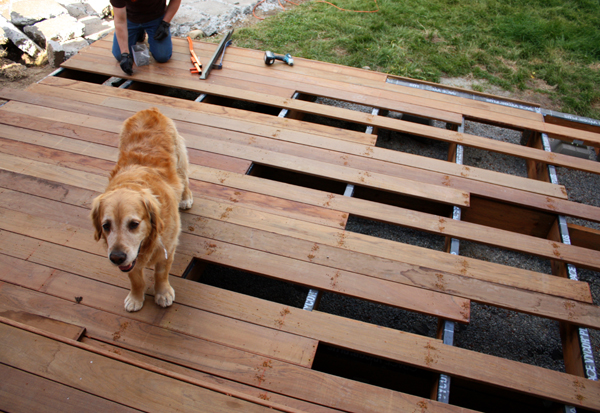
On Tuesday night, the first of the main deck boards were installed! After laying out the first row of boards, we snapped a chalk line at each joist location to mark where to pre-drill the holes and told Bailey not to walk on the loose boards. Apparently, he likes to live on the edge.
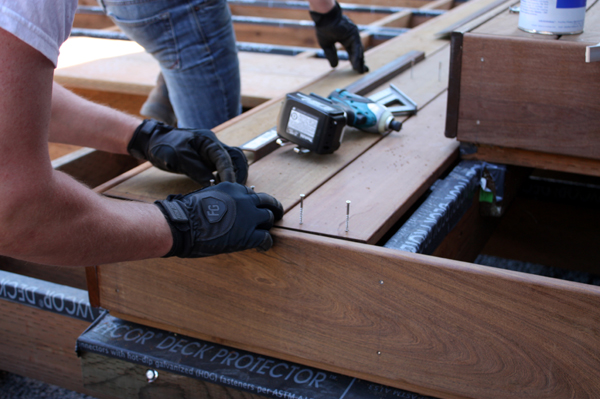
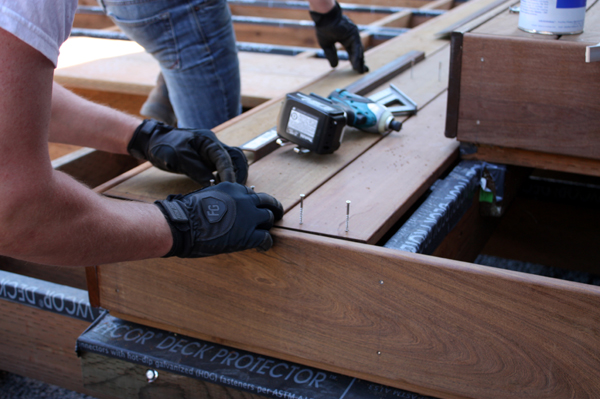
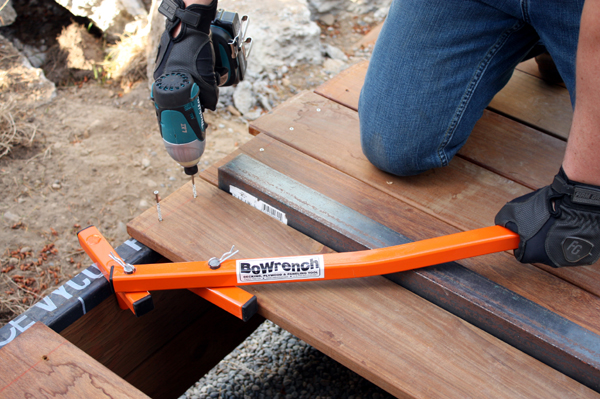
Since some of the boards are bowed, Kyle is using this fancy BoWrench tool (that he picked up at a local hardware store) to straighten out the boards. Basically, one end of the wrench has a saddle that sits over the joist and uses it as a brace to bend the deck board straight. Once the boards are screwed in (we used 316 grade stainless steel, 6-lobe screws for extra durability – we’ll show more detail photos in the next post), the wrench is removed and voila – straight boards! Also, instead of butting the boards together, Kyle is using a piece of 1/8″ steel as a spacer (providing a small gap between boards allows water to flow through but isn’t big enough to be a tripping hazard).
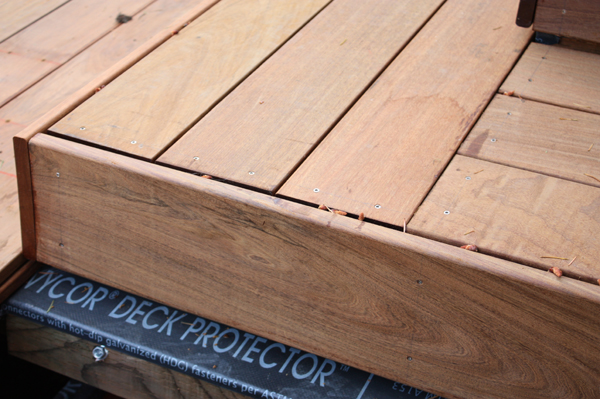
Here’s a look at the corner detail for one of the landings at the back door. The edge boards were installed to be flush with the top of the horizontal boards. This protects the end grain of the flat boards and also helps serve as a guide during installation. I’m a little worried about pine needles and other stuff collecting in this slightly wider gap, but in general we think it looks good and will be worth the trade-offs.
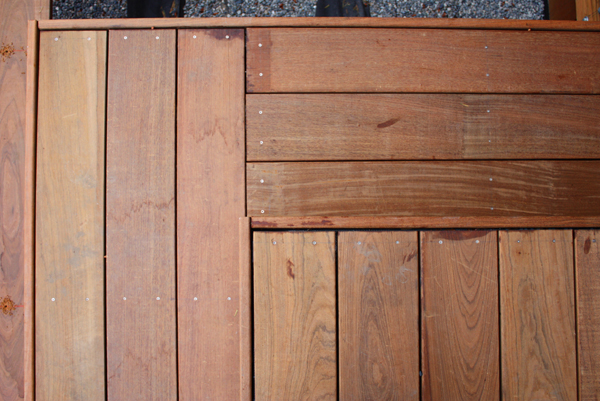
The color of the ipe really varies with how the sun is hitting it (and of course, if it’s wet). After everything is installed, we plan on sanding the wood and putting a protective finish on it. It’s not a routine that would have to be maintained (like cedar, ipe grays out a bit over time), but the process usually brightens the wood and brings out the reddish-brown hues that ipe is known for.
The cut ends of the boards are coated with paraffin wax as extra protection (you can see the still-wet evidence in the photo above).
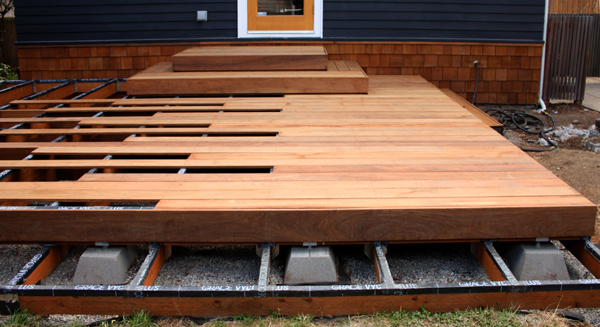
By dusk on Wednesday, about half of the deck boards were down and either screwed in or at least pre-drilled. To create a smooth border at the deck edge (on the left in the photo above) Kyle just ran the boards a little long and then snapped a chalk line and zipped the skillsaw across to create a clean edge. (We’ll eventually have a planter box on this end to hide the exposed framing.)
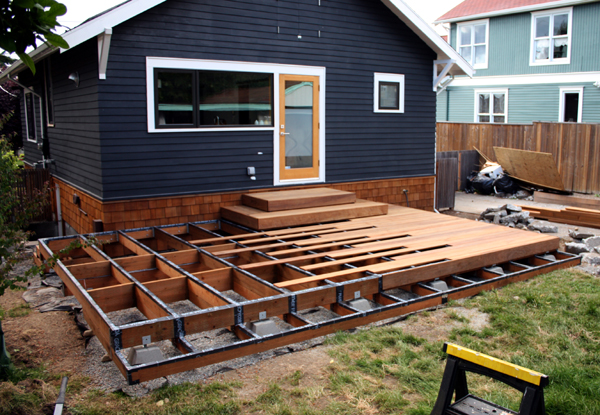
And here are a few shots of the current status:
(As a reminder, the deck was specifically designed this way to avoid guardrails and handrails that would otherwise be required by the building code.)
A cool art installation or a half-finished deck? You decide.
(Note: we put a lot of thought and research into the type of decking we chose and its environmental impact. I was going to talk about those decisions here, but thought it might worth an entire post. Stay tuned.)
Looks good… like everything you guys do. But hidden fasteners? No eb-tys? For shame.
yeah, we considered it but after seeing another architect friends ipe deck installed with the ebyty’s we decided not too, especially since our ipe boards had some bow in them. the ipe is so damn strong that after you bend it straight you have to really screw it down to keep it from bowing back, even a couple of the boards I’ve straightened have magically squirmed they’re way into a slight curve;) I think the ebty’s are great for softer more flexible composited decking though.
I’ve never had experience with ipe (well out of my price range – and sourcing it where i live would be a nightmare i would think) or ebtys for that matter. But now that you say that, it certainly makes a lot of sense as the tie really doesn’t fix the wood to the joist, but more clamps them down at each joist.
Have you seen the Kreg Deck Jig? I think if I built another deck would would spent the $100 and buy that thing. Much better than the concealed fasteners I used. Lots of drilling and moving and set up though.
BTW, i’ve never seen one of those Bowrenches before.. that thing is slick!
Ha. Our dogs are into the whole “planking” trend, as well.
Looks like it’s coming along great, so far!
Whoa, that looks so nice! Way to go, Team Chezerby!
Just one word (like always) AWESOME! 🙂
And I really need to upgrade my hubby and get me one of those “Kyle’s” LOL! 😀
Looks great.
And I must say : the goldens tend either put them selves in the middle project or on the other hand, they may be the cutes assistant supervisors ever.
Go Bailey! cheer our to Finnish girl retrievers who tend to participate in every project in our summerhouse…like digging up the flower beds or splash seawater on us when we were building a deck 😀
Following this with interest the wood looks beautiful. Ipe’s qualities are something else. I am really interested in how it’s attached but I would have to go with cheaper wood that’s available in my country Iroko is currently most popular.
Coming along great! Can’t wait to see the finished product 🙂
hope you got to enjoy it for the july 4th celebrations.
Gavin,
hadn’t seen the kreg jig. thanks! I like it, probably works best with 2x boards instead of 1x but I like that approach, thanks for the knowledge. the bowrench has saved this project;)
I’ve heard of iroko, only downside too it is that it’s dust is pretty bad to breath, just like ipe, so cutting requires a pretty good mask;) I think lauren’s going to to another post that will cover the install soon…
yep, just got back from a weekend at our friends beach house, it was a much needed break;)
Nice work. Looks really nice.
One question on decking: Did you consider a product like Timbersil?
Brian,
actually we didn’t, thanks for telling us about it. I’m going to start following this product a bit more closely, My initial thought is, how hazardous is it to cut?
Kyle,
Good question. I don’t have any direct experience with the product and haven’t heard second hand about its workability. Though it is definitely an interesting product. I wonder about its stainability.
the deck is looking great. we used tigerwood for our decking because it was a bit cheaper and looks just as good… well in my modest opinion ; )
but the real star of the show is your cute pup Bailey! that dog is adorable!
[…] we got close. […]
First off, great blog! I’ve been remodeling/finishing our Camano Island home for the last 10 years and can relate. I read about your issues with the cork flooring and would like to offer another alternative. We installed cork for our kitchen remodel. After doing my research, I chose a product from durodesign. The tiles came unfinished for installation but included a water-base urethane (MP765) pad on finish. We’ve found it to be very durable in this high traffic area, and it even stands up to our enthusiastic boxer. The finish only needs to be reapplied once every 5 to 7 years. There is no need to strip the existing urethane, just sand with 220 grit, clean and pad a new coat on. It also dries fairly quickly, as I recall, I think it was dry in about 2 hrs. We looked at tiles from HD and Lowes, but my wife was easily able to scratch the finish with her highly technical fingernail scratch test. However, the samples of durodesign cork with the MP765 applied stood up to her test.
Awesome, thank you Craig! I’m definitely going to look into that now for other projects. While we love the CapriCork in many ways, it’s not as durable (or easily repairable) as we would have hoped.
Love the post. I am working on getting East Teak’s websites updated and love finding this type of customer content. Hope you deck is doing well! It looks great here.
Thanks
Paul
East Teak Fine Hardwoods
Quick question! How did you decide to lay out the ipe? Did you follow a pattern or do a random assortment? I am about to install kaya buta on my deck and don’t want all the seems to be in the same spot…. Thanks looks great!