Between travelling, skiing and recurring colds, work on the house has slowed down a bit lately. But we still made some good progress, like this:
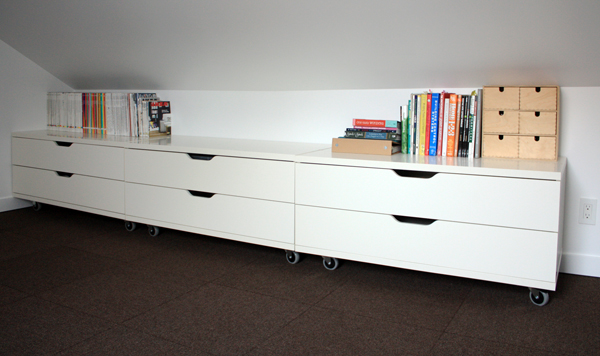
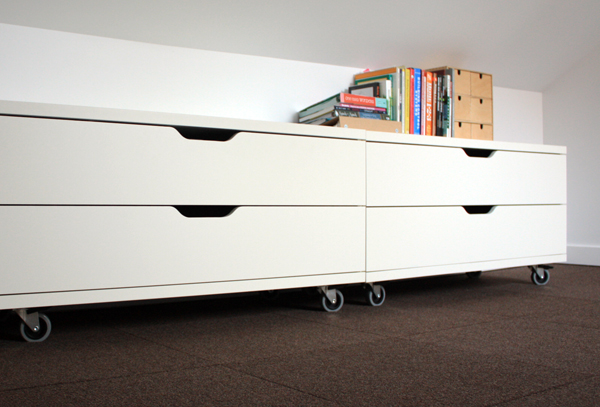
A big thanks to a few of our readers who had the genius idea of installing casters under our IKEA Stolmen units. (We considered steel hairpin legs or building a wood plinth, but the casters were easy and will allow us to more easily more the units around if needed.)
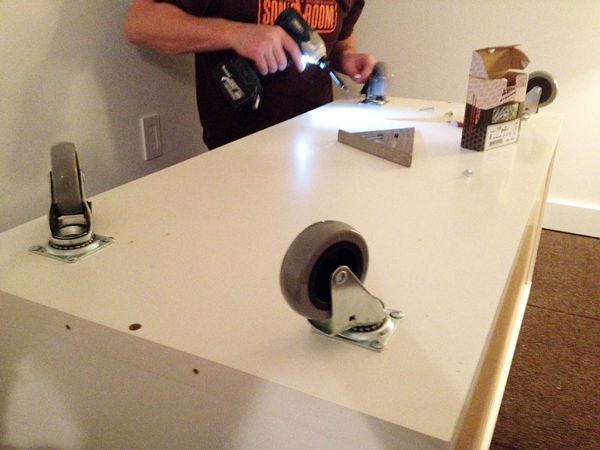
On Friday I headed over to Northwest Casters in north Seattle. I drive by this place all the time and had always been curious about what they had. Basically, I was looking for the cheapest wheels that were at least 4″ tall (so the units could clear the base trim). The least expensive wheels that would do the trick were rated for way more weight than we would need and were about $9/each. So on Saturday I headed down to IKEA (thanks to a tip from a reader) to check out the Rill casters. They were basically the same size as the $9 version but only $5/each. Score. Plus, these came with a detachable brake.
Because of the 360 degree swivel, we decided to inset them so no matter what position they were in, they wouldn’t stick out from the unit. The bottom panel for these units is one solid piece of fiberboard, so it didn’t matter where they went. Kyle used 1″ self-tapping screws for the job.
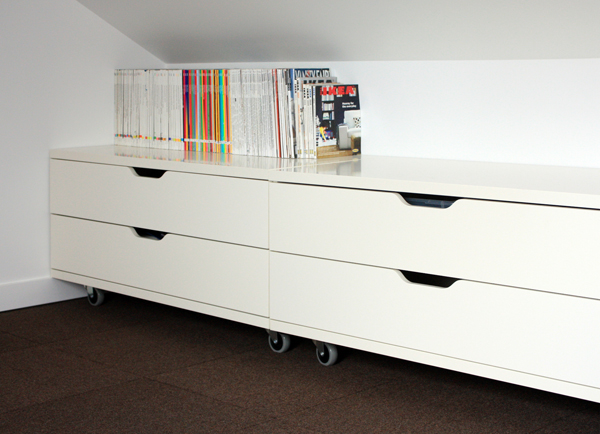
They turned out to be just about the perfect height, with the back of the units barely clearing the base trim. (A word of caution though, we had to be very careful to not knock the wheels against the floor when turning them back upright. On the first unit, we snagged one wheel and it easily ripped out of the fiberboard.)
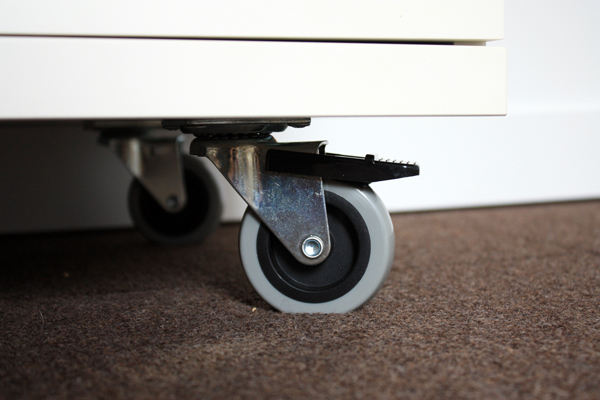
Here’s a detailed shot of the casters. We installed the plastic brakes on all of the front wheels to keep them in place (though it probably isn’t totally necessary).
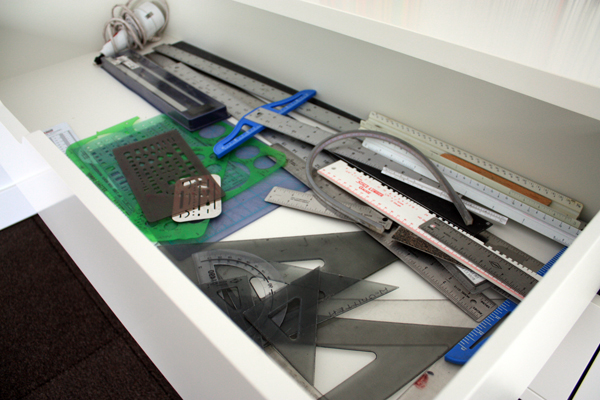
Next, I spent an hour or so filling up the drawers. This is going to be an evolving process as we figure out what we actually use and what we don’t. For instance, we probably don’t need this many t-squares, straight edges and triangles.
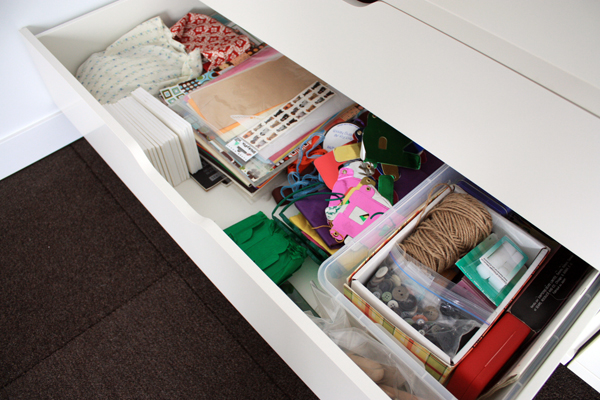
For now, I’ve dedicated one drawer to crafts, sewing and wrapping supplies. Obviously, I need to up my crafty inventory.
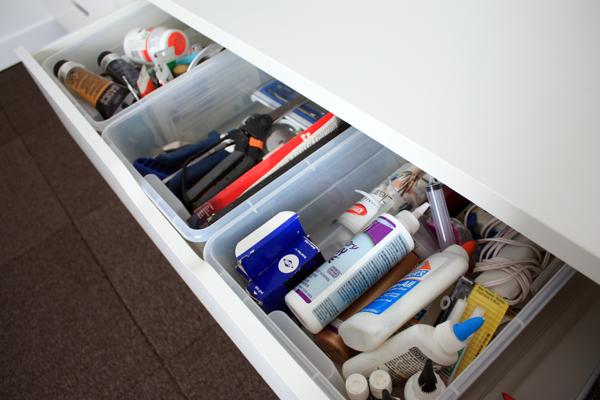
Another drawer became a home for paints, glues, tapes and cutting tools. Again, it’s probably more than we actually need so we’ll likely edit things down in the coming months.
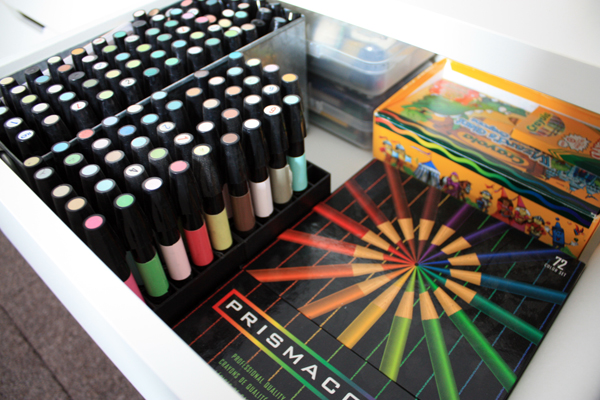
I organized the drawers based loosely on their proximity to the future desk area (with more frequently used items within closer reach). This drawer is dedicated to writing/drawing utensils. I know, what are the Crayola crayons doing next to the more dignified Chartpaks and Prismacolors? Well, as a kid I always put “sharp-tip crayons” on my yearly Christmas list. It became a tradition, with each year promising a bigger and better box. At some point the tradition fizzled out and this is my last remaining box. In a way it seems silly to keep them, but I rationalized that it’s now only a matter of time before I’ll be coloring with our kiddo. (Wow, that’s almost as exciting to think about as having a reason to re-read the Harry Potter series!)
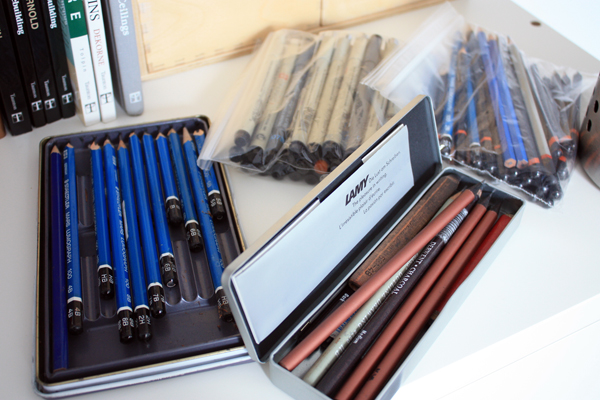
So wow, what’s a couple of architects to do with way too many sketch pencils and tech pens? It doesn’t seem right to get rid of them but we really haven’t used them in years. Although we still sketch, our graphite preferences have changed (Kyle likes the red ITOYAs and I’m a softie for the good old Dixon Ticonderogas). Maybe time to put together a care package for my youngest brother (who is a 2nd year architecture student)?
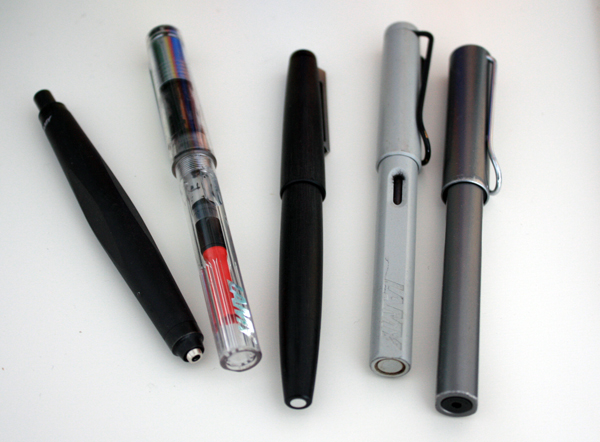
Ahh, I also unearthed the upper echelon of architecture school writing devices – Lamy fountain pens and those fat nubby lead holders (perfect for bold, I’m-a-badass sketching). A few of these even travelled through Europe with us nearly 10 years ago. Hello again friends.
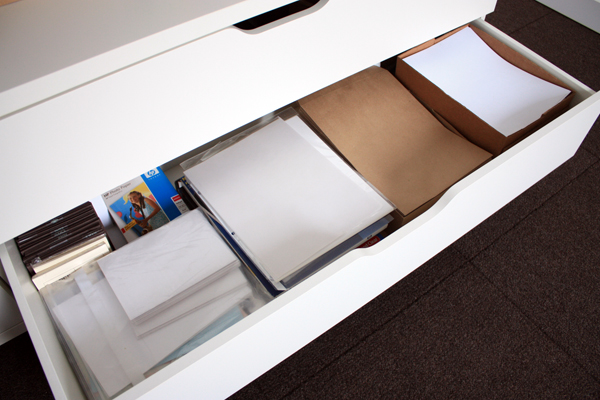
Finally, a drawer dedicated to envelopes, stationary and general paper goods. We’ll eventually locate our printer in the loft (it’s been in the basement since we moved in) and it will be nice to finally have everything in one place.
On Saturday we also headed down to Earthwise Salvage in South Seattle. We’ve been on the hunt for some boards that could be used as a desktop in the loft and so after finding a Craigslist ad for some reclaimed fir boards, we revved up Orange Crush (our work truck) and went to check them out.
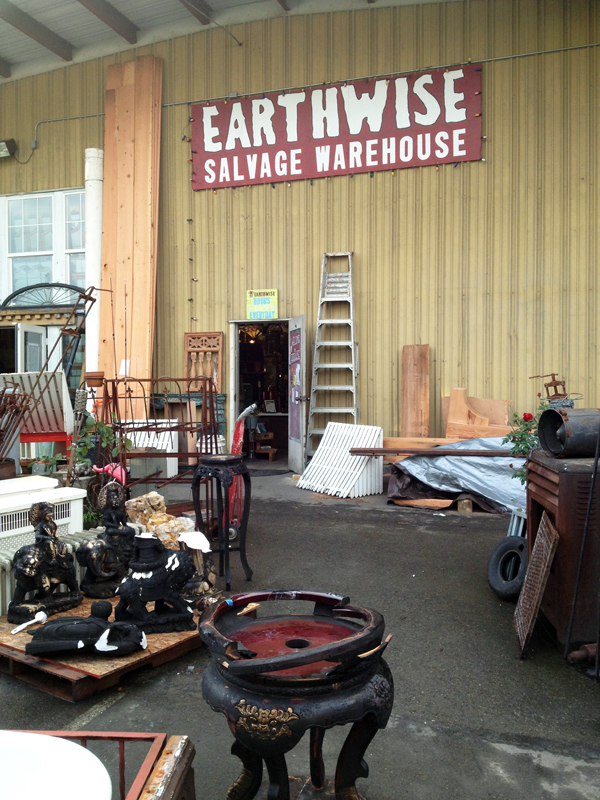
Seattle has a handful of salvage places and this one is by far the most eclectic.
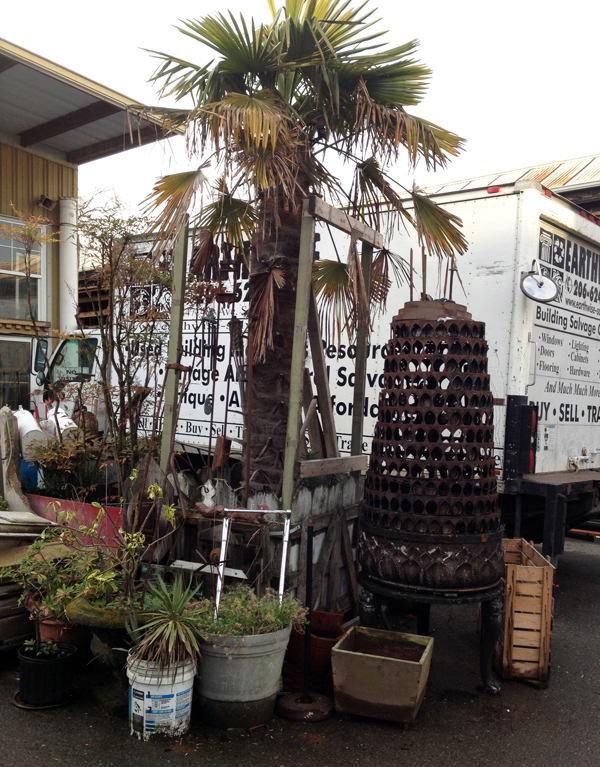
See what I mean?
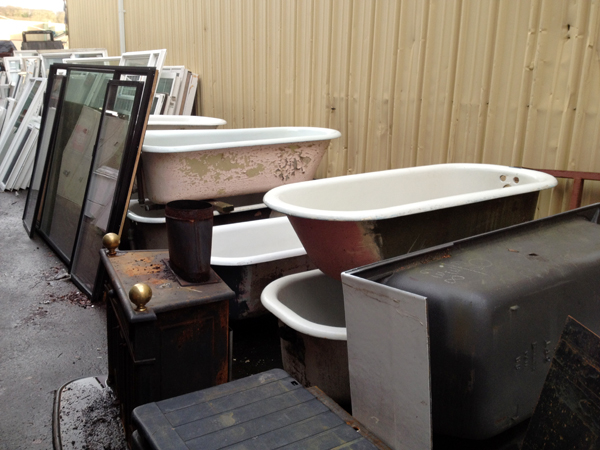
They also had a decent supply of building materials, mostly tubs, windows and old doors.
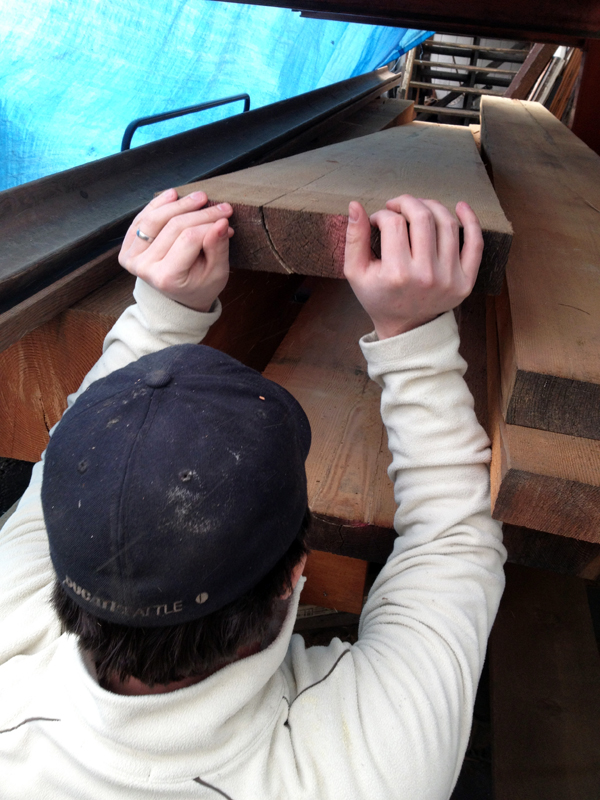
Hidden under a blue tarp, they also had a stash of reclaimed fir that came from an old brewery in Tacoma. We’ve been giving a lot of thought to what type of material we could use for the desktop in the loft. Ideally, it needed to a continuous length (the space is about 13′ wide) and thick enough that it could be supported on three sides so we could avoid any pesky legs or L-brackets. (Since the desk space will be multi-functional, we wanted to be able to easily switch between sewing, working on the laptop, etc. without banging a knee.)
So long story short, we culled through the stack and found the two best boards that were long enough and the same thickness. One is 14′ and the other 15′, so we’ll be trimming them down to fit into the space. The two boards will also be biscuited together to form a single desktop (similar to what we did with our kitchen island).
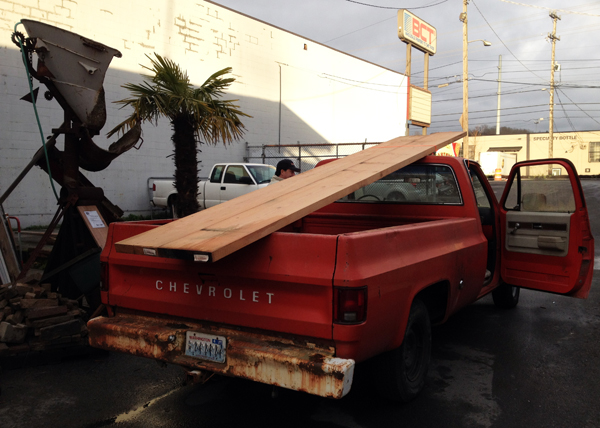
So how does one transport 14′-15′ boards? Tie-down straps.
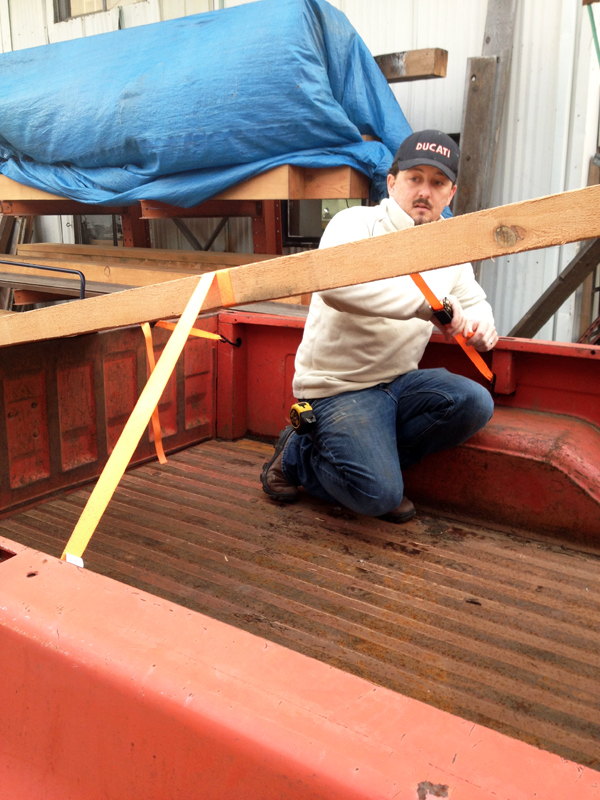
Kyle looped one set through the roof of the cab, another at the end and a third in the middle. The set-up was solid and we had no problems getting them back home.
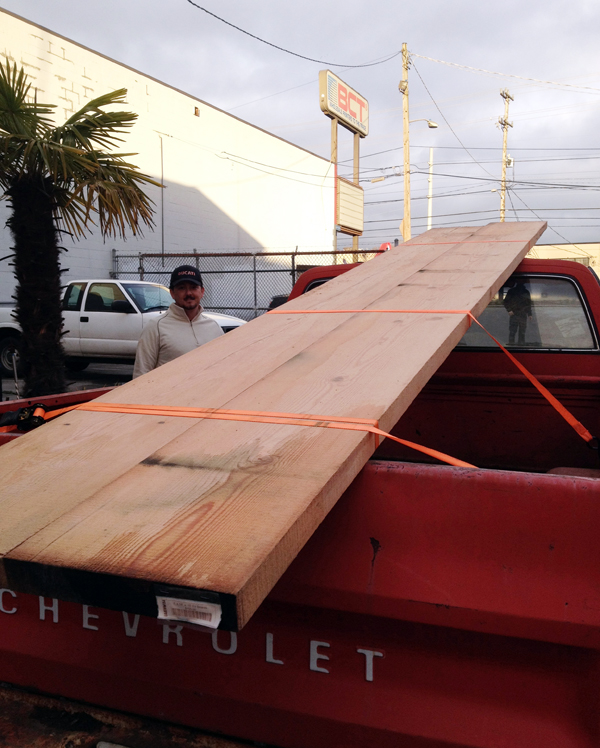
The boards will need to be trimmed (with extra care taken to prevent splitting) and sanded before they’re biscuited together and finally finished. It’s going to be a bit of a process, but we think they’ll clean up real nice. To create the floating look, we’ll likely use small steel angles (painted in our favorite gray primer) that are fastened to the wall framing. Project time!