Posts on the studio loft have been slow because progress on the desk has been slow. Last month we scored two reclaimed fir beams and a few weeks ago we showed you how we turned them into a solid desk and fabbed up some steel angle supports. The last remaining step was to fill any voids and apply the finish before the big install. We thought we could get it done in four or five weeknights. Well, easier said then done (which I guess is a recurring theme in home renovation).
The first step was to fill some of the splits and knot holes with epoxy. During winter we typically do finish work in the basement, but to keep me clear of any fumes Kyle decided to keep the job in the shop. Seattle is a reliable 46 degrees this time of year (give or take a degree), but it just wasn’t enough for the epoxy to cure properly. So we finally ended up buying a couple of radiators to keep the space at about 80 degrees. This did the trick and within a day or so Kyle go to work sanding the wood starting with 50 grit and working his way all the way up to 400 grit for a glassy smooth finish. Unhappy with the wavy surface achieved by his hand sander though, he started searching around for a local shop to do the job.
So last Friday he loaded the slab up in Orange Crush and took it down to OB Williams in South Seattle. Since I wasn’t part of this adventure, I’m going to hand the blogging reins over to Kyle and let him explain how it all went down.
First, a big thanks to Mario at OB Williams for really taking care in sanding this large piece of wood. I also got a full tour of their entire shop area which I must say is one of the most impressive woodworking places I’ve seen. Like Lauren said, while using a hand sander it’s nearly impossible to sand such a large surface perfectly flat without over-sanding in some areas which creates what is called “dishing” in the surface of the wood. This first photo shows the 52″ wide sanding belts that easily gobbled up our 27″ wide slab. The whole process only took about 30 minutes and we even changed the belts a few times for different grits.
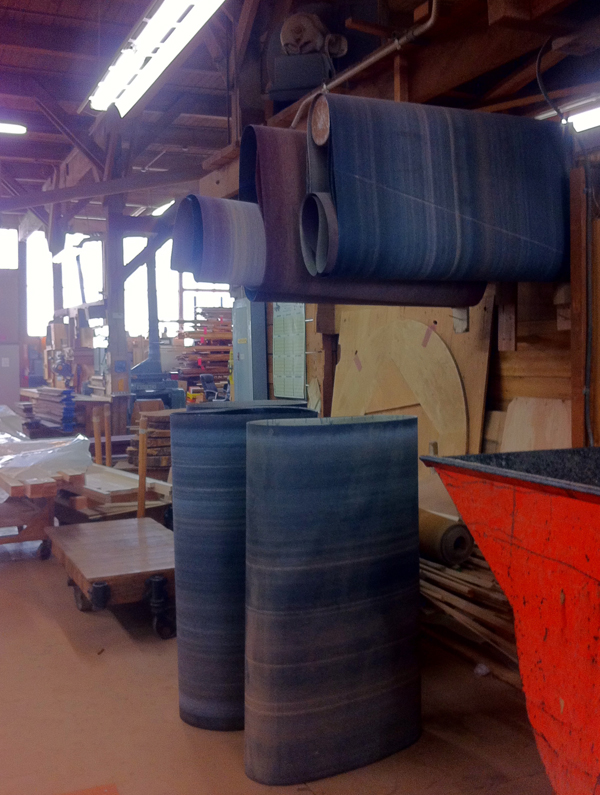
52″ wide sanding belts…that’s a whole lotta grit.
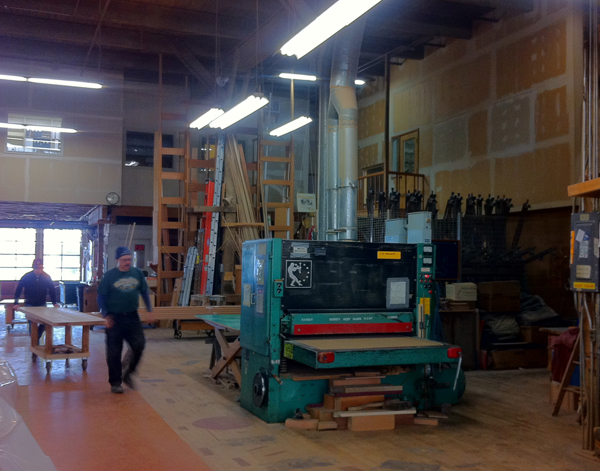
Here’s Mario and I carting the slab over to the machine feeder. That’s me in the back.
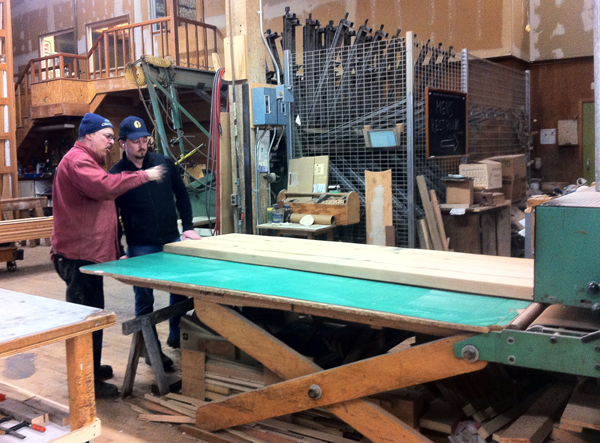
This was one of the first passes. The slab was actually warped a bit so it took several passes to get it flat.
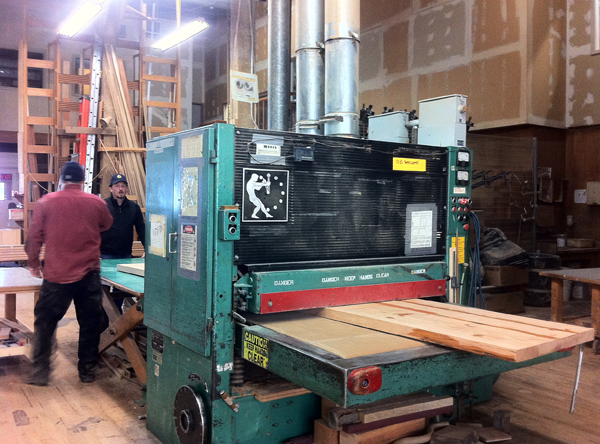
What appears to be wet spots on the slab are actually fully cured epoxy crack filler. The machine is auto feed so you just have to get it started then go to the other end to catch it.
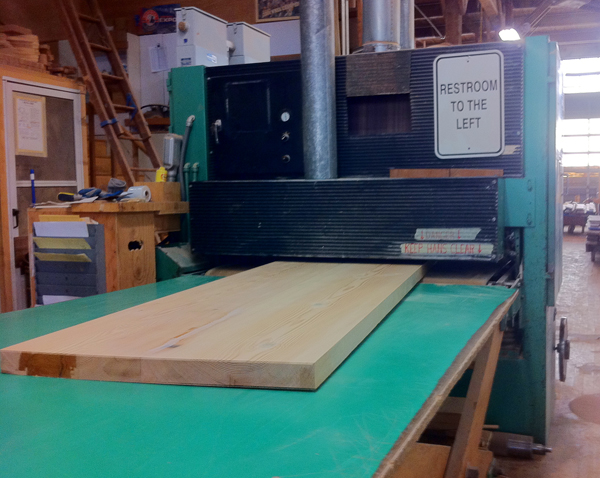
Here you can see how warped the slab was where it’s lifted off the table in the bottom right hand corner. All in all we made about 5 passes on the bottom and 10 passes on the top which got it sanded down to 150 grit. In total we removed almost 1/4″ in thickness.
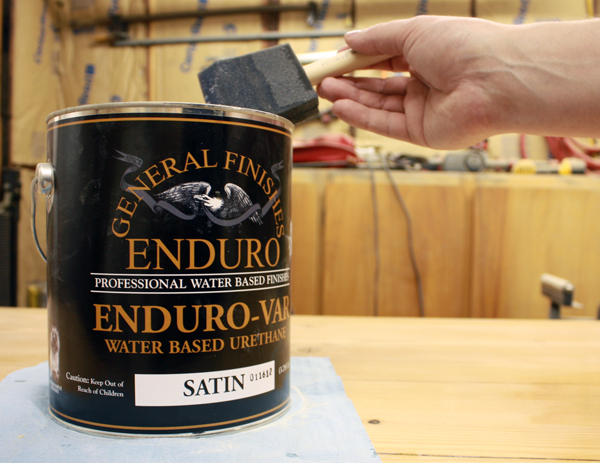
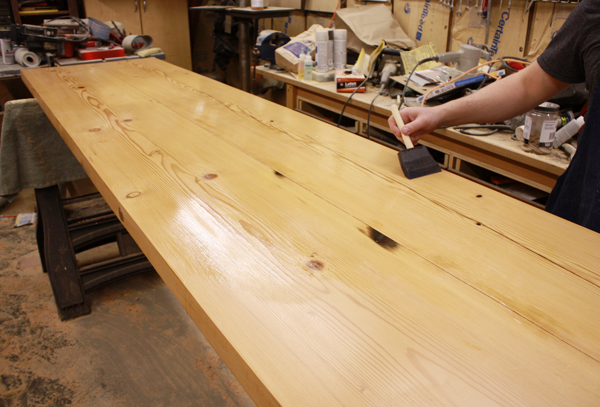
After doing some research on very durable finishes for a worktop surface we found this Enduro Varnish in a satin finish. It’s water based so it’s easy to work with.
I think this was about the 4th coat, I plan on doing at least 6. As soon as I can round up my guys we’re going to hoist it into the loft so Lauren can blog some more from her new desk. 😉 Really though, who needs a 13 foot long desk anyways? [Lauren’s edit: um, everyone?]
