What’s a good activity for a crisp fall weekend? Welding, naturally.
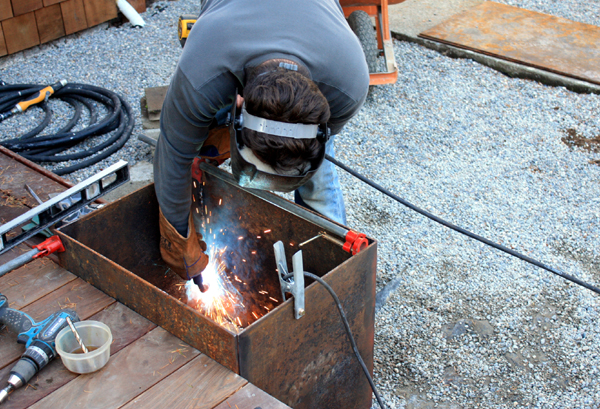
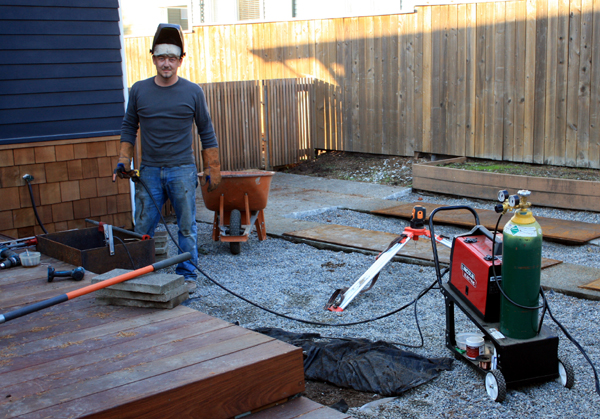
In our deck reveal post last month, we showed you the raw steel panels that we bought off Craigslist and had cut by a local sheet metal shop. Since then, they’ve been hanging out in the backyard, working on their patina. We had no real timeline for getting them built, but last Sunday (in a passing moment of boredom), Kyle got the itch to weld.
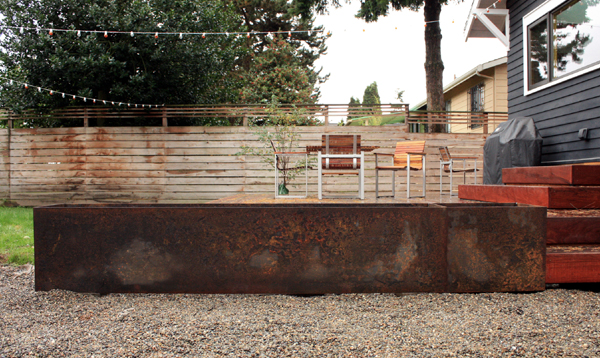
The boxes were designed to maximize the 4×8 sheets of material and limit waste. Since the north box needed to be about 10′ long, Kyle built one 8′ box and one 2′ box, the smaller of the two going in first.
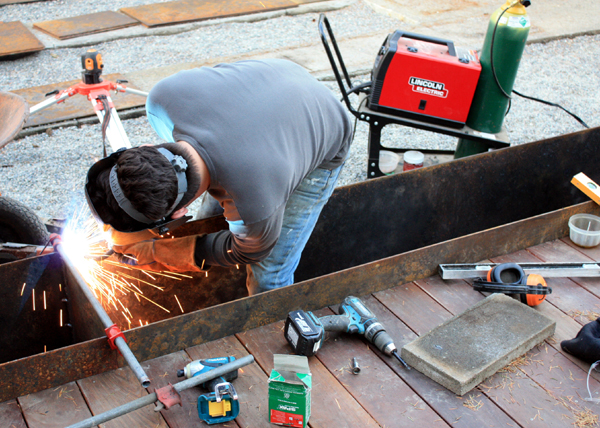
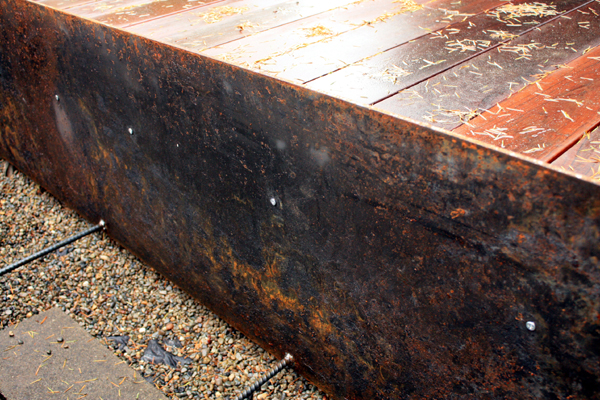
The root barrier and pea gravel run underneath the planter locations. Since it would have been impractical to build the larger box in the shop, Kyle just welded the four pieces in place. But first, he used the laser level to place small concrete pavers at the four corners, each at the appropriate elevation to ensure a flat base to build upon.
The great thing about these DIY planter boxes is that the welds are on the inside and since they’ll be covered with dirt, they don’t have to be pretty.
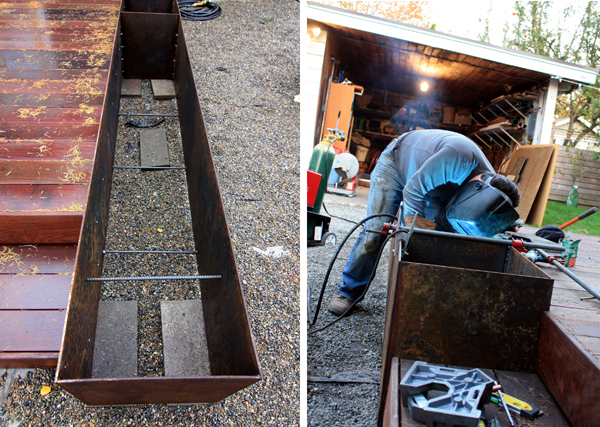
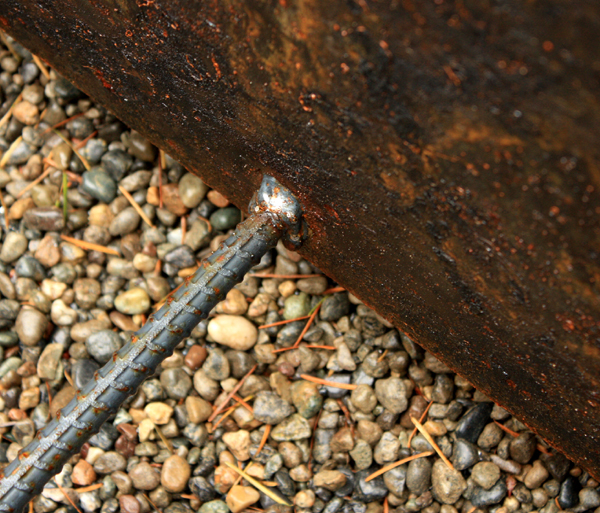
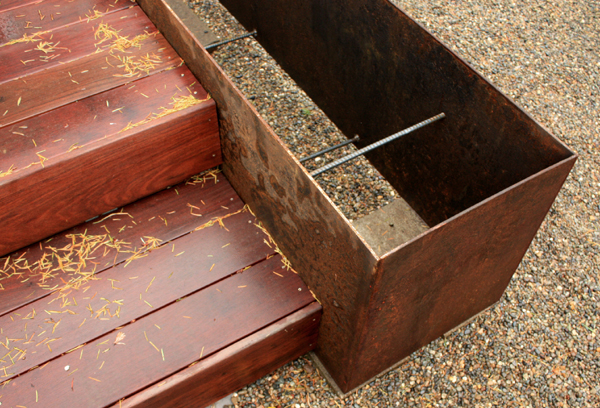
To keep the larger piece of steel from bowing, Kyle welded pieces of rebar (leftover from another project) at staggered locations to provide more rigidity without compromising future plant placement.
Finally, he attached the boxes to the deck framing with stainless steel lag screws. The boxes are heavy and would take a considerable effort to move, but we thought this step would help prevent them from settling into the dirt over time.
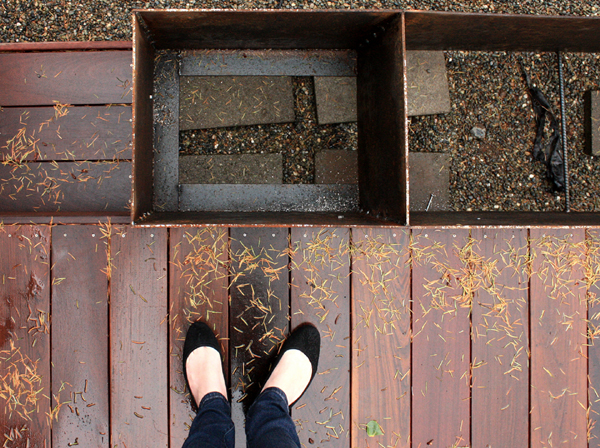
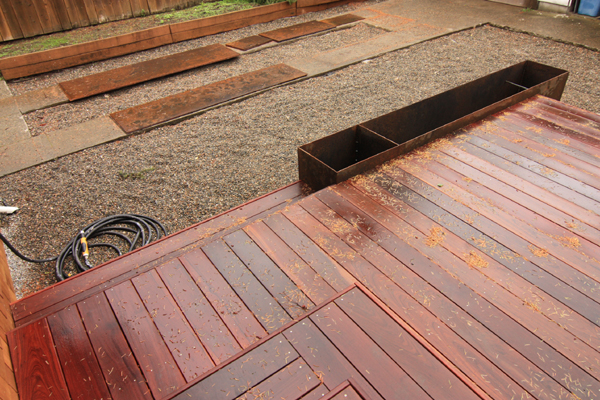
The smaller box was built in the shop, hence the steel plates at the base for extra rigidity. We’re thinking maybe a small ornamental tree here?
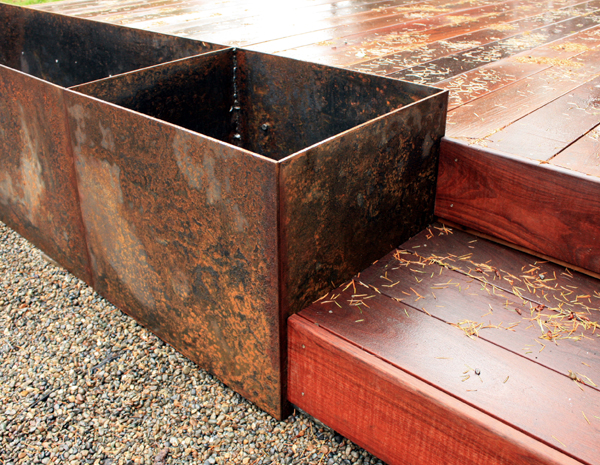
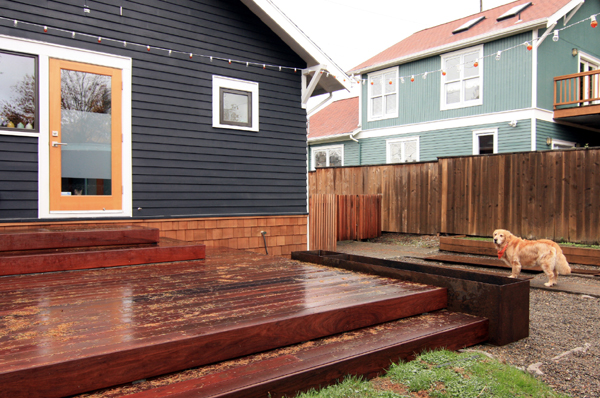
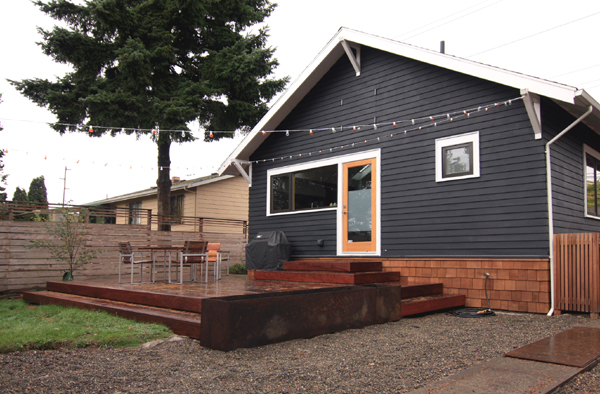
It’s always exciting when a project finally comes together. Ipe, meet steel. You are one sexy couple. Heck, even the pea gravel looks good. (Although, damn you needles. You’re not even from our tree!)
…and on the opposite end. Hello lovely.
In less than six hours, the whole thing was done. The steel has already rusted a nice amount since we brought it home and should continue to weather and change colors. (FYI – the steel is thick enough that it will take many, many, many years to rust through.) The slightly mottled look is due to uneven drying from some rain earlier in the day.
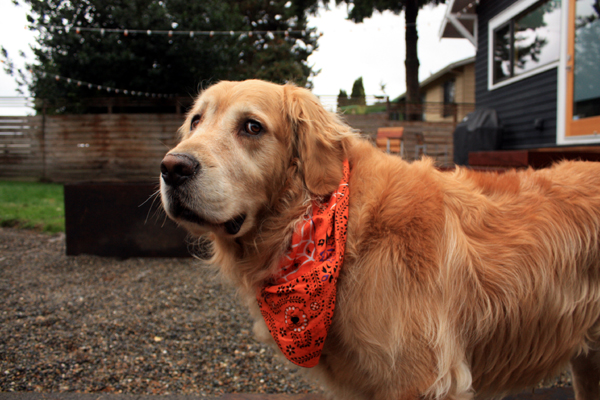
Oh. Excuse me – Bailey would like to interject and show you his new Halloween bandana.
Ok, moving on. The remaining steel is for the boxes on the other side of the deck, though we’re thinking we might need to build the awning first to make sure a certain rain chain detail is properly composed…
We also probably won’t fill them with dirt or plant anything until Spring, which should give us plenty of time to contemplate our options. Tall grasses? Edibles? Something that is resistant to death-by-zerbey?
At any rate, planter box #1 is done. Including the cost of the steel and cutting, the two north boxes set us back about $250. It’s not pocket change, but if you’ve ever priced custom steel boxes or even the small ones that some companies sell, $250 is a bargain. A bargain that should require zero maintenance. We like.
