New week, new progress. The World Cup has slowed us down a bit, but with games at 6:30 and 11:30, we still have plenty of day left to be productive.
Bailey, on the other hand, prefers to spend his weekend lounging in a pile of sawdust.
1. We spent most of Saturday doing electrical and installing the blocking for the steel ledge, but didn’t really take any photos. (I think I’ll have to take a more creative approach to documenting electrical because progress photos just aren’t that exciting.)
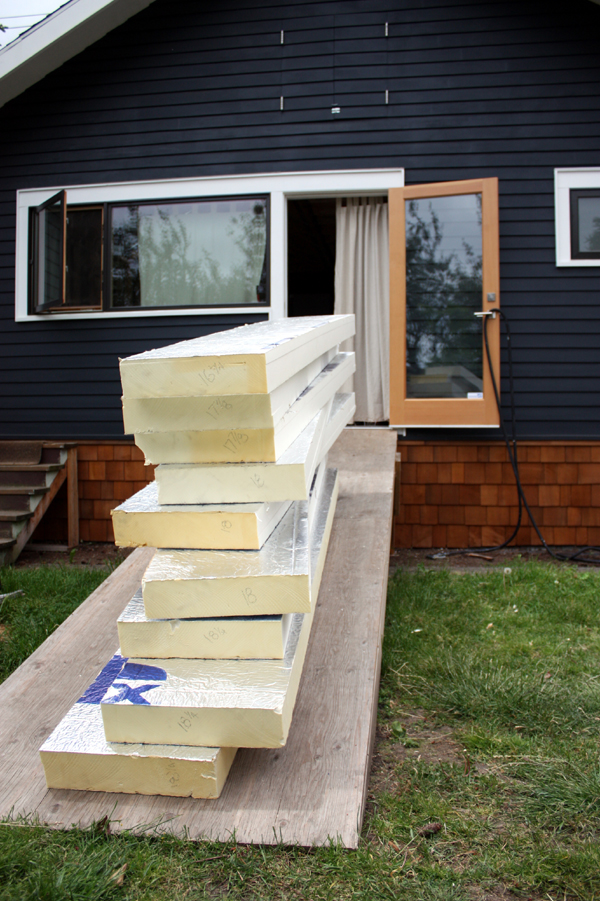
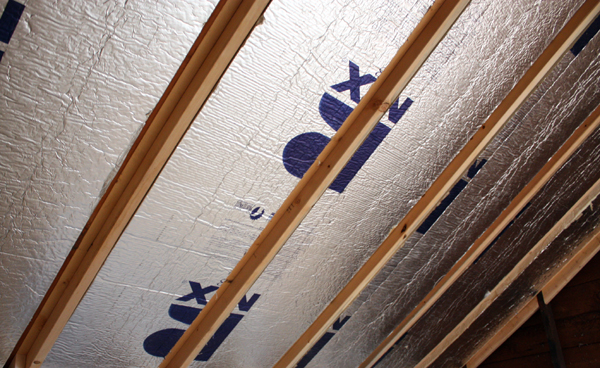
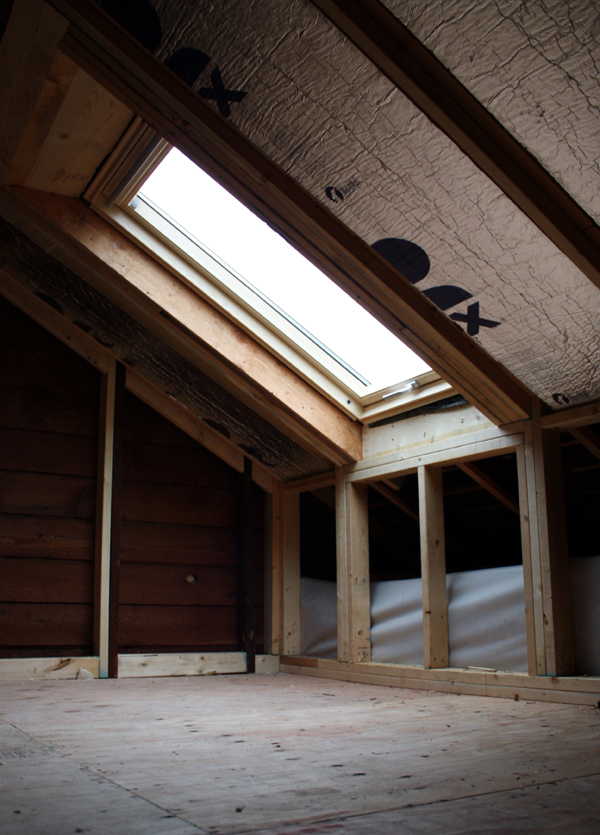
2. On Sunday I cut and installed the rigid insulation for the loft. The insulation comes in 4’x8′ sheets, so we needed to cut them down to fit between the rafter bays. We cut the ones for the vault by hand (as in, with a saw), but with about 3x as many to cut for the loft, we decided to give the table saw a try. Good thing too, it worked like a champ!
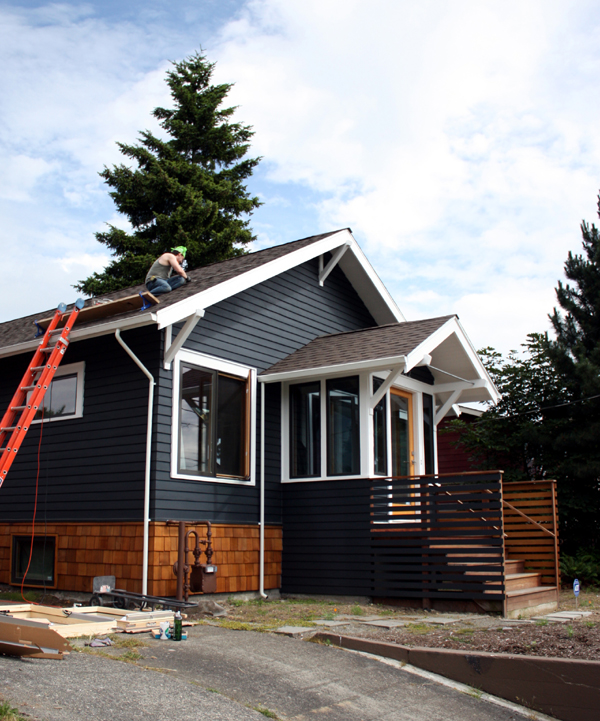
I installed most of the panels while Kyle worked on flashing the roof window (keep scrolling!). We’ve found that for us, this is really the best way to work – when we each have our own tasks but are within talking distance to ask each other questions/opinions (or to add or subtract fractions, which we are getting pretty fast at!) or hand each other tools.
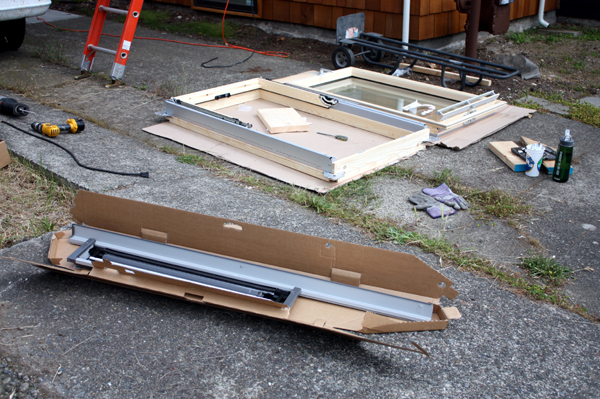
3. Ahh, the roof window. It’s probably a good thing we didn’t attempt this on a weeknight because it was a bit more involved. After opening the package, we first had to detach the window from its frame (to make installation easier), which proved to be the hardest part of the whole process. The directions were IKEA style, with no text. Eventually, as seen the picture below, we figured it out.
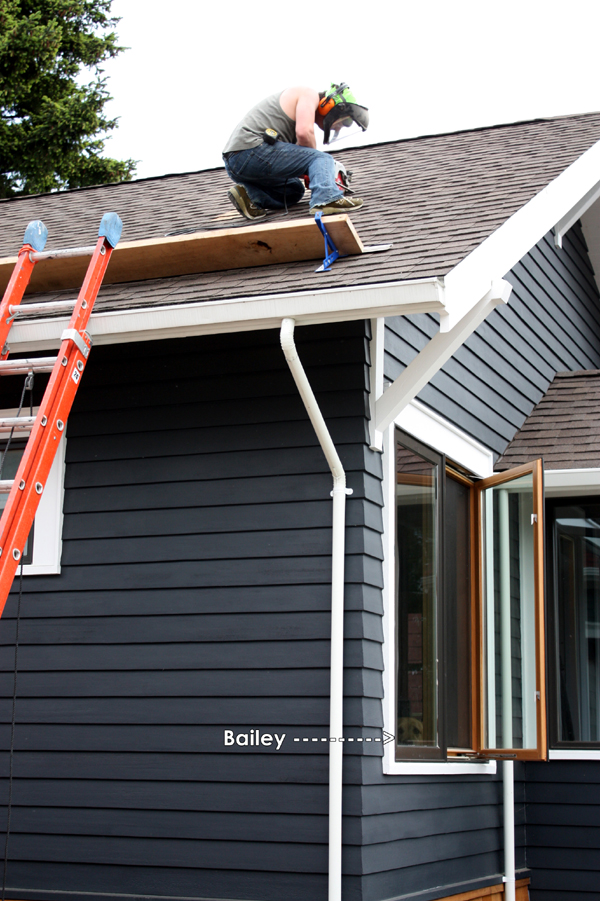
Next up, cut out the roof.
This picture isn’t that exciting, but I love that Bailey finds his way into so many shots.
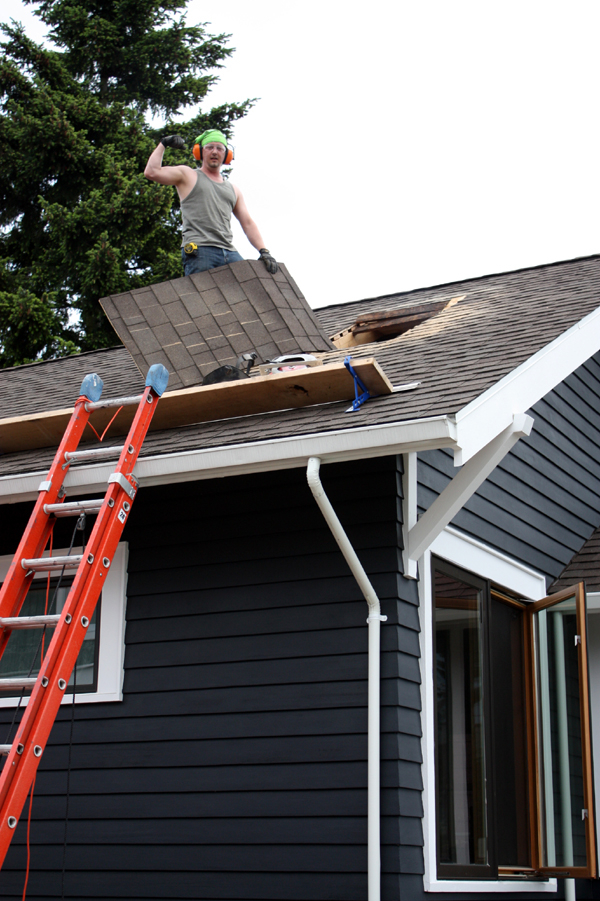
After the cut, Kyle extracted the roof chunk.
Piece of cake, really.
Orange Crush, our mobile dumpster….
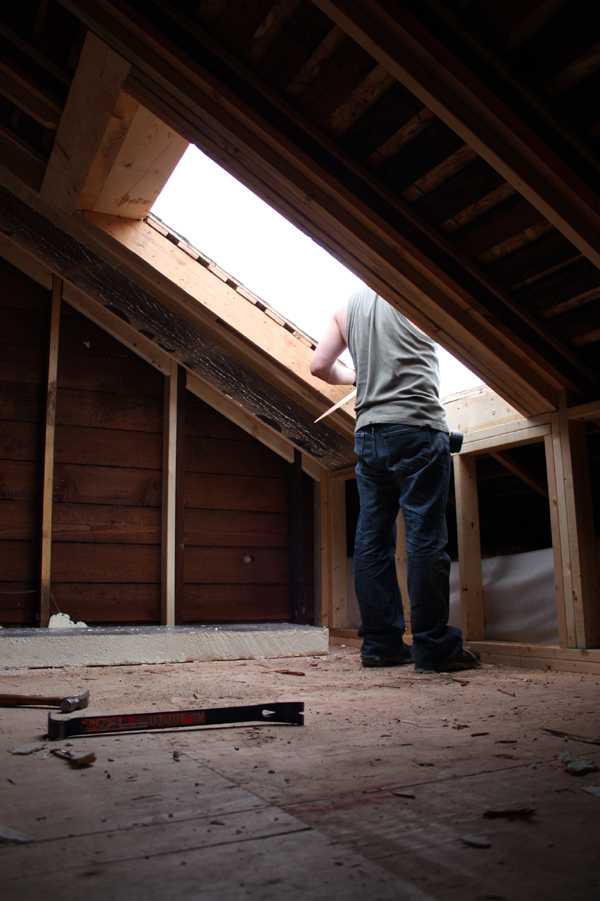
Instant light and ventilation (phew! No more sweat box!).
Next, Kyle installed the sticky flashing around the framed opening, then the window frame, then the window itself. The final, and most tedious part is the exterior flashing which involves peeling up the surrounding shingles and then installing a literal kit of parts that comes with the window.
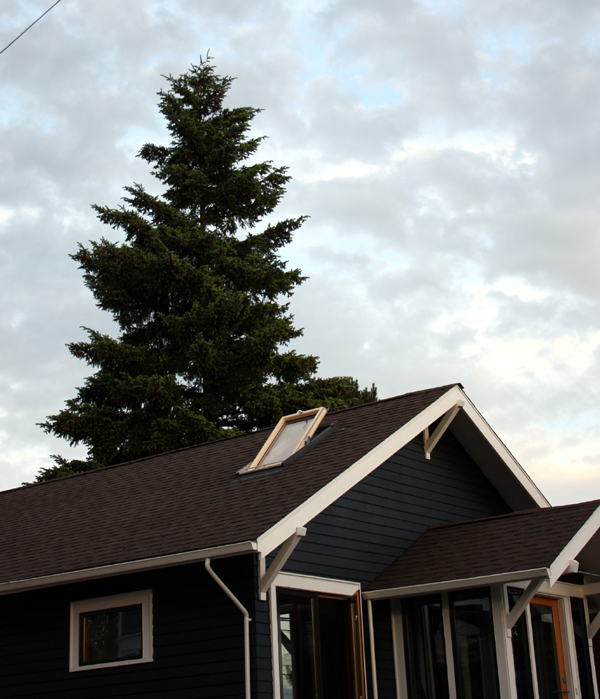
But when it was all said and done, we had a new window!
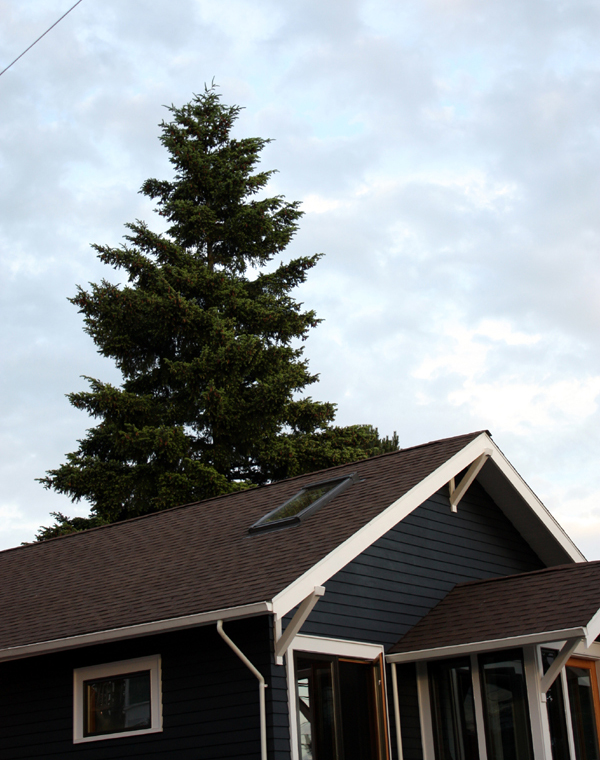
The window actually pivots about the center of the frame…
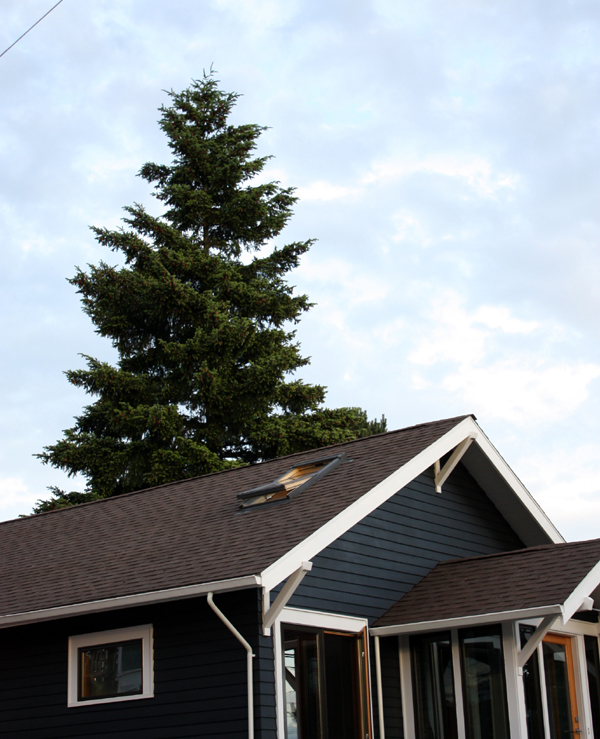
….leaving enough room for someone to escape in the event of a fire (needing to then jump off the roof is another matter).
The unit rotates almost 180 degrees, which makes cleaning the outside of the glass a fairly easy process. The window can also be locked in this position.
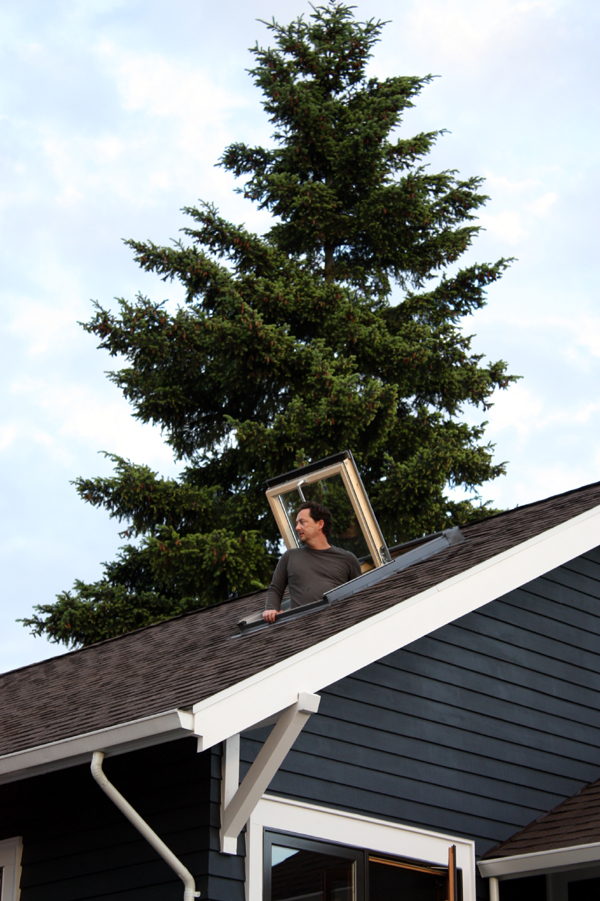
Here’s a view from the inside. The top flap also hinges down, and serves as a screened ventilation slot if you don’t want to open the whole thing. (We also bought an insect screen that we’ll install later.) All in all, it’s pretty freakin cool.
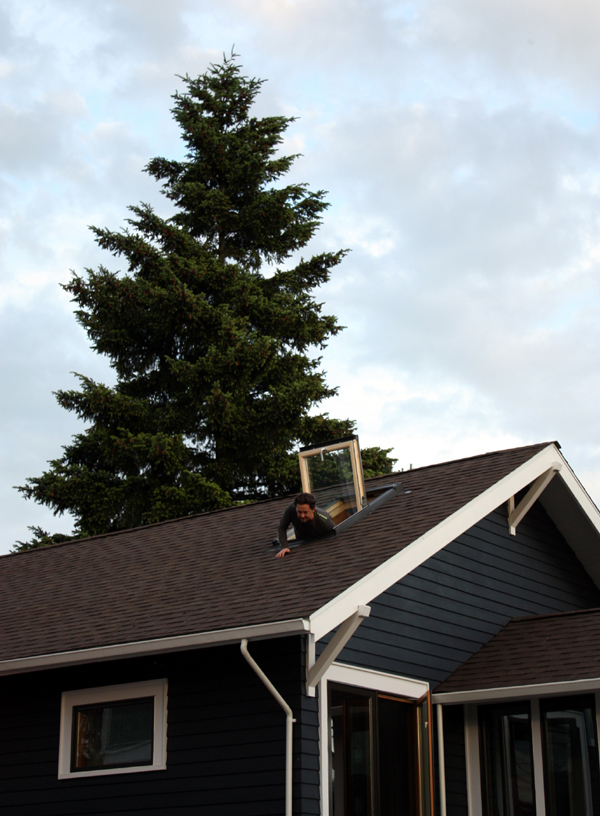
An additional perk – neighborhood lookout.
That’s it for this week. We’re starting to look at dates for framing, electrical and plumbing inspections (we’re planning for all 3 on the same day since one of us will have to take off work), so hopefully we’ll have the sign-offs by early to mid July(!) and then we can finish insulation.
And then…drywall.

