During the design phase for this project, we thought about doing custom or semi-custom kitchen cabinets. After a lot of research and soul-searching, we decided on an IKEA/DIY (let’s call it IKEADIY) hybrid approach that would use IKEA base cabinets and wall cabinets with a few custom wood shelving units thrown into the mix.
Truthfully, I’ve been a little nervous about the DIY part because we’ve never really built custom shelving before (and when I say we, I mean Kyle). But I should have known not to doubt Kyle’s skillz. I don’t have the patience for this type of project and so I am very grateful that he does. He’s built two of the four shelves (plus the cabinet wrap) and it’s gone rather smoothly with hardly any hiccups.
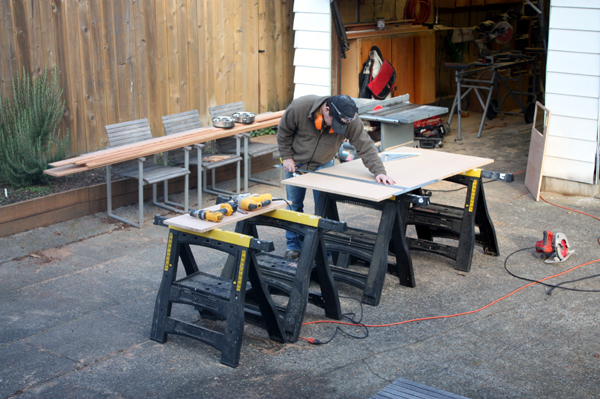
The first step was to cut the basic pieces from larger sheets of fir veneer plywood.
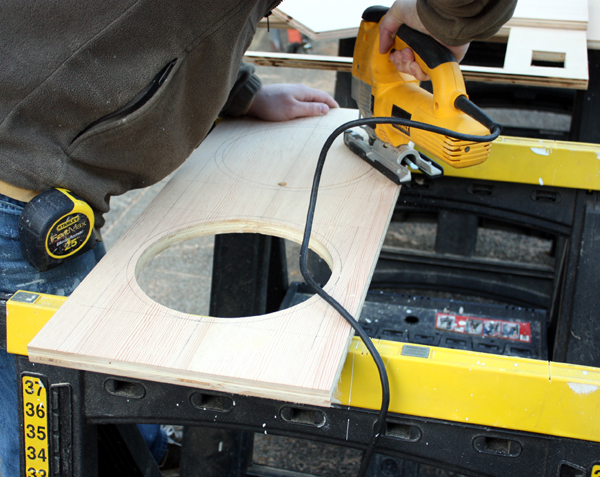
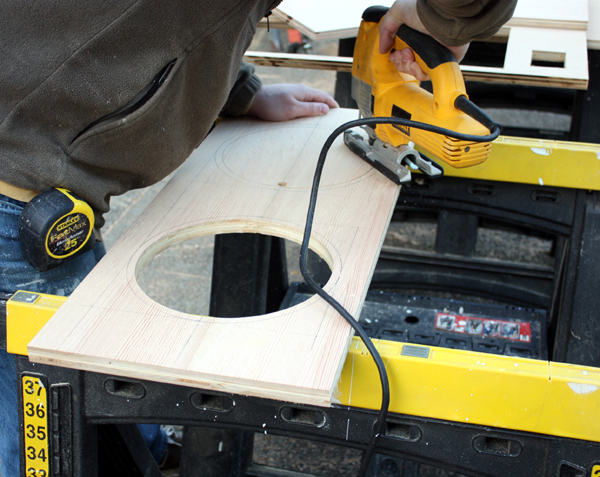
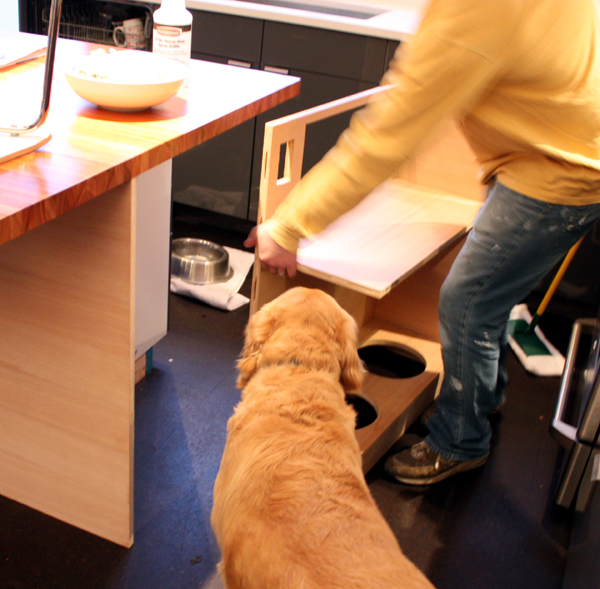
For Bailey’s custom dog bowl holder, we used the bottom of a tart pan as a template and a jigsaw to cut the holes. The diameter of the tart pan was just a tad bit smaller than the diameter of the bowl, but this ended up working nicely as the lip of the bowl is about 1/4″ above the shelf, making it easier to pull the bowls out.
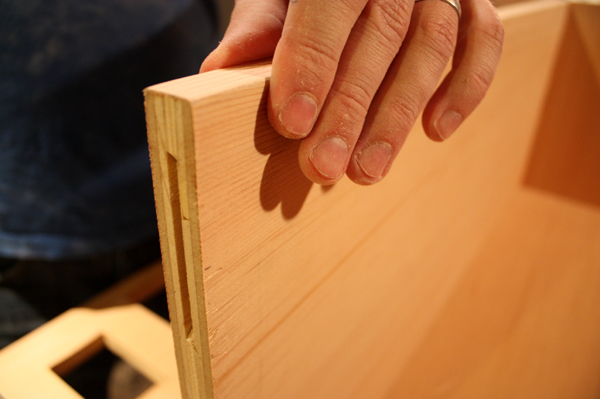
All the joints are glued and biscuited, so there are no fasteners.
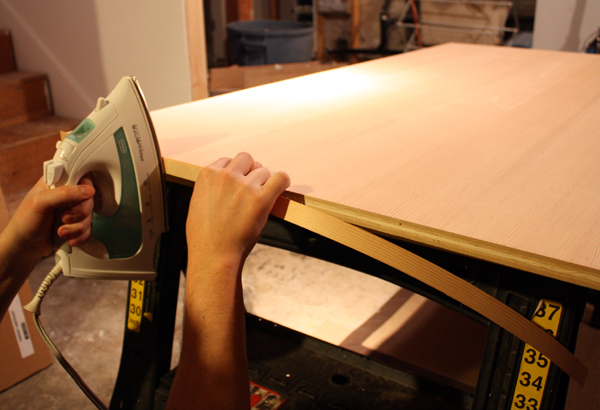
We chose to apply a fir edge band to the exposed plywood edges. Normally, we like the striated edge of nice, cabinet grade plywood. But nice, cabinet grade plywood is expensive (and typically maple). So – edge band. The edge band comes in a roll and has an adhesive backing so you simply iron it on.
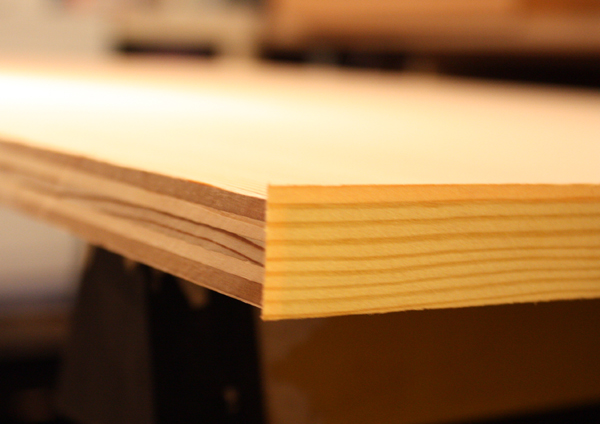
Here’s a close up look of the exposed plys compared to the (yet to be trimmed) edge band.
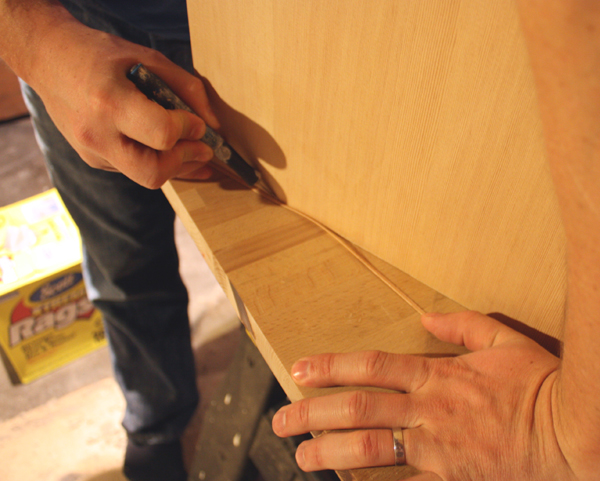
After the band was adhered, Kyle flipped the shelf over and trimmed any excess with a sharp Exacto knife.
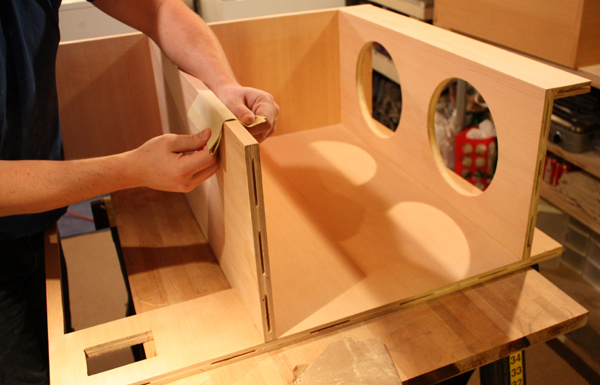
Then he sanded it down which created a bit of a rounded corner where the two faces meet. This step was really effective in blending the two materials and giving the apperance of solid wood.
Before applying the finish, we dry fit the built unit to make sure everything was going according to plan.
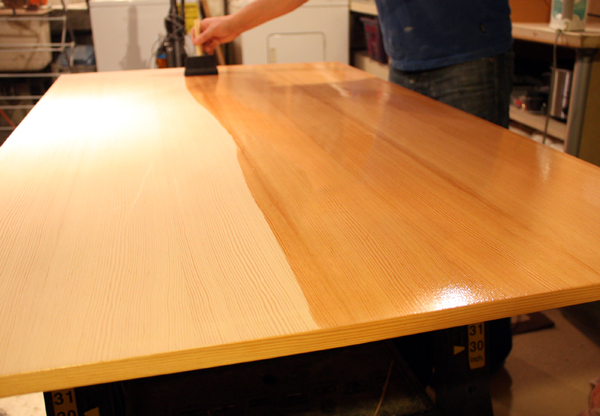
Next, Kyle applied one coat of wood conditioner and two coats of polyurethane to all of the pieces.
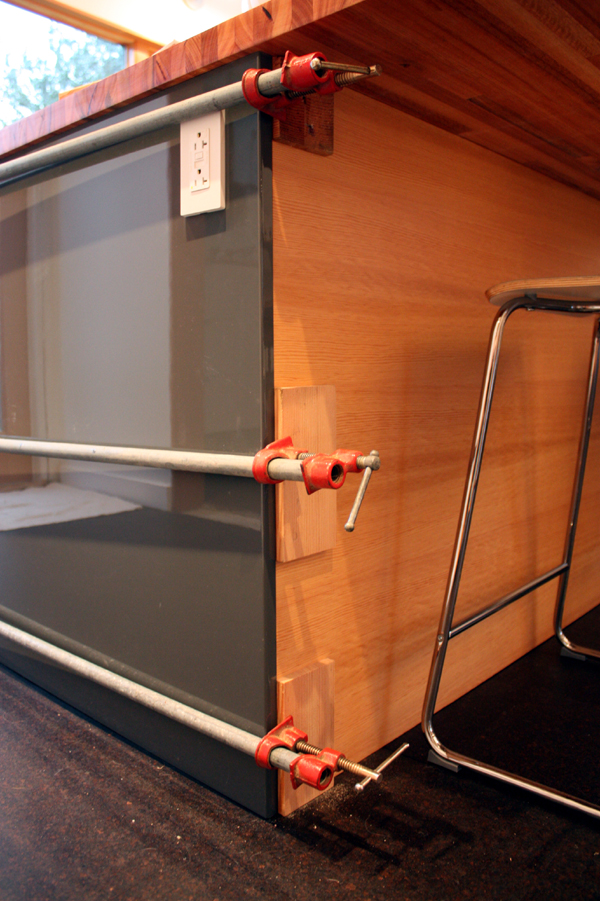
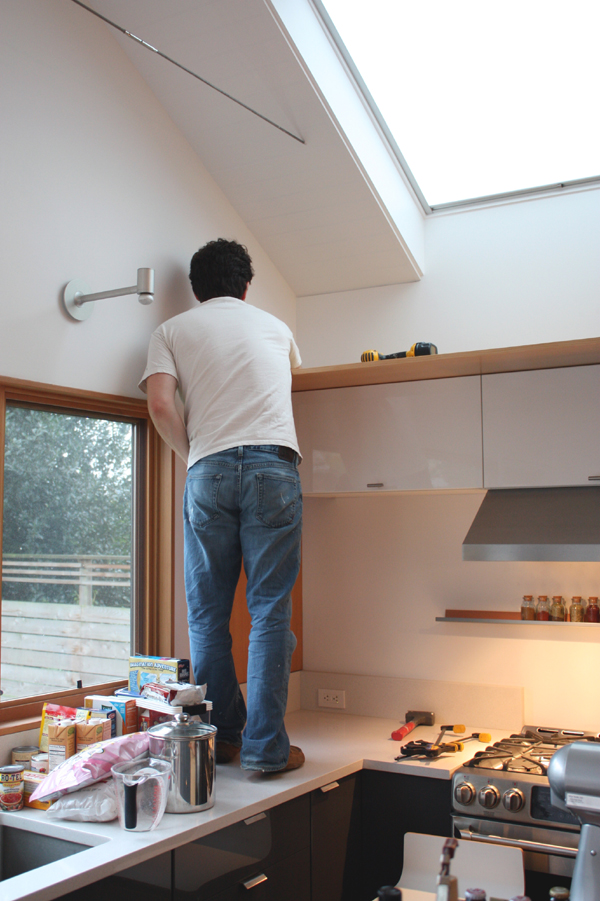
Finally, it was time for installation. High gloss IKEA panel, meet DIY fir panel. You are now best friends. (The fir panel at the island was glued to the pony wall behind.)
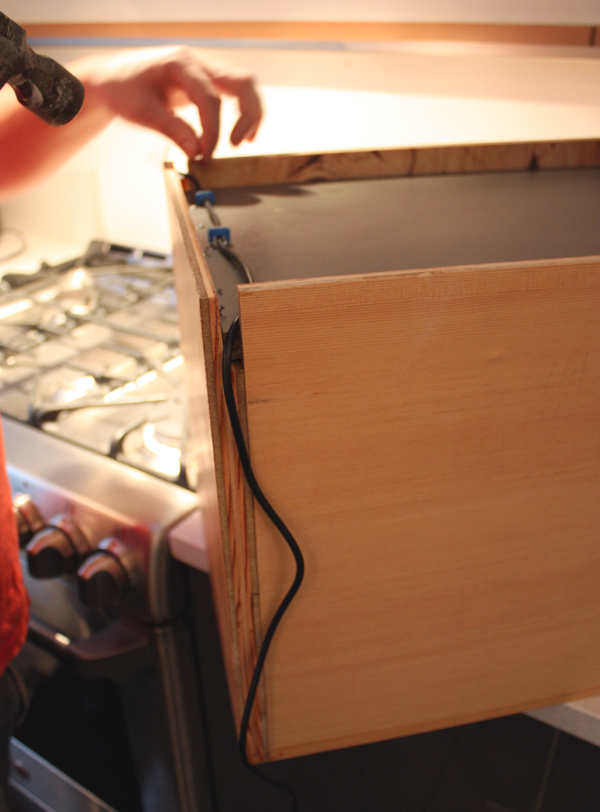
For the open shelving that flanks the range hood, we’ll install small strips of LED lighting on the underside to provide additional task lighting. Routing our power supply required some creative problem solving though. We needed to connect the lighting strip to the transformer located in the cabinet above the range hood and the connector cord isn’t rated to go through the wall. So we recessed the back panel and notched the cabinet, allowing a chase for the cord to run. (The lights aren’t installed yet, but the connector cord had to go in before the shelf could be installed – you can see the end hanging down in the image below.)
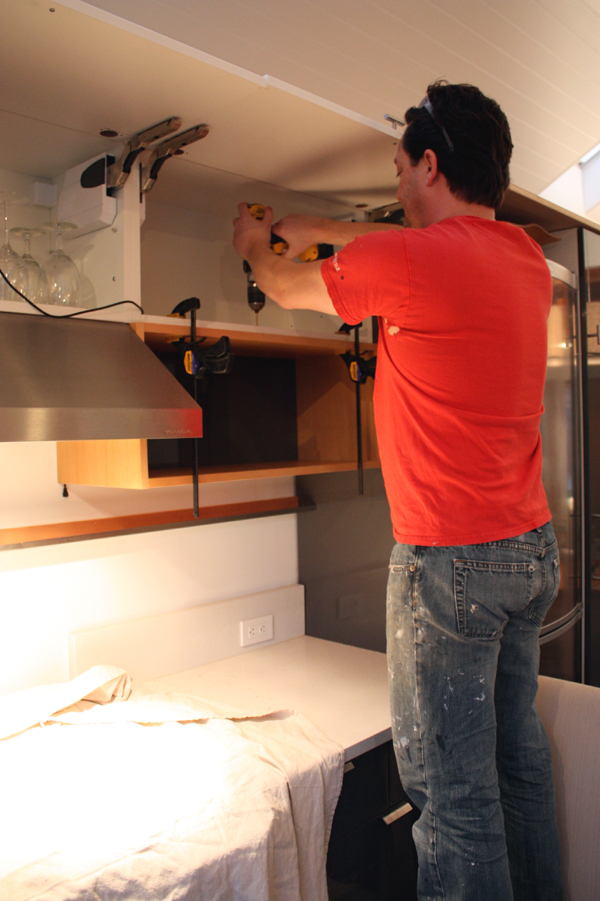
Next, Kyle installed the shelf. We didn’t add extra blocking in the wall, so we decided to fasten the shelf to the IKEA one above. We used 15 screws. It’s solid. (I later installed some sticky-back cork shelf liner in this cabinet to hide the screw heads.)
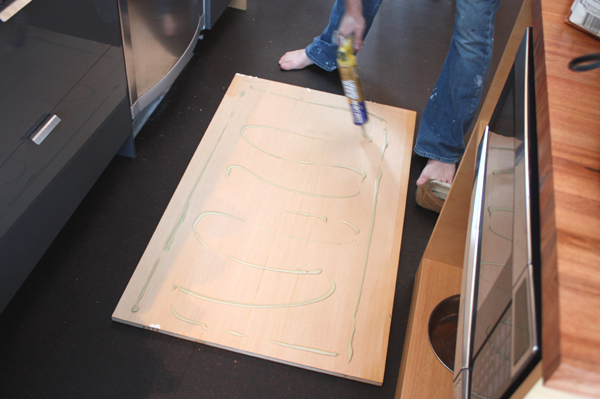
Finally, the fir panels went up. The one next to the pull-out pantry went up first and was fastened by installing a few screws from inside the pantry. The horizontal panel went up next. It’s times like these when I wish we had a third person to take photos, because I’m pretty sure the best photo ops are when we’re moving 11′ panels above our heads and through tight spaces. This panel is actually two pieces glued and biscuited together, so moving the piece from the basement was a delicate (but swift) operation. The shorter end panel went up last and was adhered with good ol’ Liquid Nails and a few screws through the top.
There will be another open shelf to the left of the range hood and vertical wine storage between the end panel and wall cabinets. We also ordered a piece of blue-gray colored glass that will go at the range hood and extend up to the underside of the spice rack.
So in general, we would recommend this hybrid DIY approach. We don’t have any fancy cabinetry tools – in fact, Kyle built all of these pieces with only a hand-held circular saw, jigsaw, and biscuit joiner (plus biscuits and glue). He would also like to stress that using a guide and clamps is key to cutting accurate and straight pieces. You could definitely go cheaper on the wood (especially if it is paint grade), but we wanted fir to match everything else. Finally, we carefully chose what pieces we would DIY and tried to make them as simple as possible (i.e. – no moving parts). For us, it was a reasonable amount of things to build without getting completely overwhelmed. Although it’s not terribly difficult, the process can be tedious in that there is a lot of planning, prepping and waiting. We did all of the construction during two weekends and then moved the finish work to the basement so it could be tackled on weeknights. We lose our sun around 4:30 now, so evening tasks are limited. In fact, I think it’s time to start watching TV again. What should we start with, True Blood or Mad Men?
I think I might be in love with those high-gloss IKEA panels…so sleek!
the answer is always mad men.
the wood wrap around the cabinets is fantastic. i love how you have combined the two materials for a completely custom look. i had been thinking of trying to do some kind of diy/ikea combo when we finally do our kitchen, you are inspiring me to start some planning!
True Blood all the way!
Your IKEADIY kitchen turned out great! I’m loving the mix of materials and the iron on end pieces look perfect.
Jack said “amazing”!!!!!
It’s lookin’ good, ya’ll!
xxoo
Aunt Gingo
Hey guys! As always, I really love how the kitchen is turning out. However, I have a quick question about the spice rack; is it going to stay there? I’m mentioning this because expose to heat like that from a range is really bad for your spices. I’m sure you know this but I just thought I’d chime in!
Thanks Sara. I hadn’t really thought of the location having a negative impact, but I see your logic. I guess we could always scoot them down the ledge if it becomes an issue.
[…] addition to our custom shelves and plywood wraps, we also fabed up our own toekicks. The matching high-gloss gray was an option, but we decided […]
[…] A custom look by using two shades of paint! – The folks at chezerby combine an Ikea kitchen and DIY elements with stunning […]