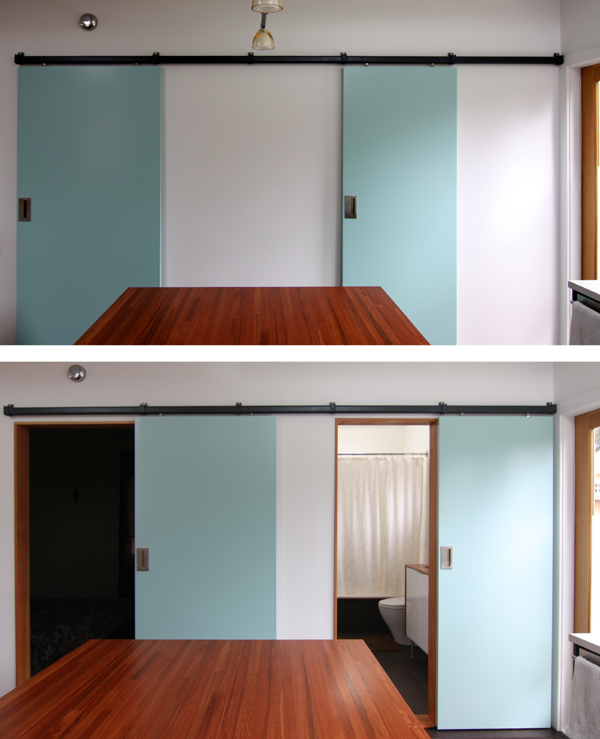
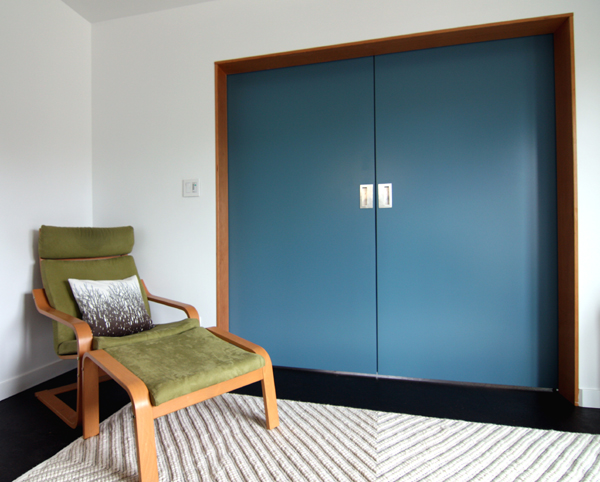
After what feels like forever, the sliding doors are finally done!
After a failed attempt at welding our own frames, we opted for paint-grade solid-core doors. We explored color options in this post and ultimately decided that 2 colors in similar hues would work best. We chose “thunderbird” and “lakeside cabin”, both Benjamin Moore Natura in a semi-gloss finish.
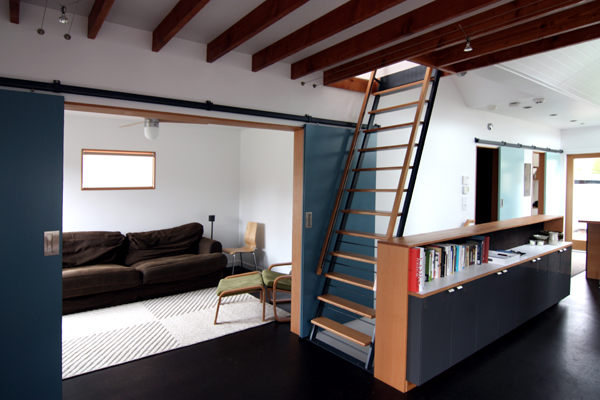
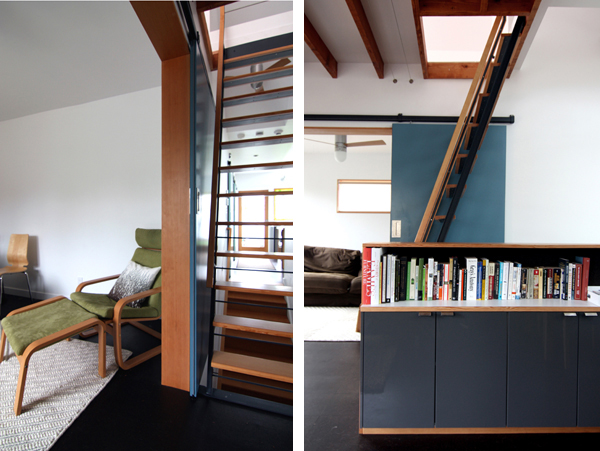
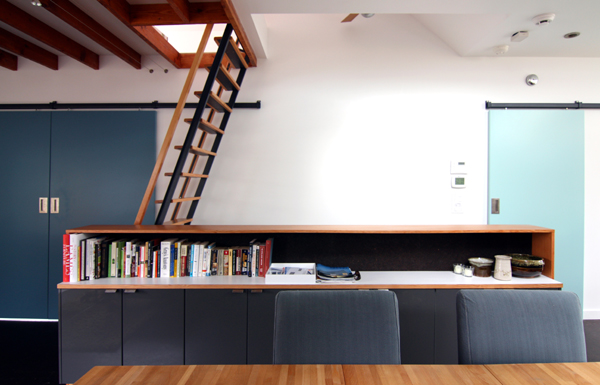
When we want to use the flex room as a bedroom, we’ll simply slide the doors shut.
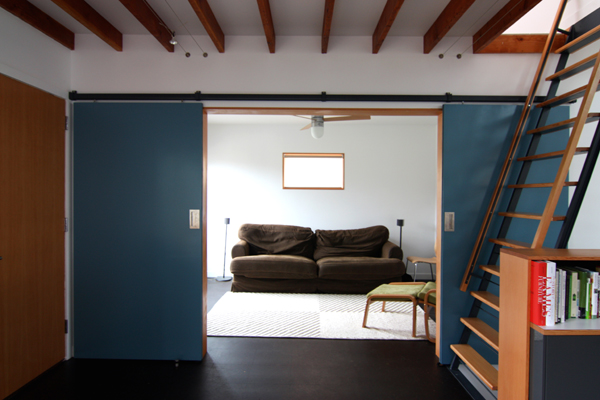
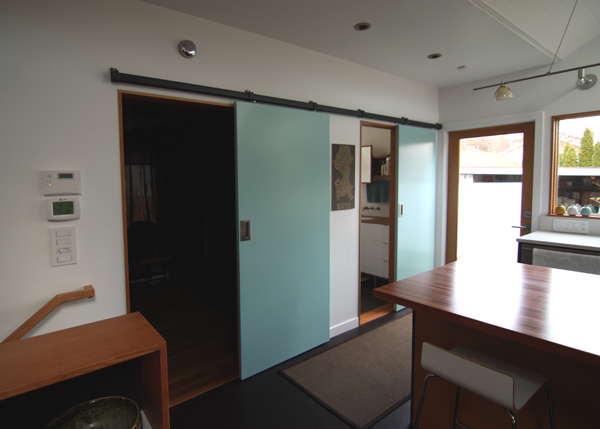
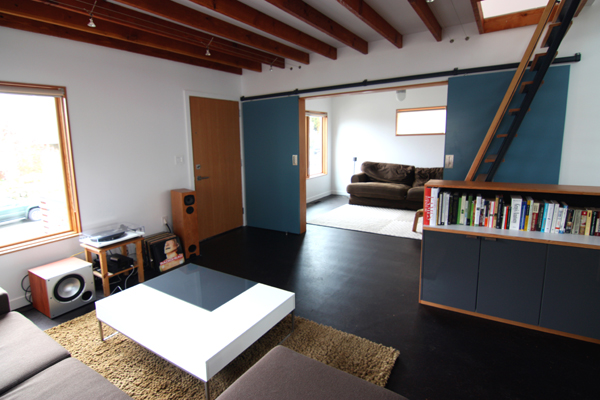
But otherwise we’ll keep them open. We designed the size of the opening so the doors would be composed against the wall in their open position. (Disregard our frumpy couch in the background. We have a love/hate relationship with “brown bear” because he’s permanently disheveled, but SO comfortable!)
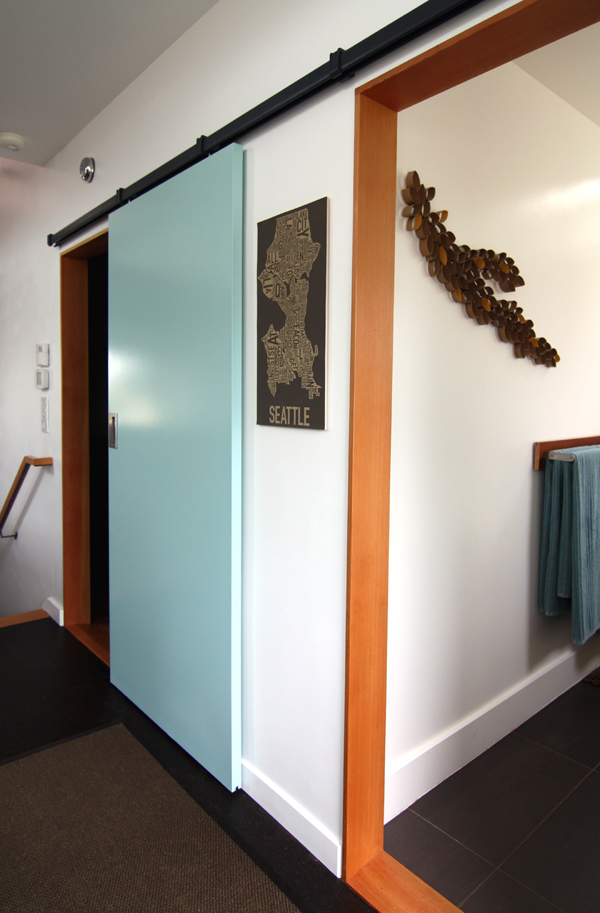
Same idea with the bedroom and bathroom doors (read here for more detailed info on the first door).
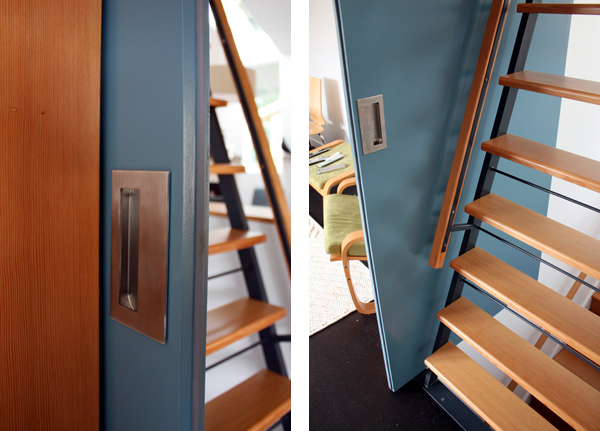
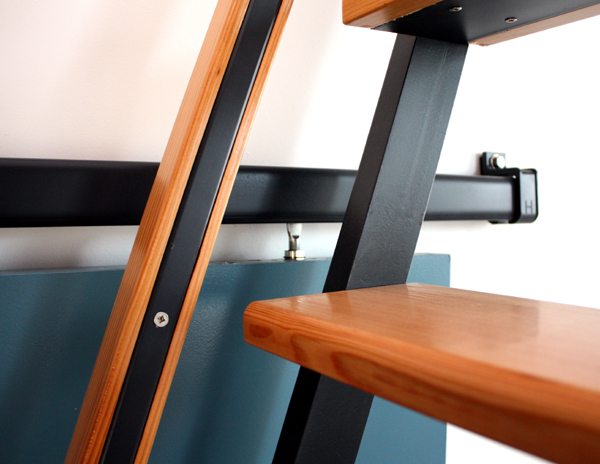
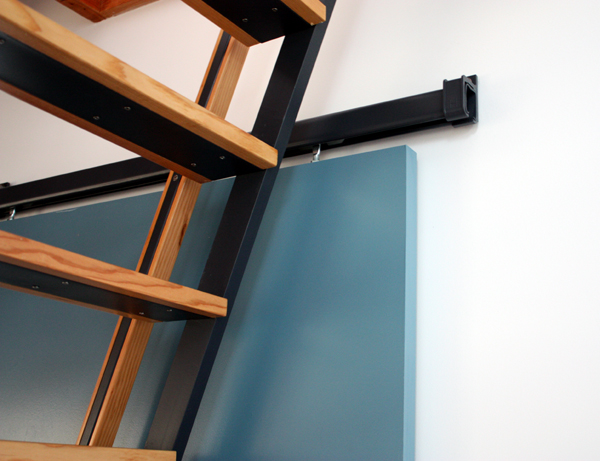
The east flex room door slides between the loft ladder and wall. This was tricky because we needed to provide a wide enough gap while staying under the 4″ wide threshold required by code (since our ladder effectively acts like a guardrail).
Tectonic!
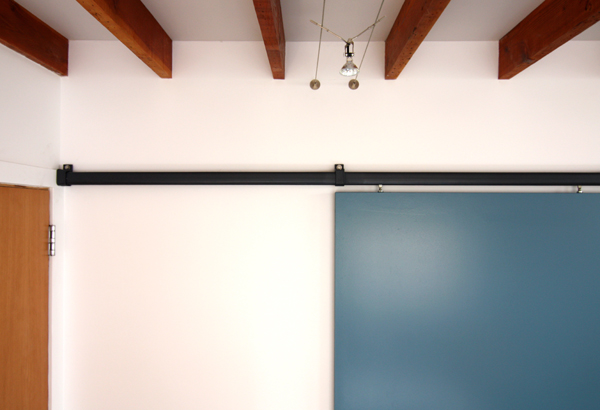
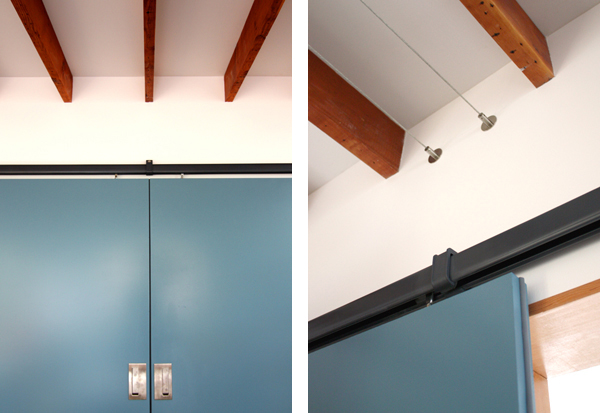
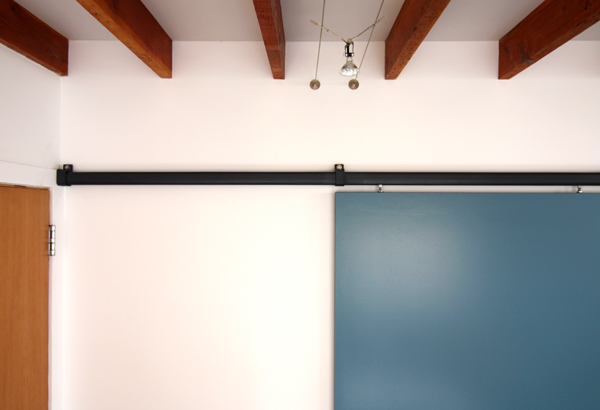
The doors and track bracket are centered on the exposed joist above…aww yeah!
And the intermediate track bracket is centered on the joist bay and cable lights above. Those 1910 joists never felt so fancy!
The main reason we chose to do sliding doors was because it gave us the flexibility to change the function and privacy of our spaces without pesky door swings getting in the way. The punch of color is an added bonus.
To install the large flex room doors (each are 3′-6″ wide) we had to heave them up from the basement stairs and through the open end of the track. That was not fun.
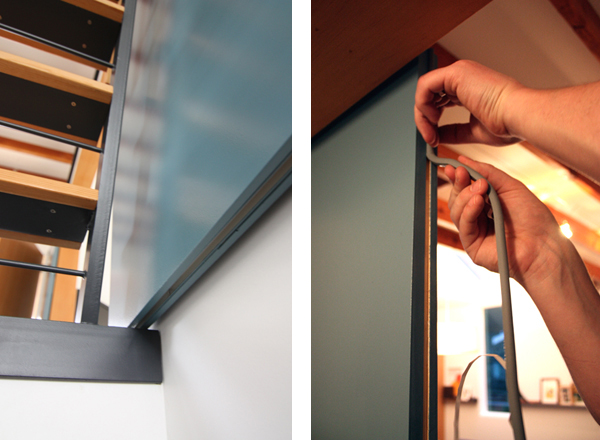
Like the other two doors, we cut out a recessed notch on the underside and then inserted an aluminum channel. The recessed channel in the door slides over a guide mounted to the floor, keeping the door from flapping around.
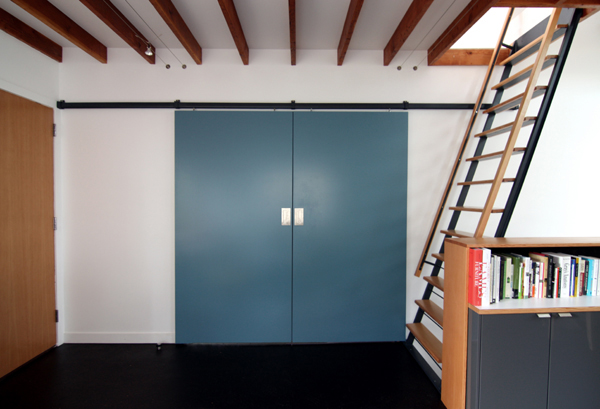
To create a better seal where the two flex room doors meet, Kyle routed out a small notch in the inside vertical face of each door, just enough to install a length of rubber weather-stripping. The two strips are slightly offset from each other, so when the doors meet they fit together snugly.
Because the doors have to clear the base trim at the floor, there’s a small gap between the door and the drywall. We’re going to experiment with a few ways to seal that gap, stay tuned.
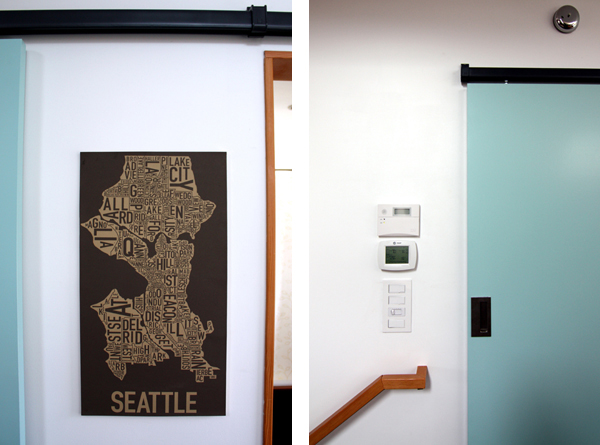
Our poor art wall needs some art…soon!
Ok, truth be told, we still leave the bedroom and bathroom doors open most of the time. Remodel habits die hard.
I know we have a pretty distinctive color palette throughout our house, but we like it! Besides, we made a conscious effort to use color in areas that could be easily changed, just in case we’re all about fuscia and tangerine next year.
This is what the flex room looks like with the doors closed. It really does feel cozy and like a real bedroom, even with the large doors.
So I guess we’re done with the main floor? Kinda? Except for the media cabinet, some artwork and accessories, some new furniture… I mean, can’t you just picture two Eames LCW chairs opposite the coffee table? Unfortunately, they’re not in the budget anytime soon, but a girl can dream about a thrifting miracle, right?
Holy monkey poodle. I never thought anyone would make doors look ridiculously awesome. The color, width and style definitely draws your attention to them all over the house. Can you guys team up and build revolving doors and make it look head to toe amazing and um, a little less scary? Just a thought, once you guys are finished with the remodeling. 😛
Patricia Ann
http://www.theshapesofthings.com
Your home is amazing. I have always wanted to do that style door for my front door in a metal. You are definitely an inspiration.
I am just blown away by your home.
I would love to gut our 110 yr old bungalow and start fresh (there are few details that are worth keeping) but it is probably not in the cards. I can dream, right?
Hi,
I’m new to your blog, it’s great! I’ve had a look and can’t find one, but have you at any point done a layout of the house? I’m having a hard time working out how it all fits together from photos.
Keep up the good work!
Looks great! Very impressive!
The only thing I’m wondering is this: where is the TV located? Or are you guys using laptops for that type of thing?
Hey Chris,
The TV is in the corner of the flex room. You can’t really see it unless you’re in the room and I generally keep it out of the pictures b/c we’re still rocking Kyle’s TV stand from college and a sweet ’99 surround sound system (in other words, it’s ugly!) =) Eventually the plan is to move the TV to the basement after we finish that space.
Hi Hayley,
Check out the “design” page (http://zerbey.wpengine.com/design/) for before and after floor plans!
Well, I guess it would depend on how much you value having a social life and free time. 😉 We’re happy with what we’ve done, but I don’t think we’ll be buying another
tear-downfixer-upper anytime soon.Haha, we’ll add it to our list! 😉 Revolving doors can be pretty intimidating…
That is a great location and a great eventual plan — with the doors in the flex room Kyle can watch a sporting event and close the doors while you blog, etc. Great!
‘@ chris, so true, except that lauren is a seattle sounders fan too. She does make me close the doors when I watch action movies though and yes she is usually in the other room blogging;)
Everything in your home is clearly so well thought-out, these doors included. But nothing looks that way. It all just looks so effortless. That is the epitome of good design, in my book anyway!
I can’t express how excited I am to visit chezerbey w/ bathroom doors in place. So excited. : )
Looks great guys! I think the double door for the flex room turned out awesome.
Love the doors! They look amazing. I adore the current color pallet, but the idea of being able to change them on a whim is ingenious.
love the color, we have waxed wood sliding doors but i really love the idea of painted doors after seeing yours. we’ve been meaning to add some kind of guide system for our doors, we’ll need to follow your brilliance soon, our two young boys have “notched” the walls because the doors keep banging against them! although we just got ours from ACE so the rails & hardware are a bit clunky compared to your lovely streamlined rails & hardware ; )
Really great job on everything. I am interested in seeing how you use the loft.
Thanks Michael…stay tuned for a post later this week about the loft!
chezerbey misses you!
do you guys have a tv?
We do…it’s in the corner of the “flex” room…eventually, we’ll move it to the basement after we finish that space.
Wow, I found you via DIY Diva – I’m blown away! Can’t wait to go exploring – great looking blog & I love your classic, uncluttered style of design.
Hello!
I’ve been reading your blog for quite some time now and I am smitten by your DIY spirit and amazingly clean and tidy house. Oh yes, and you guys have pretty bangin’ taste too when it comes to design! Also, I’m a huge fan of all the photos you post – they are great quality and definitely set your blog apart from a lot of others I read. Just wondering, what kind of camera/lens are you using? I’m thinking of taking the leap into SLR and am taking a survey.
Can’t wait to see the loft!!!
Thanks Jeff! I’m definitely still learning how to take better photos, but it’s good to hear the positive feedback! I have a Canon Rebel XSi DSLR. I have the standard 18-55 mm lens that came with the camera but I also recently got a Tokina 11-16 mm wide-angle lense that is really great for taking overall photos of spaces.
P.S. – Our house is not always clean and tidy. Right now I’m looking at a pile of laundry on the table and a sink full of dirty dishes. =)
I just love your style! I’m taking an architectural technology program and I find you guys so inspiring 🙂 makes the long nights in the CAD lab seem worth it.
He, the dining room chairs are suddenly gray; how come? 😉
[…] though the sliding barn doors were installed several months ago, we still had a few tasks to […]
[…] April we completed the sliding doors! Our bedroom had not had a door for 2.5 years and our bathroom had been doorless for over a year. […]