Last weekend we completed the final to-do on the kitchen – installing the undercabinet lighting. We wanted something minimal, yet effective. Luckily, we found both these things in an LED system from ET2 Contemporary Lighting.
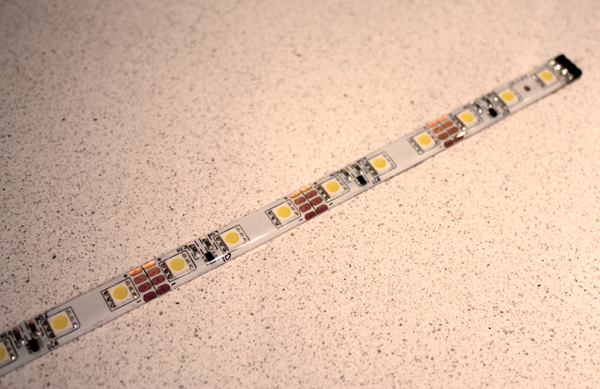
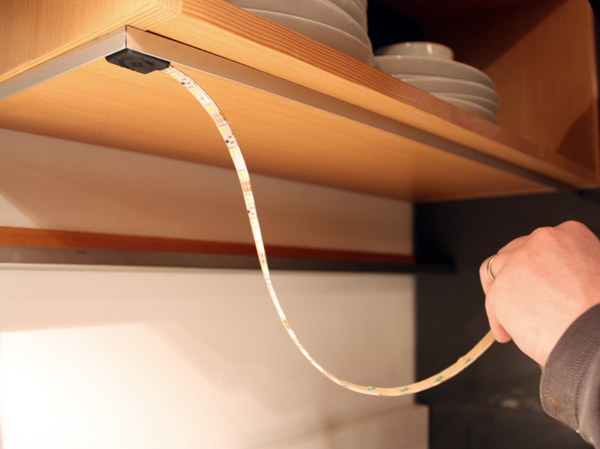
Techy! Commonly referred to as LED tape, this thin strip has an adhesive backing so installation is literally peel and stick. The trickiest part was designing the system. Power comes up from the panel in the basement through the wall and into a small transformer in the cabinet above the range hood. From there, connector cords go through holes drilled in the side wall of each flanking upper cabinet and down through the faux chase space that we created using the IKEA blue-gray panel remnants (as seen in this older photo below):
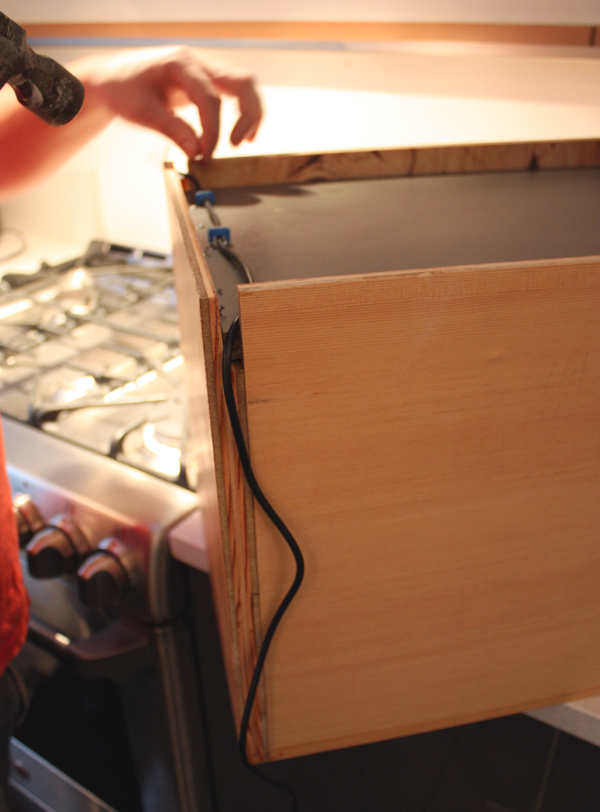
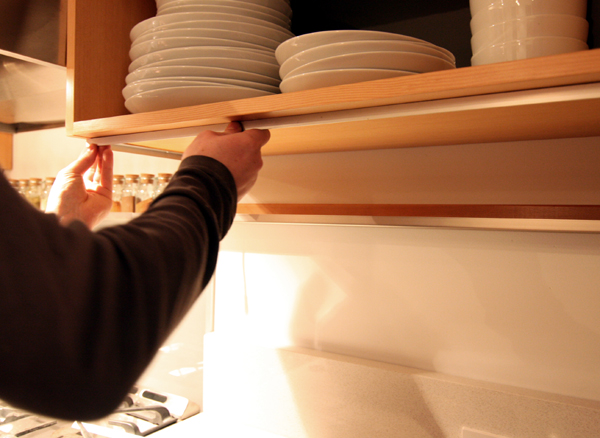
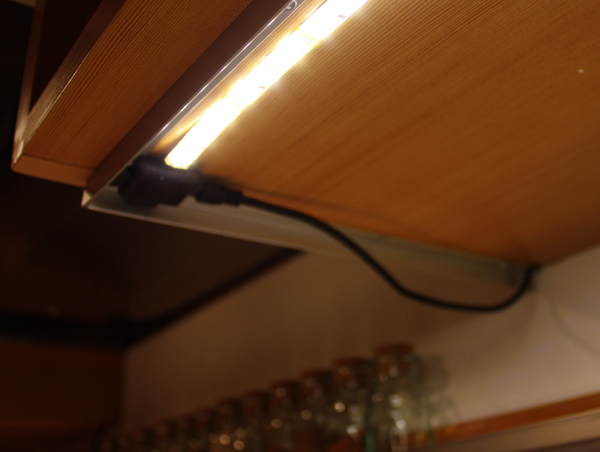
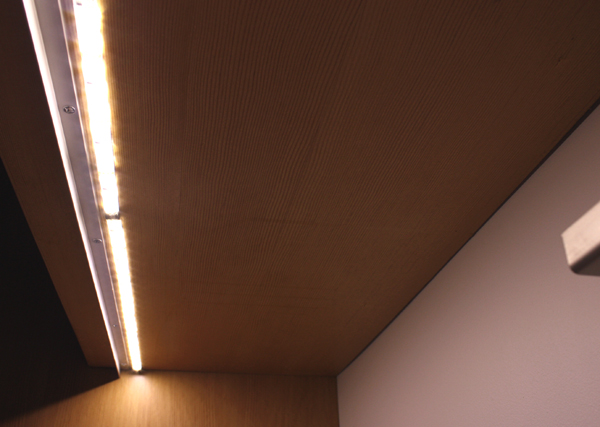
The connector cord then comes down through the bottom of the cabinet and plugs into the LED strip via a small 4-way connector. ET2 sells black metal valances but (shocker) we decided to DIY our own. So Kyle bought simple aluminum angles and built our own version that wraps along the front and exposed edge at the range. (It’s fastened to the cabinet with a few screws. We also applied a thin bead of caulk between the two surfaces to prevent light leakage.)
Next, we adhered the strip (and connector piece shown below)…
…and attached the connector cord (photo below was taken before we pulled the cord tight and secured it with a couple electrical staples).
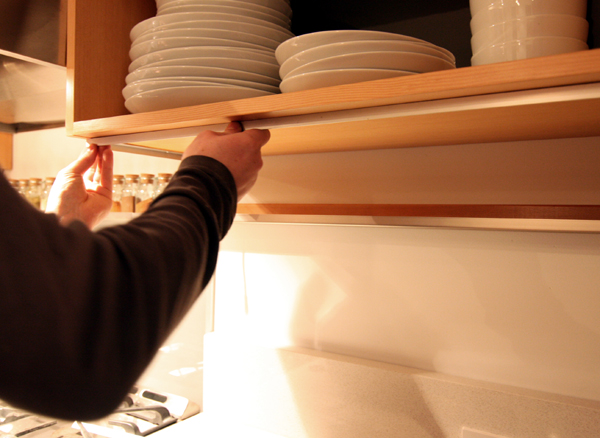
We wanted the light (and valance) to be recessed from the face of the cabinet, but out far enough that the light wouldn’t cast a shadow on the steel ledge.
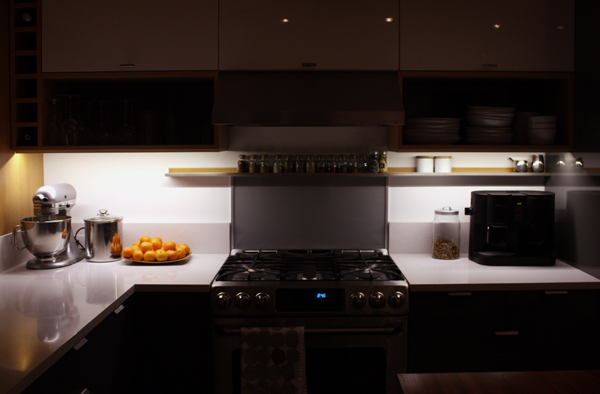
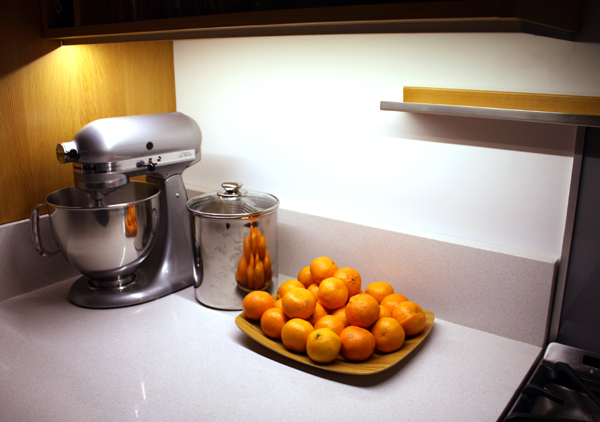
Not only do they provide additional task lighting, but they also serve as a subtle night-light of sorts.
It’s a small detail but we’re pleased with the results. More importantly, this was the last light fixture to be installed. Our house had 3 ceiling fixtures when we moved in, now we have mood lighting. Love that modern technology.

Wow…love that. I wish I knew this stuff existed before we put in our bulky under cabinet lighting!
Oh, I love it and the valance reflects the edge the shelf you have installed under the cabinets. Kind of makes me want to rip out the lights we installed in our kitchen two years ago.
looks great…do you know if these lights can be put on a dimmer switch without becoming ‘strobe lites’?
Ooh, those shadows and reflections are AWESOME!
Now THAT, the Chook Man can do!
Thanks for the great info…
This is a FANTASTIC idea. How do you feel about the color of the light? Is it bluish or more yellow?
what is a chook man? are you australian?
Never even knew that existed! Will check it out.
It’s a bit more bluish than incandescents, but we like it. You can also get colored LEDs if you really want to jazz it up. 🙂
Totally using these. Thanks for the info!
amazing!
Thanks for posting this! I am very interested in getting these for my cabinets but am wondering if its enough task lighting for food prep.
Currently, we have shadows on our kitchen counter which is quite annoying when cutting veggies and such due to the face that our recessed lighting is shining from behind us. So hoping some great under cab lighting would solve this problem.
Hoping to get your thoughts on this. Thanks in advance!!! Any help would be greatly appreciated.
Hi Sue, the light quality is pretty good for food prep, similar to what you might get from a light in a range hood. (Though the light is more “blue” since it’s an LED.) The company we ordered from had different types and intensities of the tape light so you could probably get something brighter if you needed it. It also helps that we have white counters to reflect the light. Love the simplicity of the tape lights though…much better than the bulky undercabinet lights!